A Note on Hardware
Taking high-quality pictures can be demanding on your computer. While these settings work on most modern systems, you may need to lower them if your performance suffers. An NVIDIA video card and at least 16GB of RAM are recommended for the best experience.
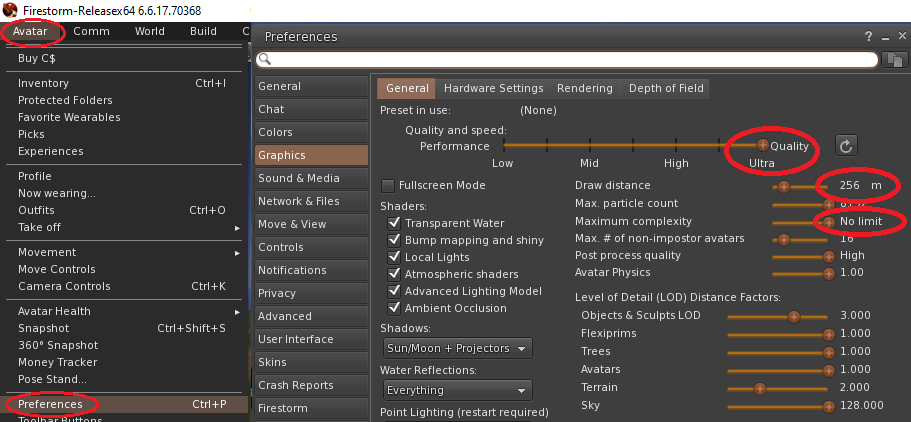
Step 1: Set Up Your Graphics
First, we need to tell the viewer to render the world at the highest possible quality.
- From the top menu, go to Avatar > Preferences.
- Select the Graphics tab on the left.
- Move the main "Quality and Performance" slider all the way to Ultra.
- For best results, set Draw Distance to at least `256m`.
- Set Max. Avatar Complexity to `No limit`.
Wait for a minute after applying these settings to allow the world and avatars around you to fully load ("rez").
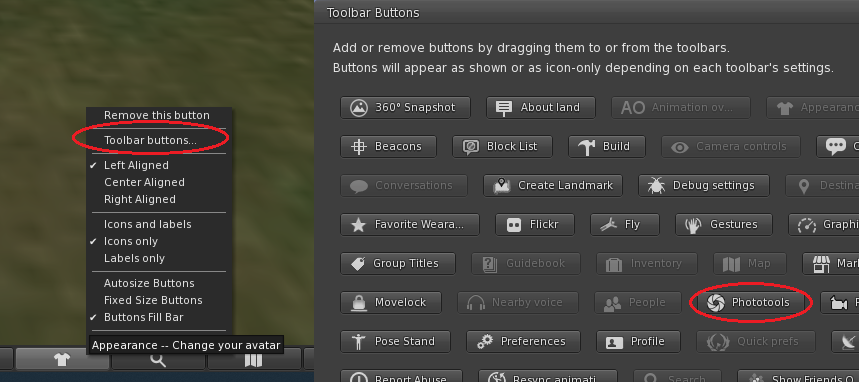
Step 2: Open the Photo Tools
The "Photo Tools" floater is a photographer's best friend. It gives you control over lighting, depth of field, and more.
- Right-click any empty space on the bottom button bar of your viewer.
- Select Toolbar Buttons....
- In the window that appears, find the Photo Tools icon (it looks like a camera) and drag it onto your toolbar.
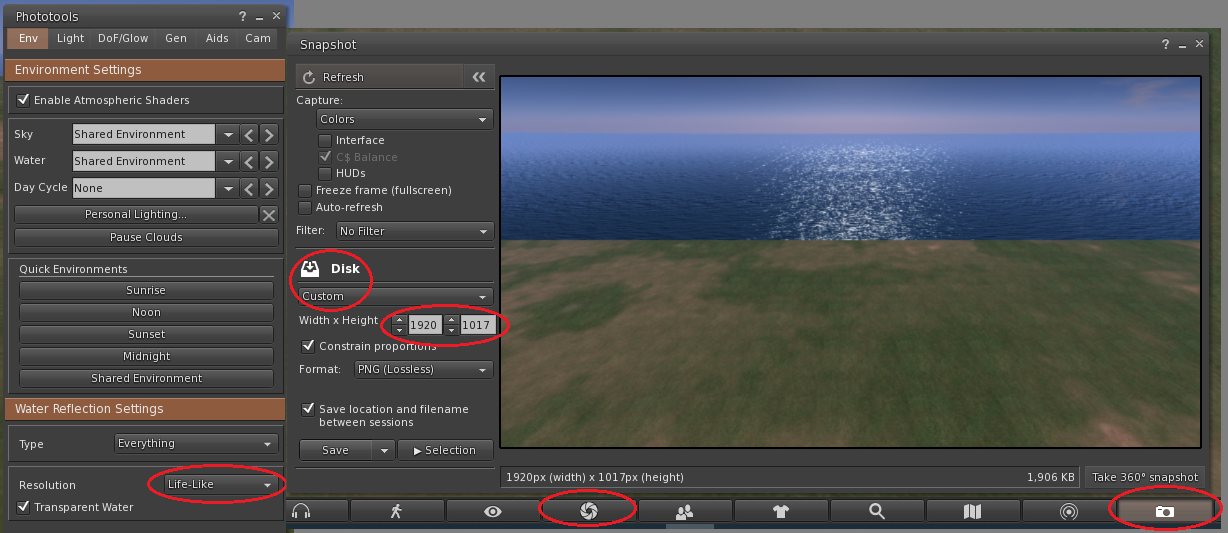
- Click the new icon to open the Photo Tools window.
Pro Tip: Spend time exploring the tabs in Photo Tools! The `DOF/Glow` tab is fantastic for creating blurry backgrounds (Depth of Field), and the `World` tab lets you control the sun position for perfect lighting.
Step 3: Capture the High-Res Snapshot
Now that everything is set up, it's time to take the picture.
- Frame your perfect shot using camera controls (Alt + Left-Click and drag to orbit).
- Click the Snapshot button on your toolbar (or go to `World > Snapshot`).
- In the Snapshot Preview window, change the size dropdown to Custom.
- Enter a high resolution like `1920` x `1080` (or even higher, like `3840` x `2160` for 4K).
- Ensure "Save to my computer" is selected.
- Click Save (or Refresh to see your preview).
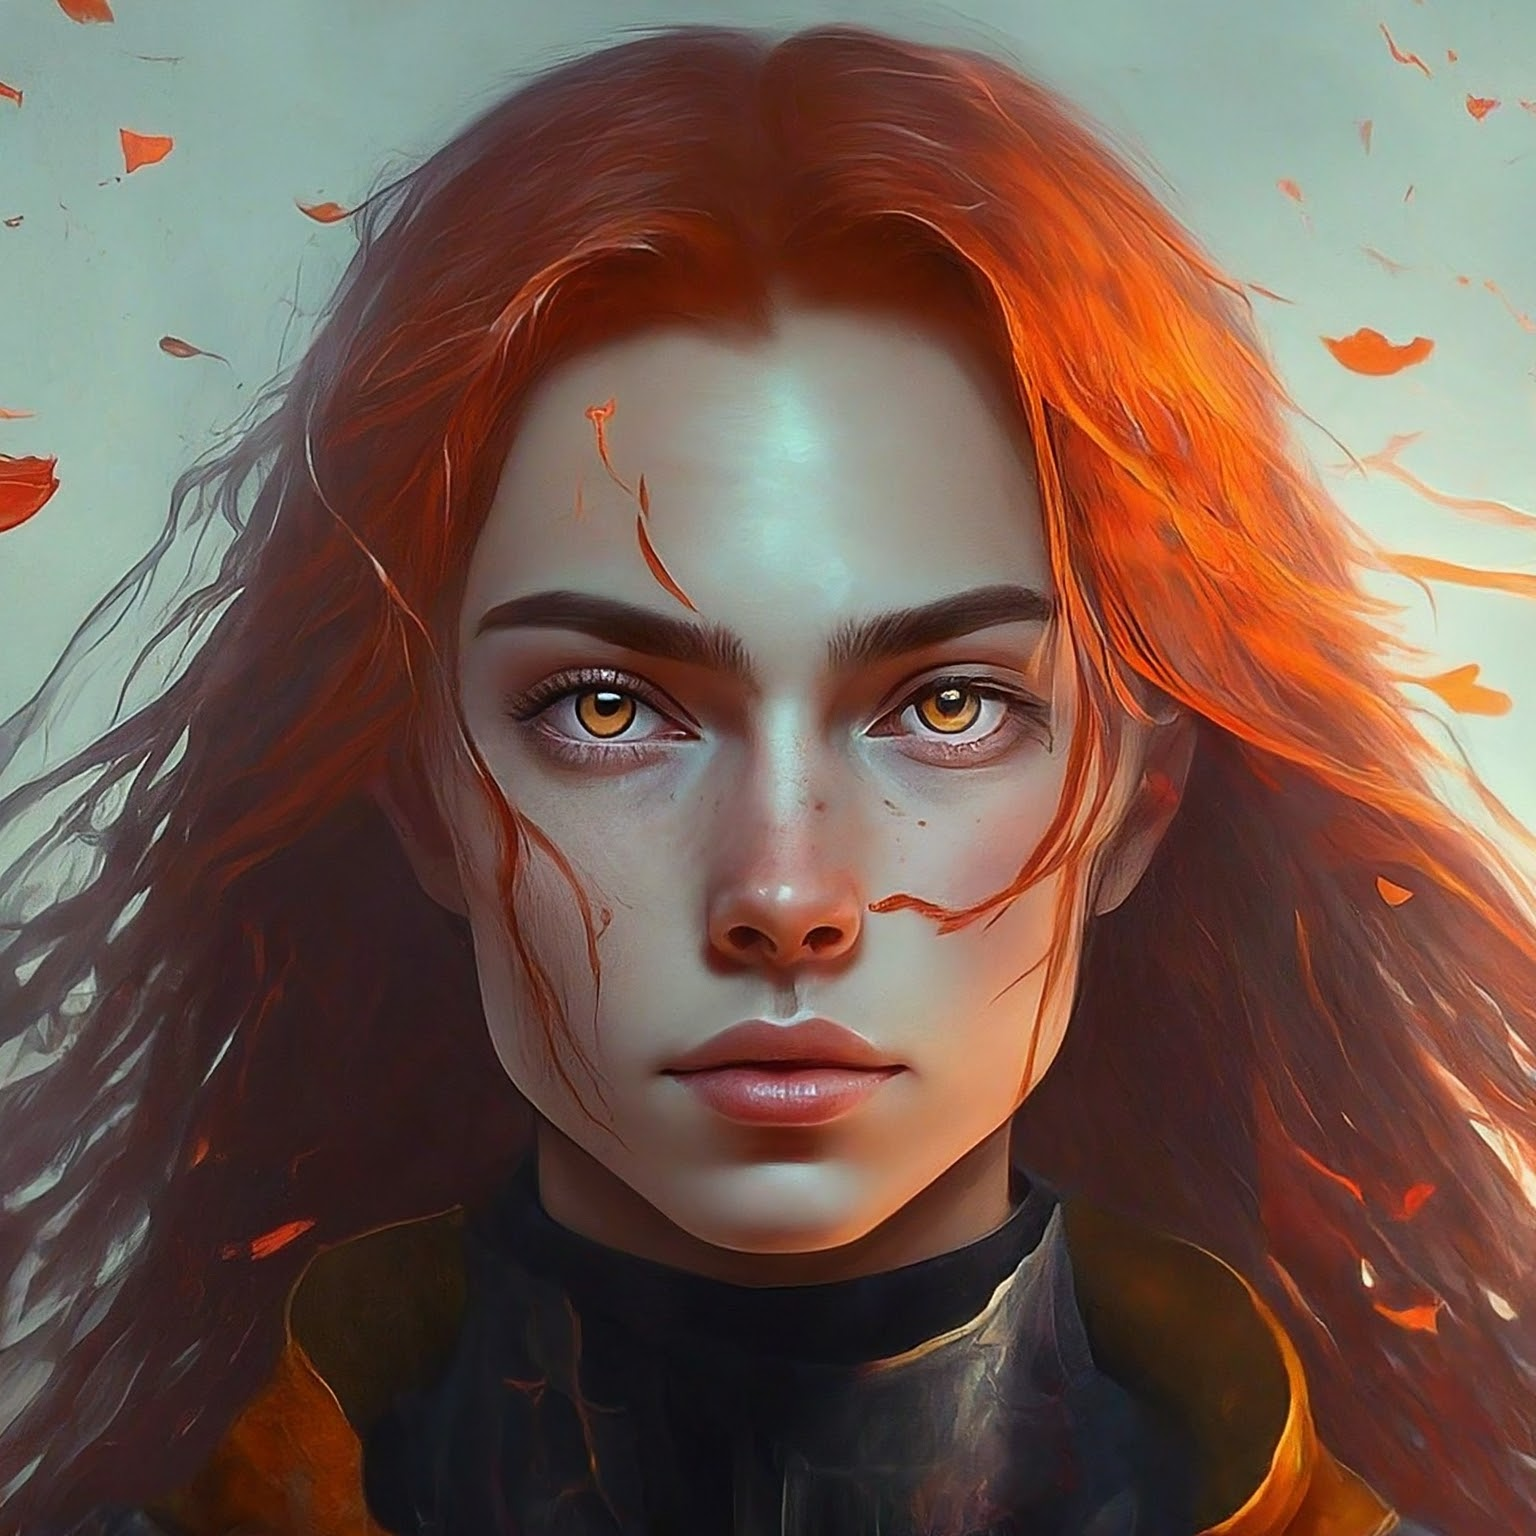
The Final Result
By combining high graphics settings with custom resolutions, you can capture breathtaking images like this.
Suggestions for New Content
To Make This Guide Even Better:
- Create a "Composition Basics" Section: Briefly explain the "Rule of Thirds" and how to use camera controls (`Alt`, `Ctrl`, `Shift` + mouse) to frame a shot. This is very helpful for users new to virtual photography.
- Add a Windlight/EEP Section: Briefly explain what Windlight/EEP is (the environment settings) and how to access it (`World > Environment Editor`). Mention that changing the sky can drastically alter the mood and lighting of a photo.
- Update the `photo-tools.png` Image: The current image is good, but a better one would show an arrow dragging the icon from the button window onto the toolbar to make the action even clearer.