The AutoDJ Control Panel
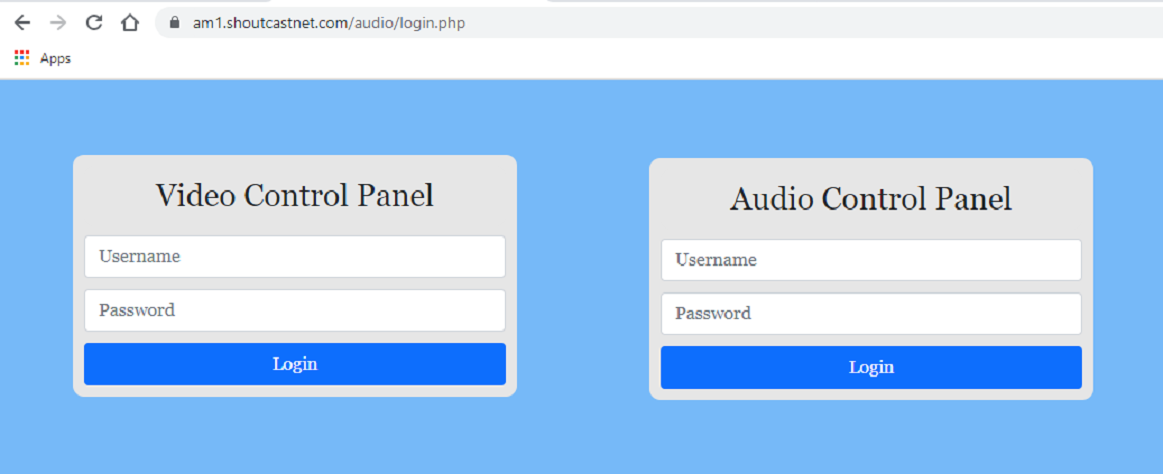
After getting a server, you will receive a link to your web-based control panel. This is where you will manage all the media for your automated station. Start by logging in with the provided username and password.
Step 1: Upload Your Media
First, you need to get your audio or video files onto the server.
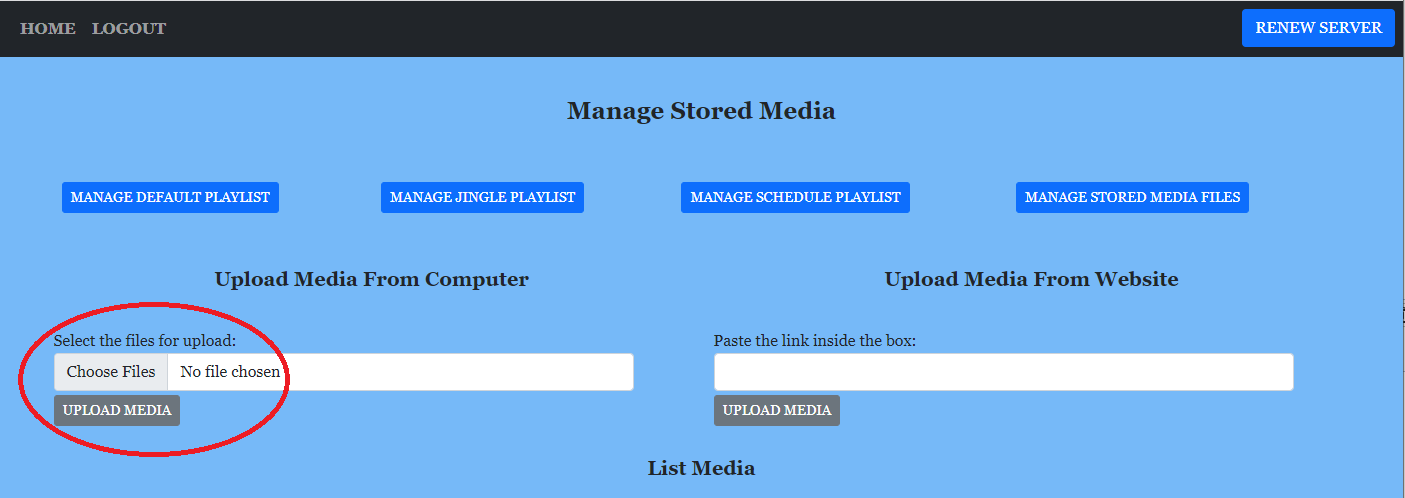
After logging in, click the big MEDIA button. You have two ways to upload:
Upload from Computer
Click "Choose Files," select the media on your computer, and click the "UPLOAD MEDIA" button.
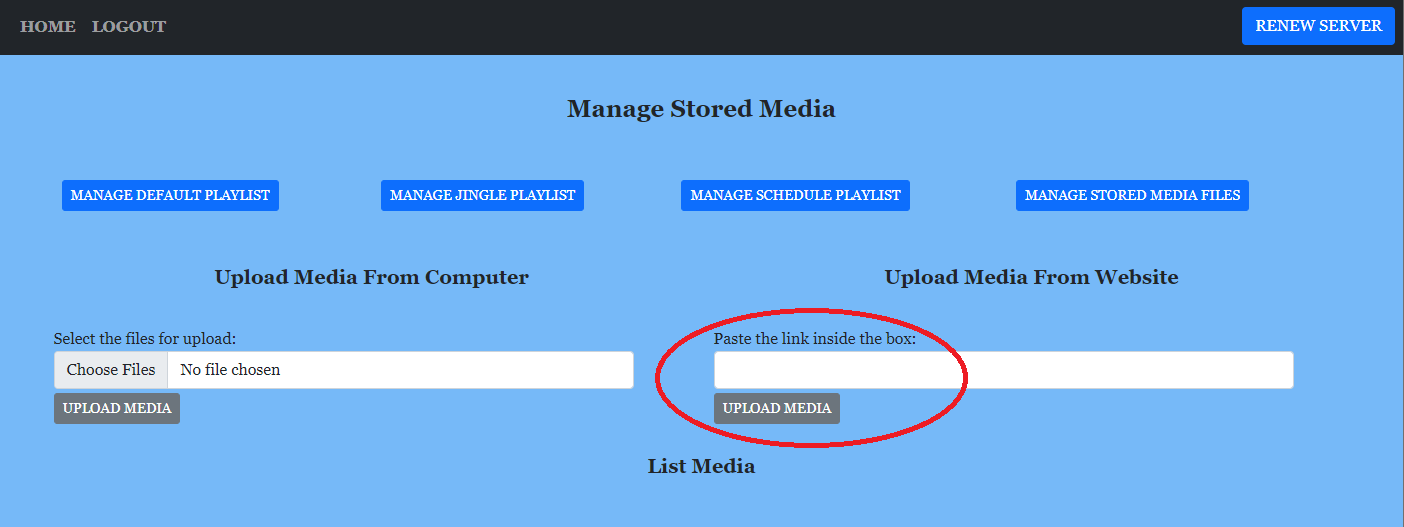
Upload from a Web Link
Paste a direct link to a media file into the box and click the "UPLOAD MEDIA" button.
Step 2: Organize Your Playlists
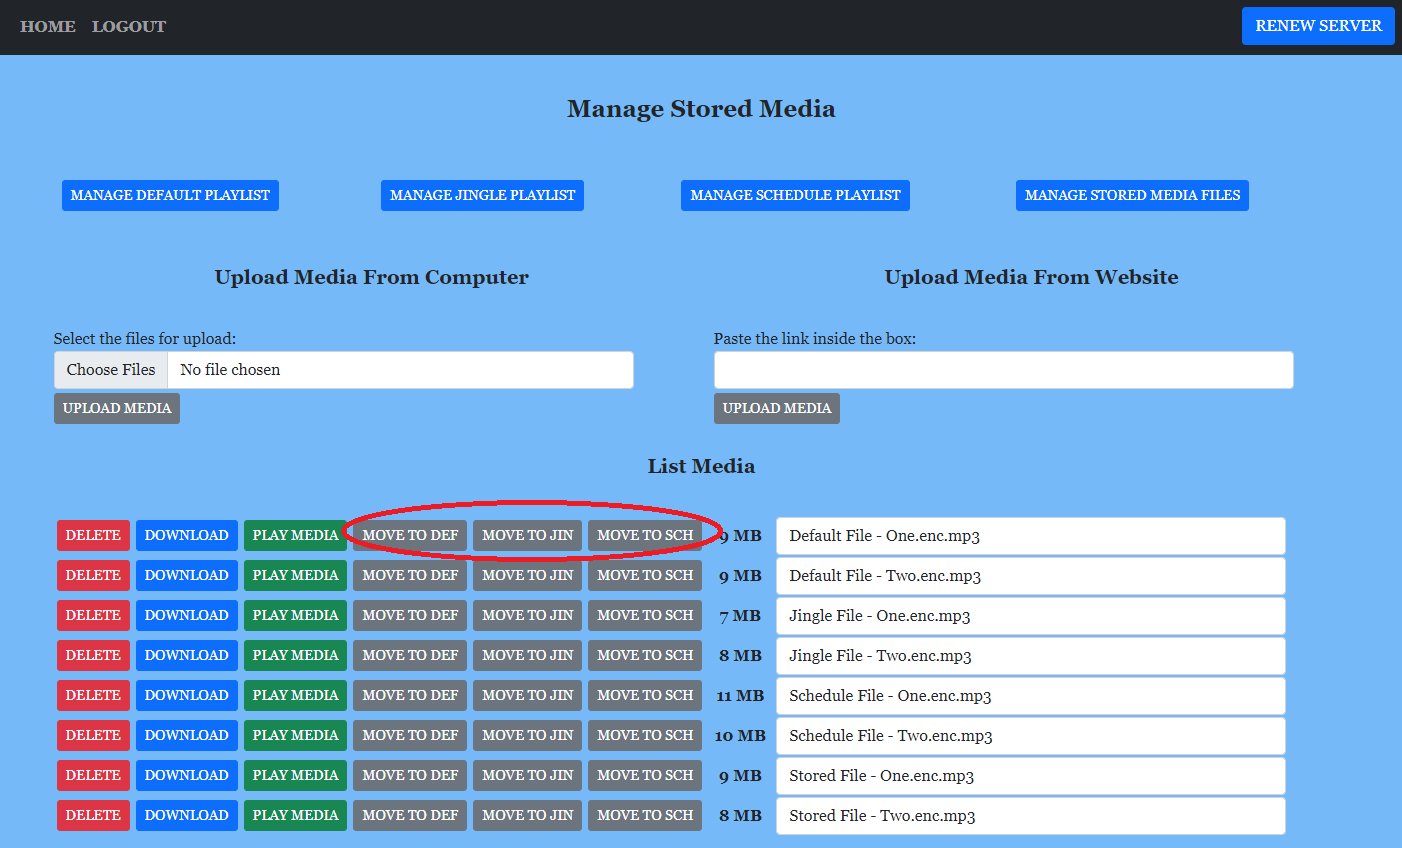
Uploaded files appear in the "List Media" section. Now you need to move them into playlists to be played.
Select your newly uploaded files and use the move buttons:
- Move to default playlist: Your main library of songs/videos that will play most of the time.
- Move to jingle playlist: For short station identifiers, ads, or jingles that play periodically.
- Move to schedule playlist: For special shows that you want to play only at specific times.
Step 3: Configure the AutoDJ Behavior
Finally, tell the AutoDJ how to play your media.
From the main page, click HOME and then the EDIT button to access the settings.
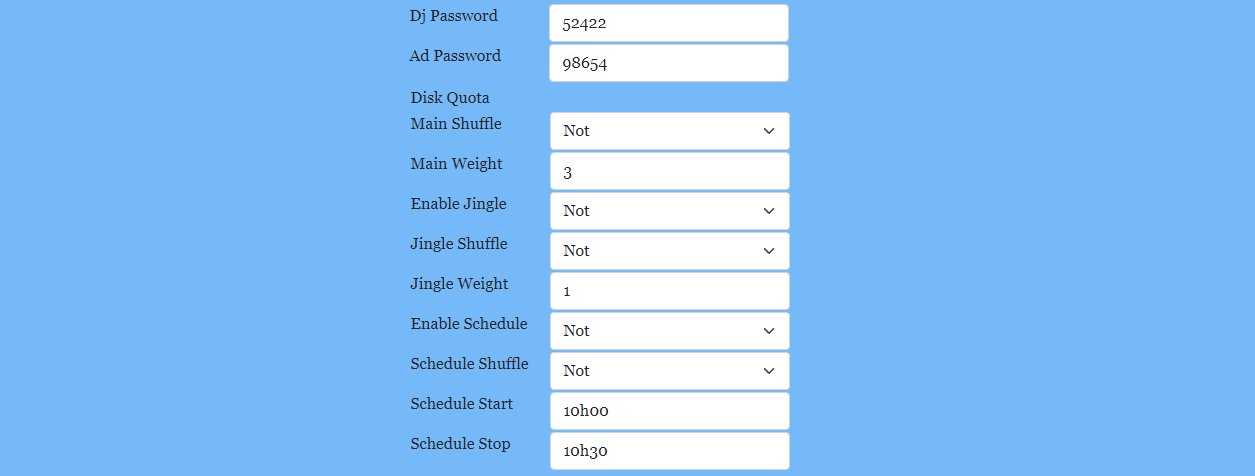
Key Settings:
- Main/Jingle Playlist Weight: Controls how many songs from the `default` playlist play before a jingle plays. A weight of `10` means 10 main songs, then 1 jingle.
- Shuffle Settings: Turn shuffle on or off for each playlist. It's usually best to keep shuffle ON for the default and jingle playlists.
- Schedule List Start/Stop Time: Set the exact time (in server time) for your special scheduled playlist to start and stop playing.
After changing any settings, be sure to click the `Save` or `Update` button at the bottom of the page and restart your server from the main panel for changes to take effect.
Suggestions for New Content
To Make This Guide Even Better:
- Add a "Start/Stop/Restart" Section: The guide explains how to configure but not how to actually turn the server on or off. Add a small section showing the main server control buttons (Start, Stop, Restart) from the `HOME` page of the panel.
- Clarify Server Time: In the schedule settings, add a note like "(Note: The time is based on the server's clock, which may be in a different time zone. Check the panel's home page for the current server time.)"