Step 1: Get Blender
Blender is a powerful and completely free 3D creation suite. You can download the recommended version from our website to ensure compatibility.
The Blender Basics
Blender can seem complex, but you only need to know a few things to get started.
Navigating the 3D Viewport
This is your main workspace. Use these controls to look around:
- Orbit: Hold the Middle Mouse Button and drag.
- Pan/Move: Hold Shift + Middle Mouse Button and drag.
- Zoom: Use the Mouse Scroll Wheel.

Adding & Manipulating Objects
You'll build things from basic shapes called "primitives."
- Add Object: Press Shift + A and choose from the `Mesh` menu (e.g., Cube, Sphere).
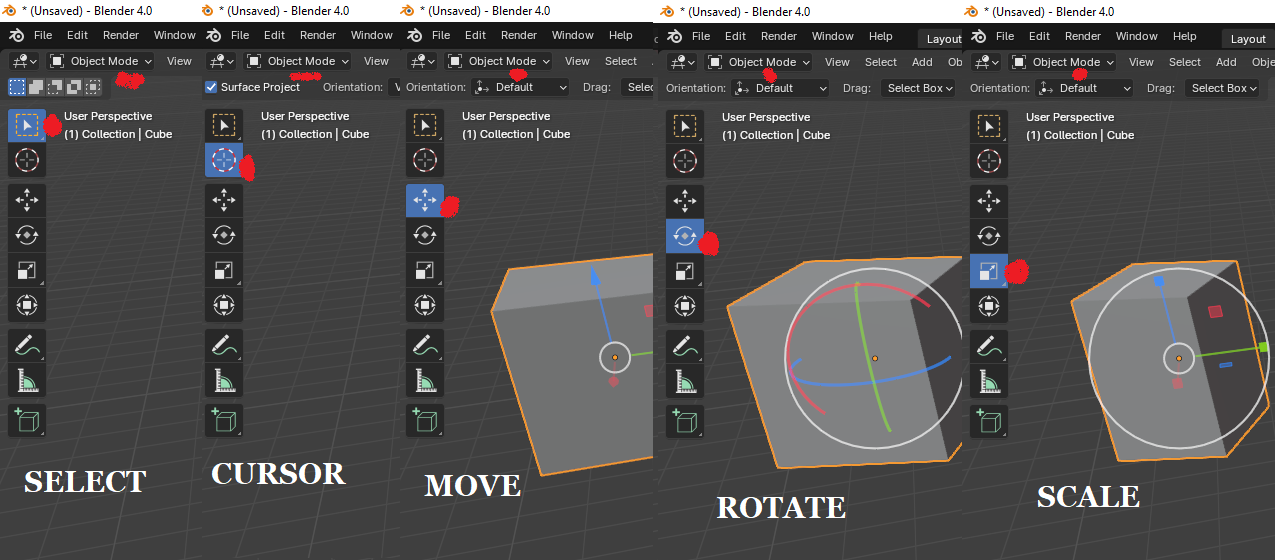
- Move: Select an object and press G.
- Rotate: Select an object and press R.
- Scale: Select an object and press S.

Object Mode vs. Edit Mode
This is a core concept! Switch between modes using the TAB key.
- Object Mode: Move, rotate, and scale the entire object.
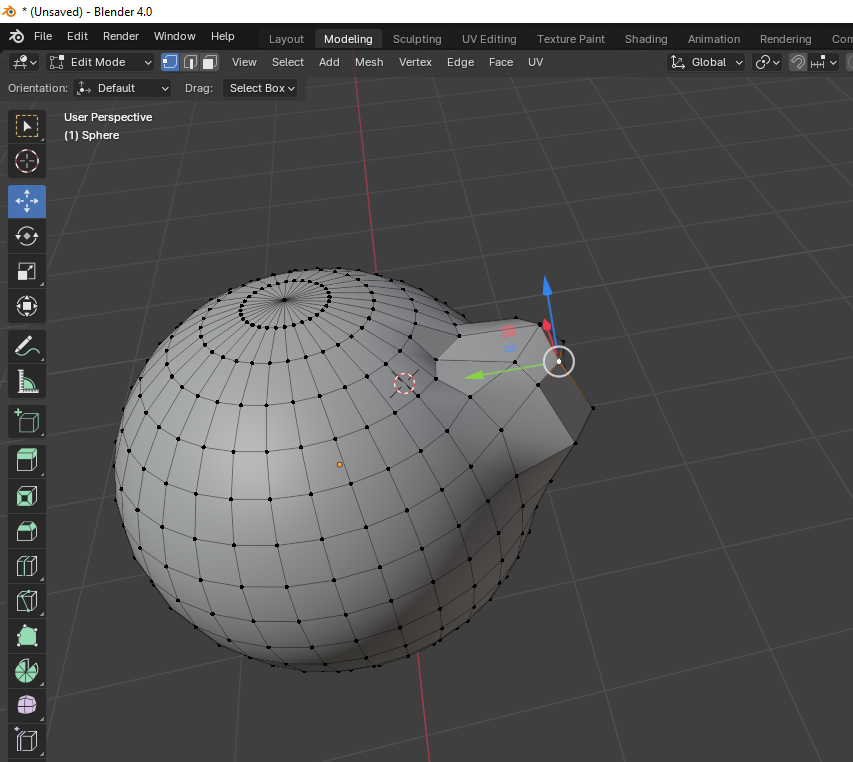
- Edit Mode: Modify the building blocks of the object: its vertices (points), edges (lines), and faces (surfaces).

The Most Important Step: Exporting for Alife Virtual
To upload your model to Alife Virtual, you must export it in the correct format: Collada (.dae).
Export Process
- In Object Mode, select the object you want to export.
- Go to File > Export > Collada (Default) (.dae).
- In the Export window on the right, check the box Selection Only. This is very important to avoid exporting the camera and lights.
- Name your file and click Export Collada.

What to Learn Next
You've successfully made and exported your first model! Here are the next creative steps.
- UV Unwrapping & Texturing: Learn how to "unwrap" your 3D model so you can paint textures on it in a 2D image editor. This is how you add color and detail.
- Modifiers: Discover non-destructive tools like `Mirror`, `Bevel`, and `Subdivision Surface` that make complex modeling much easier.
- Sculpting: Use Blender's powerful sculpting tools to create organic shapes like characters, creatures, and terrain.
Suggestions for New Content and Images
To Make This Guide Even Better:
- `blender-export-dae.jpg`: This is the most critical new image. It should be a screenshot of the Blender Export window for Collada (.dae), with a big red arrow pointing to the "Selection Only" checkbox. This will prevent countless user errors.
- Create a Follow-Up Guide: This guide only covers the model shape. The next logical step is texturing. A new guide, `howto/11-blender-uv-texturing.php`, would be the perfect follow-up, explaining UV unwrapping and applying textures.
- Mention Land Impact: In the follow-up texturing guide, you should explain the concept of "Land Impact" (prim cost) and how model complexity and textures affect it. This is vital information for creators.