How to Build Objects in Firestorm Viewer
Amazing architecture created in Alife Virtual
Welcome to the exciting world of 3D creation! This guide will walk you through the fundamentals of how to build objects in Firestorm, the most popular viewer for OpenSim virtual worlds like Alife. We'll cover everything from creating your first primitive shape (a "prim") to modifying, texturing, and linking it with others to form more complex creations.
Prerequisites
Before you can start building your dreams, you'll need a few things set up. Don't worry, it's all straightforward and mostly free!
- Firestorm Viewer: This is the software you'll use to access Alife. If you don't have it, download it from the official site: https://www.firestormviewer.org/.
- Alife Virtual Account: You'll need an avatar to enter the world. Registration is free and simple. Sign up here: https://www.alifevirtual.com/register.php.
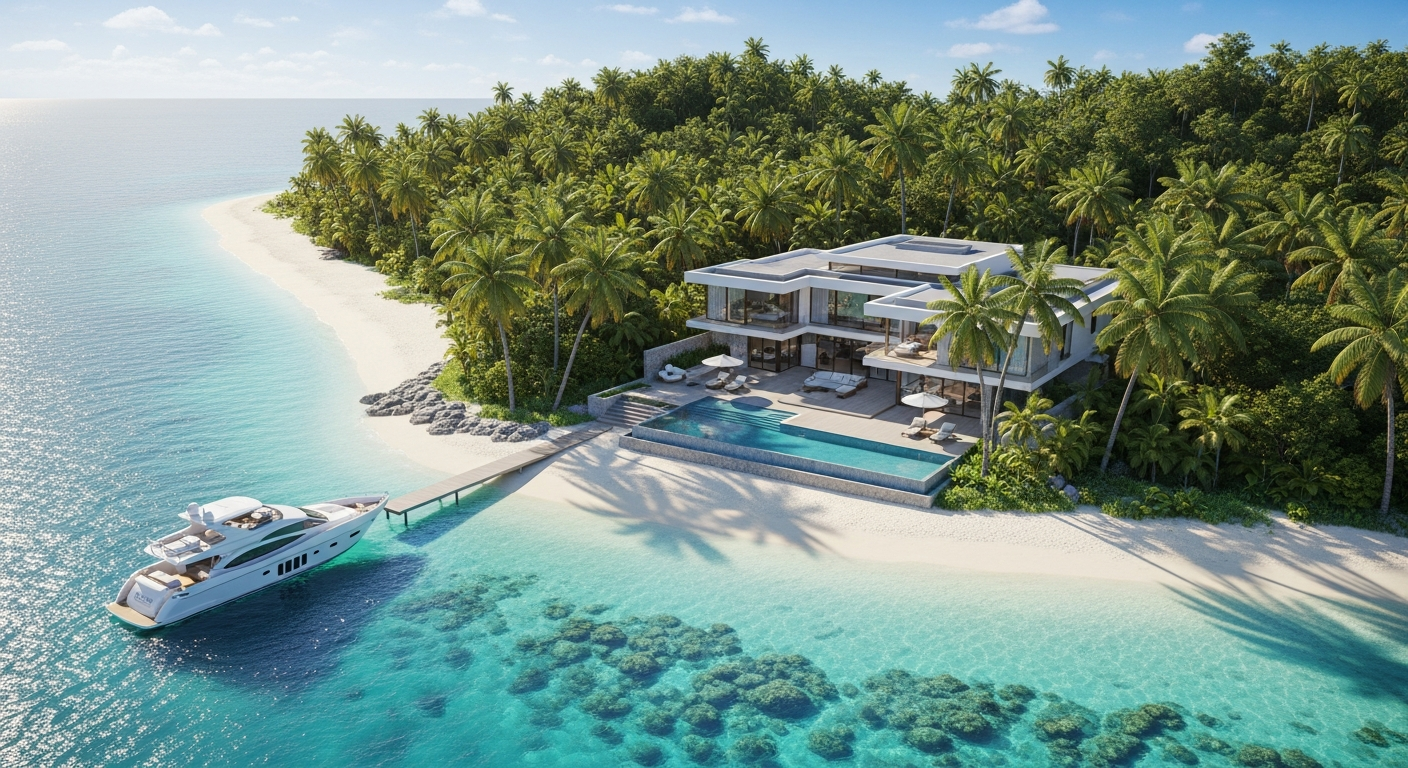
- Land with Build Rights: You can't build just anywhere! Luckily, Alife provides every new resident with a FREE private island (a full 256x256m region) with a generous 10,000 prim allowance. To get yours, log into the Alife website and visit your avatar page: https://www.alifevirtual.com/avatar.php.
- Basic Viewer Skills: This guide assumes you know how to log in, move your avatar, and control your camera (pan, zoom, orbit).
Step-by-Step Guide: How to Build Objects in Firestorm
Ready to get your hands dirty? Let's jump in and create your very first object. We'll start with a simple wooden table.
-
Step 1: Find Your Building Space
First, you need to go to your land. After logging into Alife, open your world map (
Ctrl+M) and search for your island's name. Once you find it, right-click and select "Teleport."Look at the top center of your screen. You should see the name of your parcel. To confirm you have build rights, look for a small icon that looks like a cube. If you can see it and it's not grayed out, you're good to go! If not, you may be on land you don't own.
-
Step 2: Open the Build Menu
This is your command center for all things creation. There are three easy ways to open it:
- Right-Click Method: Right-click on the ground where you want to build and select Build from the pie menu.
- Top Menu Method: Go to the top menu bar and click
Build > Build. - Keyboard Shortcut: Simply press
Ctrl+B.
Once you do this, two things will happen: your mouse cursor will change into a magic wand, and the Build Tool window will appear on your screen.
-
Step 3: Choose a Primitive Shape
The Build Tool window has a selection of basic shapes at the top. These are called "primitives" or "prims." You can create anything from these fundamental building blocks.
Visual Description: In the Build Tool window, you'll see icons for a cube, sphere, prism, pyramid, cylinder, and more. For our table, we'll start with the most basic shape.
Make sure the Cube shape is selected. It's usually the default.
-
Step 4: Create (Rez) Your First Prim
With the magic wand cursor active and the Cube shape selected, click once on the ground. A default-sized, plywood-textured cube will appear in front of you. Congratulations, you've just "rezzed" your first object!
Tip: The term "rez" comes from the movie Tron and is widely used in virtual worlds to mean creating or materializing an object.The Build Tool will now automatically switch to Edit Mode, and you'll see colored axes running through your new cube.
-
Step 5: Manipulating Your Prim - The Edit Tools
Now let's shape this cube into a tabletop. In the Build Tool window, make sure you are on the Object tab. Here you can numerically adjust size, rotation, and position. However, it's often more intuitive to use the on-screen tools.
Stretch (Scale)
Select the Stretch tool from the Build window (or press
Ctrl+3). You'll see colored handles appear on your cube.- Click and drag a red handle to stretch along the X-axis (East/West).
- Click and drag a green handle to stretch along the Y-axis (North/South).
- Click and drag a blue handle to stretch along the Z-axis (Up/Down).
- Click and drag a white handle to stretch the entire object proportionally.
Click the blue handle and drag it down to make the cube much thinner, like a tabletop. Then, use the red and green handles to make it wider and longer. Aim for a rectangular tabletop shape.
Move (Position)
Select the Move tool (or press
Ctrl+1). Now you'll see colored arrows.Visual Description: A red arrow points along the X-axis, green along the Y-axis, and blue along the Z-axis. Dragging these arrows moves the object only along that specific axis, which is great for precise placement.
Click and drag the blue arrow to lift your tabletop off the ground to a reasonable height.
-
Step 6: Creating and Linking More Prims
A table needs legs! Let's create them and link them to the top.
- With the Build Tool still open, select the Cylinder shape.
- Click on the ground to rez a cylinder.
- Use the Stretch tool (
Ctrl+3) to make it long and thin, like a table leg. - Use the Move tool (
Ctrl+1) to position it under one corner of your tabletop. - To create the other legs, you can repeat the process, but there's a faster way! While holding down the
Shiftkey, click and drag the leg with the Move tool. This will create a copy. Do this three more times, positioning a leg under each corner.
Warning: Right now, your table is five separate objects. If you try to move the tabletop, the legs will be left behind! To fix this, we need to link them.Linking the Objects
To turn your separate prims into a single object, follow these steps:
- Select the first leg.
- Hold down the
Shiftkey. - While holding Shift, click on the other three legs, and finally, click on the tabletop last.
- With all five prims selected, go to the top menu and click
Tools > Link, or simply pressCtrl+L.
The selection highlight will change to show a single bounding box around the whole table. The last prim you selected (the tabletop) is now the "root prim," highlighted in yellow. The entire table now moves as one object!
-
Step 7: Adding Color and Texture
The default plywood texture is functional, but not very pretty. Let's change it.
- With your table selected, go to the Texture tab in the Build Tool window.
- To change the color, click the box next to Color. A color picker will appear. Choose a nice brown shade and click OK. The whole table will change color.
- To apply a texture, click the box next to Texture. The Texture Picker window will open. You can search the default library for "wood" and find a suitable texture. Select one and click OK.
Applying Textures to a Single Face
What if you want the top of the table to have a different texture?
- In the Build Tool, check the box that says Select Face.
- Now, click directly on the top surface of your table. Only that face will be selected.
- Go to the Texture tab, click the Texture box again, and choose a different texture (maybe a wood grain pattern). Click OK.
Now, only the top face has the new texture. You can do this for any face on any prim in your build.
-
Step 8: Naming and Saving Your Creation
It's crucial to name your objects. This makes them easy to find in your inventory later.
- With the table selected, go to the General tab in the Build Tool.
- In the Name field, type something descriptive like "My First Wooden Table".
- Now, to save it, right-click on the table and choose Take from the pie menu.
The table will disappear from the world and appear in your inventory. You can open your inventory with
Ctrl+I. Look inside the Objects folder, and you'll find "My First Wooden Table," ready to be rezzed again whenever you like!
Common Issues & Troubleshooting
- "I can't build! The Build option is greyed out."
This means you don't have permission to build where you are. Make sure you are on your own free Alife island or in a public "sandbox" area. The parcel name at the top of your screen will usually indicate if building is allowed.
- "My object disappeared right after I made it!"
You likely had the "Temporary" option checked in the Object tab of the Build Tool. Temporary objects delete themselves after about a minute. Uncheck this box for permanent creations.
- "I can't resize or modify my object."
The object might not be modifiable. Check its permissions. In the Build Tool's General tab, look at the "Next owner can:" settings. If "Modify" isn't checked, you can't change it. If you made the object, ensure you have modify rights. If it's part of a linkset, you may need to check the "Edit Linked Parts" option to modify a single prim within the group.
- "I linked my objects in the wrong order."
The "root prim" (the last one selected) determines the object's center point and name. If you chose the wrong root, simply select the object and press
Ctrl+Shift+Lto unlink all the parts. Then, re-select them in the correct order (selecting your desired root prim last) and link again withCtrl+L.
Tips & Best Practices
- Master Your Camera: Building is 90% camera work. Hold
Altand use your mouse to orbit around your selected object. HoldCtrl+Altand use the mouse to zoom. HoldCtrl+Alt+Shiftto pan your camera view. - Use the Grid: For precise alignment, turn on the build grid by pressing
Ctrl+G. You can configure the grid spacing by going toBuild > Options > Grid and Snapping Options. This is invaluable for making sure walls and floors line up perfectly. - Name Everything: An inventory full of items named "Object" is a nightmare. Get in the habit of naming every creation in the General tab before you take it into your inventory.
- Understand Permissions: In the General tab, you'll see permissions for the next owner: Copy, Modify, Transfer.
- Modify: Allows the next owner to change the object.
- Copy: Allows the next owner to make infinite copies.
- Transfer: Allows the next owner to give or sell the object to someone else.
Warning: An object that is both Copy and Transfer is known as "copybot-fodder" and can be freely distributed, devaluing your work. An object that is No-Copy and No-Transfer can never be given away again. Think carefully about your settings! - Save Often: Take frequent copies of your work-in-progress into your inventory. If the simulator crashes or you make a mistake you can't undo, you'll have a recent backup.
Conclusion and Next Steps
You've now learned the core skills of how to build objects in Firestorm! You can create prims, resize and position them, link them into complex objects, apply colors and textures, and save your work. This is the foundation for creating everything from simple furniture to entire buildings.
Now that you have the basics, here are some things to explore next:
- Advanced Prim Manipulation: In the Object tab, play with features like Hollow, Twist, Taper, and Path Cut to create more complex shapes from a single prim.
- Sculpties and Mesh: For more organic and detailed objects, you'll want to learn about sculpties and mesh. These are created in external 3D modeling programs (like Blender) and imported into the virtual world.
- Basic Scripting: Learn a little LSL (Linden Scripting Language) or OSSL (OpenSimulator Scripting Language) to make your objects interactive—create a door that opens, a light that turns on, or a chair that gives a sitting animation.
The best way to learn is by doing. Go to your Alife island, start experimenting, and don't be afraid to make mistakes. Happy building!
🚀 Ready to Try Firestorm with Alife?
Get your FREE island in Alife Virtual and start exploring with Firestorm!
Get Your Free Island Now →No credit card • 256x256m region • 10,000 prims • Forever free
Need Help?
Contact our support team if you need assistance with Firestorm Viewer.