Alife Virtual School: Becoming an Instructor
Alife Virtual School: Becoming an Instructor — Free class in Alife Virtual School
Welcome to a pivotal moment in your virtual journey. Beyond being a resident, a creator, or an explorer, lies the profound role of an educator—a guide who illuminates the path for others in this sprawling digital frontier. This class, Alife Virtual School: Becoming an Instructor, is your comprehensive blueprint for transforming your passion and expertise into impactful learning experiences. In a burgeoning metaverse, the ability to effectively share knowledge is not just a skill; it’s a form of leadership that builds communities, fosters innovation, and defines the very culture of a free 3D world like Alife Virtual. If you've ever dreamed of leading a workshop, teaching a skill, or hosting a discussion group without the prohibitive costs and technical barriers of other platforms, you have arrived at the right place.
The Alife Advantage: Education Without Economic Barriers
In many virtual worlds, the dream of teaching comes with a hefty price tag. Establishing a dedicated educational space can cost hundreds of dollars per month, and the constant "micro-fees" for uploading content create a pay-to-play environment that stifles creativity. Alife Virtual was built on a different philosophy. We believe that knowledge should be free to share and that your ability to teach should be limited only by your imagination, not your wallet. This makes Alife Virtual not just a Second Life alternative, but a true evolution in how we approach the metaverse.
Let's break down the staggering difference in cost between launching an educational venture in Alife Virtual versus a platform like Second Life.
| Feature / Cost | Alife Virtual | Second Life (Typical Costs) |
|---|---|---|
| Private Island (Region) (Essential for a dedicated campus) |
$0.00 / month (Every user gets a FREE 65,536 sqm private island, for one month.) |
~$300.00 / month (Plus a setup fee of ~$1,000 for new regions.) |
| Content Uploads (Textures for slides, mesh models, sounds) |
$0.00 (Unlimited FREE uploads for textures, mesh, animations, and sounds.) |
L$10 (~$0.04) per upload (This adds up quickly when creating course materials.) |
| Classroom Assets (Chairs, presentation boards, interactive tools) |
$0.00+ (Build your own for free or acquire from our freebie-rich community.) |
$10.00 - $200.00+ (Purchased from the marketplace; costs can be significant.) |
| Total Estimated First Month Cost | $0.00 | $310 - $1500+ |
The conclusion is undeniable. Alife Virtual empowers you to launch a professional-grade educational program with zero financial risk, allowing you to focus entirely on what matters: creating and delivering exceptional content.
What You Will Learn
By the end of this masterclass, you will be equipped with the knowledge and confidence to:
- Develop a complete course syllabus and curriculum for a virtual world environment.
- Design and build an effective, engaging virtual classroom on your free private island.
- Create interactive teaching aids using basic prims, textures, and notecards.
- Master in-world class delivery, including voice/text management and student engagement techniques.
- Promote your classes effectively within the Alife Virtual community to build your reputation as a trusted instructor.
Prerequisites
This is an intermediate-level class. Before you begin, you should be comfortable with the following:
- Alife Virtual Basics: You have completed the introductory tutorials and are familiar with movement, communication (local chat, IM), and managing your inventory.
- Firestorm Viewer Proficiency: You are comfortable navigating the UI of the Firestorm viewer, including camera controls, the build menu, and appearance editing.
- Basic Building Skills: You know how to
reza prim, change its parameters (size, shape, texture), and link objects together. - A Passion to Share: You have a skill, hobby, or area of expertise you are enthusiastic about teaching to others. No topic is too big or too small!
Your Path to Becoming an Instructor: A Step-by-Step Guide
Follow these five phases to systematically build your teaching practice from the ground up.
Phase 1: Conceptualize Your Course
Every great class begins with a solid plan. Don't just jump into building; take the time to architect your educational experience.
- Identify Your Niche: What are you passionate about? What knowledge do you possess that others might value? This could be anything from
LSL scriptingfor beginners, advanced texturing techniques, in-world photography, creative writing, or even real-world skills like meditation or a new language. - Define Your Audience: Who are you teaching? Beginners who need hand-holding? Intermediate users looking to level up? Experts seeking advanced discussion? Defining your audience dictates the complexity, pace, and tone of your class.
- Structure Your Curriculum:
- Workshop (Single Session): Ideal for a focused topic, e.g., "Introduction to Windlight Settings." Typically 60-90 minutes.
- Course (Multi-Session): Perfect for complex subjects, e.g., "Mesh Clothing Creation 101." Spread over several weeks, with each session building on the last.
- Draft Your Syllabus: This is your contract with your students. A good syllabus should include:
- Course Title & Your Instructor Name
- A brief, compelling course description
- Clear learning objectives (e.g., "Students will be able to create a 10-prim sculpted chair.")
- A session-by-session breakdown of topics
- Any "homework" or materials students need to prepare
- Your contact information or preferred method of communication
Phase 2: Construct Your Virtual Classroom
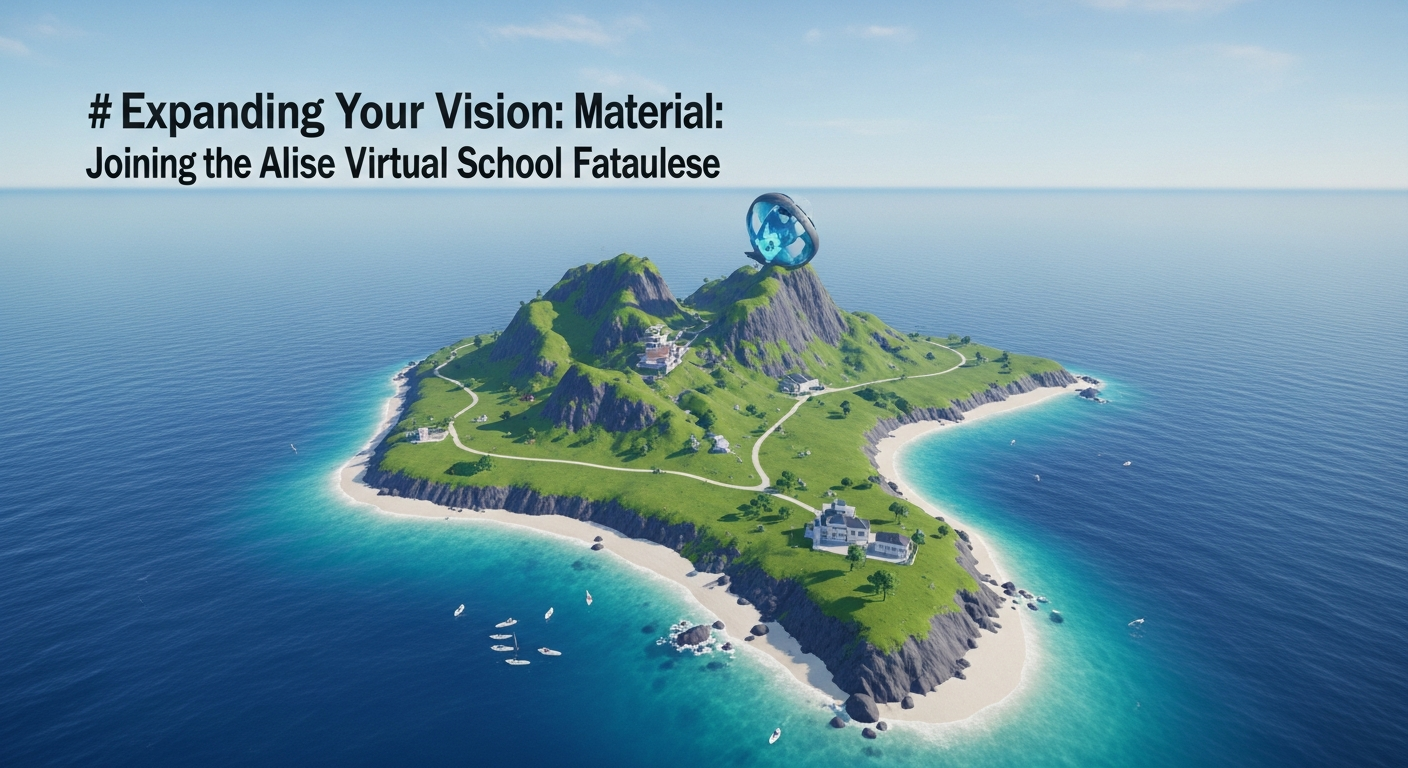
Your teaching space is more than just a location; it's an integral part of the learning experience. Thanks to your FREE Private Island, you have a 65,536 sqm canvas to work with.
- Select a Location: Teleport to your private island. Find a flat, open area to build. Consider setting a custom Windlight (environment setting) that is bright and clear to ensure good visibility.
- Design for Learning:
- Layout: A tiered amphitheater or semi-circle layout ensures everyone can see the instructor and presentation area. Avoid long, narrow rooms.
- Seating: Rez simple prims or use freebie chairs with built-in sit animations. Ensure there is enough space between avatars to prevent clipping and visual clutter. Use poseballs or scripts that sit avatars facing forward.
- Presentation Area: Create a focal point. This is where you will stand and where your primary teaching aids will be. A simple stage or marked area works well.
- Build Essential Tools:
- Presentation Board: The cornerstone of most virtual classrooms. Create a large, thin prim. You will apply textures to this prim to serve as your "slides." Because Alife Virtual offers free unlimited uploads, you can create and use as many custom slide textures as you need without any cost.
- Notecard Giver: Create a small, clickable object (e.g., a book or a sign). Place your syllabus notecard and any other handouts into its
Contentstab. Set the object's properties toTouchand use a simple script that gives the notecard to the student who clicks it. - Teleport Hub (Optional): For larger builds or multi-part classes, a simple prim scripted to teleport students to different locations on your island can be invaluable.
Pro Tip: The "Back Row" Test
Always test your classroom from the student's perspective. Sit in the furthest chair from the presentation area. Can you clearly read the text on your presentation board? Is your avatar visible? If not, you need to increase the size of your text and visual aids. Legibility is paramount.
Phase 3: Develop Engaging Content
A boring lecture is a boring lecture, whether it's in a physical room or a metaverse. Your goal is to leverage the unique capabilities of the virtual environment to create an interactive and memorable class.
- Create Your "Slides": Use a program like Canva, GIMP, or Photoshop to create your presentation slides as images (e.g., 1024x512 JPG or PNG). Keep them simple: use large, sans-serif fonts, high-contrast colors, and more visuals than text. Upload them to Alife Virtual for free. To display a slide, simply edit your presentation board prim and apply the corresponding texture.
- Incorporate Interactivity:
- Show, Don't Just Tell: If you're teaching building,
rezobjects live in front of the class. If you're teaching scripting, have a demonstration object students can see and touch. - Hands-On Segments: Give students a task to complete during the class. For example, provide them with a set of prims and ask them to replicate a simple build you've just demonstrated.
- Use Notecards for Key Info: Don't cram your slides with code or long instructions. Put detailed information in a notecard that students can take and review later.
- Show, Don't Just Tell: If you're teaching building,
- Prepare for Voice and Text: Decide on your primary mode of delivery. Voice is more personal and faster, but not all users may have it enabled or feel comfortable using it. A good strategy is to deliver the main lecture via voice and encourage students to ask questions in the local text chat. This allows you to answer questions without interrupting your flow.
Phase 4: Master In-World Delivery
The day of your class has arrived. Your success now hinges on your ability to manage the environment and your audience effectively.
- Arrive Early: Be at your classroom at least 15-20 minutes before the scheduled start time. This gives you time to
rezyour materials, check that everything is working, and greet early arrivals. - Set the Ground Rules: At the beginning of the class, briefly explain the rules. For example: "Welcome everyone! This class will be taught using voice. Please keep your questions in text chat, and I will pause periodically to answer them. Please also be mindful of your scripts and avatar complexity to reduce lag for everyone."
- Manage the Classroom:
- Local Chat: Keep the local chat window open on your screen at all times to monitor questions.
- Voice Control: If you are using voice, ensure you are in a quiet physical location with a good quality microphone. Speak clearly and at a moderate pace.
- Dealing with Distractions: If a student is being disruptive (spamming chat, griefing), you have moderation tools. As the owner of the land, you can mute, eject, or ban them from your island. Use these tools as a last resort, but don't be afraid to maintain a positive learning environment.
Common Mistake: Ignoring Technical Glitches
Residents will crash. Textures will be slow to rez. It's a fact of life in any virtual world. Don't panic. Acknowledge the issue ("I see a few people are having trouble seeing the texture, I'll give it a moment to load") and have a backup plan. For example, have your slide content also available in a notecard. Your calm response will keep your students calm.
Phase 5: Market Your Class and Build Your Reputation
You can have the best class in the world, but it's useless if no one knows about it. Promotion is key.
- Get Listed: Contact the Alife Virtual School administration to have your class officially listed on the school's calendar and information boards. Provide your well-written syllabus.
- Use In-World Groups: Join relevant special interest groups in Alife Virtual. If you're teaching scripting, announce your class in scripting groups. Share your announcement respectfully and according to group rules.
- Leverage Your Network: Tell your friends and contacts about your upcoming class. Word-of-mouth is incredibly powerful in a community-driven free 3D world.
- Be Consistent: Offer your class regularly. The more you teach, the more your reputation will grow. Consider developing a "brand" for your classes with consistent visual themes and quality.
- Collect Feedback: At the end of your class, ask students for feedback. What did they like? What could be improved? Use this information to refine your teaching for the next session.
Advanced Applications: The Next Level of Virtual Education
Once you've mastered the basics, you can explore more sophisticated educational tools and methods that truly push the boundaries of the metaverse.
- Self-Paced Learning Environments: Use
LSL scriptingto create interactive tutorials. Imagine a "holodeck" where a student pushes a button to start a simulation, with scripted instructions guiding them through a task. This is a powerful feature of theOpen Simulatorplatform on which Alife is built. - Monetize Your Expertise: While classes at Alife Virtual School are free, you can still participate in the virtual economy. Package your advanced course materials, tools, or scripted objects and sell them on the marketplace or from a vendor on your island. Offer personalized, one-on-one tutoring for a fee (or donation).
- Build a Themed Campus: Your FREE Private Island is large enough to build an entire campus. Create separate "buildings" for different subjects, a library for resources, and a social area for students to gather before and after class. This creates a deeply immersive and persistent learning community.
Practice Exercise: Your First Teaching Object
It's time to put theory into practice. This exercise will walk you through creating your very first teaching aid.
- Task: Create a syllabus and a presentation board for a 60-minute workshop on a topic you love.
- Step 1 (Syllabus): Open a new notecard in your inventory. Write a simple syllabus for your dream workshop. Include a title, a 2-3 sentence description, and 3 learning objectives. Name the notecard "[Your Workshop Title] Syllabus".
- Step 2 (Visual Aid): Using any image editor, create a 1024x1024 pixel image. On this image, type the title of your workshop in large, bold letters. Save it as a JPG.
- Step 3 (Upload): In your Firestorm viewer, go to
Build > Upload > Image (Free). Select the image you just created and upload it. - Step 4 (Assembly): Go to your private island. Rez a cube prim. Stretch it to be large and thin, like a screen (e.g., <8, 0.05, 4> meters).
- Step 5 (Apply Texture): Edit the prim, go to the
Texturetab, click the texture box, and select the title image you uploaded. Your presentation board is now complete!
Congratulations! You have just created the foundational elements of your first virtual class.
Frequently Asked Questions (FAQ)
- 1. Do I really need to know
LSL scriptingto teach a class? - Absolutely not. You can teach a highly effective class using only pre-made tools, textures, and notecards. Scripting only becomes necessary if you want to create custom interactive objects, but it is not a prerequisite for becoming a great instructor.
- 2. How do I get paid for teaching in Alife Virtual?
- The core philosophy of Alife Virtual School is free education. However, many instructors establish a presence in the virtual economy by setting up a donation box in their classroom or by selling advanced, optional course materials (like scripted tools, detailed project files, or full-permission textures) from a vendor on their land.
- 3. What is the best way to handle a disruptive student (a "griefer")?
- First, give a public warning in local chat. If the behavior continues, right-click their avatar and select
More > Mute. This will block their text and voice for you. As the landowner, you also have the power to eject them from your parcel (World > Parcel Details > Accesstab) or ban them entirely. - 4. Can I use my educational content from Second Life in Alife Virtual?
- Alife Virtual is an
Open Simulator-based grid, which shares a technical foundation with Second Life. However, you must own the intellectual property rights to the content. If you created the textures, mesh models, and scripts yourself, you can generally bring them over. You absolutely cannot bring over content you purchased from other creators in Second Life unless you have their explicit permission to use it on another grid. - 5. How do I get my class officially listed by Alife Virtual School?
- Once you have your syllabus and classroom prepared, contact an Alife Virtual School administrator or visit the main school campus in-world. There will be an application process or a designated staff member who can review your course material and get you on the official schedule.
Your Journey Starts Now
You now hold the roadmap to becoming a respected and effective educator in the metaverse. The barriers have been removed. The tools are in your hands. The cost is zero. All that's required is your passion and your willingness to share it. By becoming an instructor, you do more than teach a skill—you build a community, enrich our shared culture, and help shape the future of Alife Virtual as the premier destination for creativity and learning.
Don't wait to make your mark. Join Alife Virtual today, claim your free professional avatar and your for one month-free private island, and start building the classroom of your dreams. We can't wait to see what you'll teach.
🎓 Ready to Practice In-World?
Get your FREE island and practice everything you just learned — no credit card, no monthly fees.
Claim Your Free Island Now →No credit card required · Takes 2 minutes · Your island is FREE for one month