Alife Virtual School - Class 48: Creating Custom Animations in Blender
Creating Custom Animations in Blender — Free class in Alife Virtual School
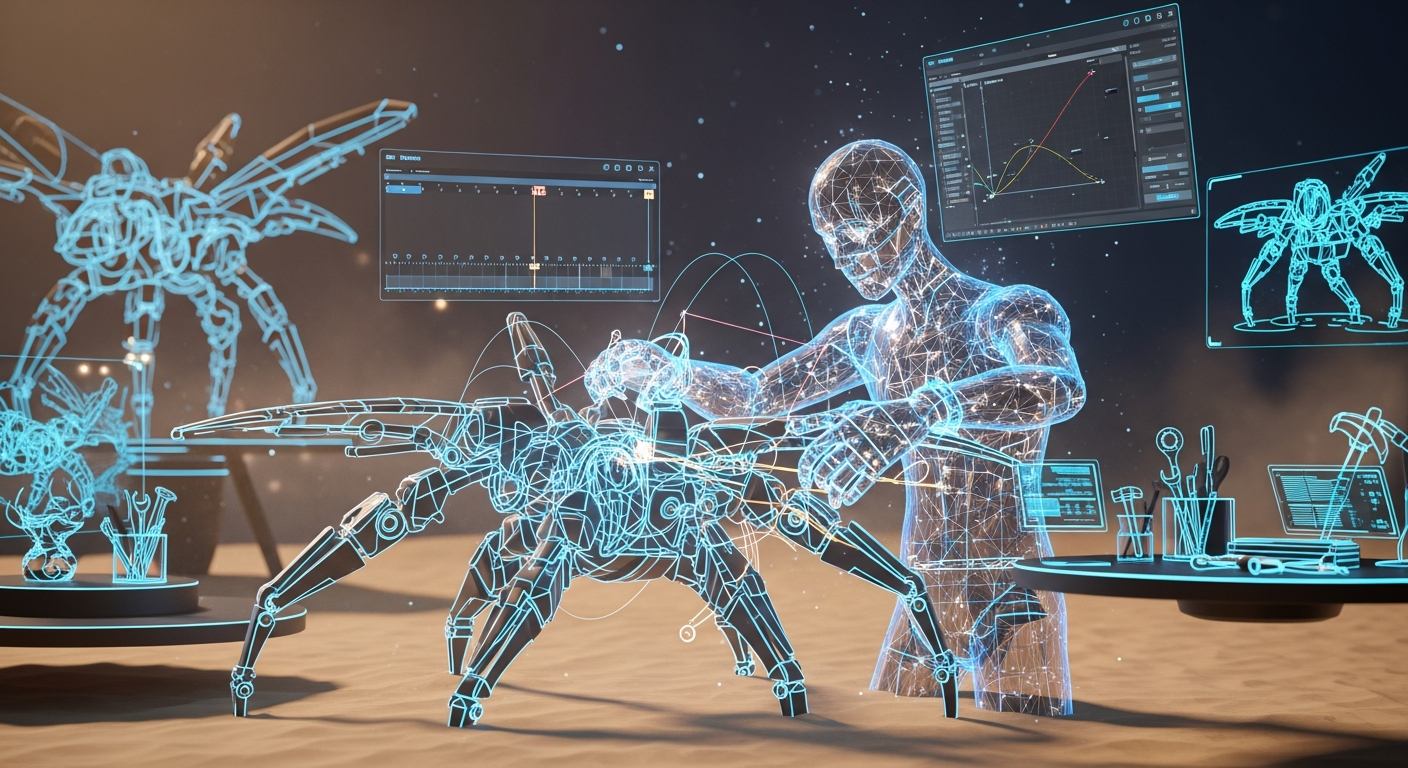
Welcome, creators, to one of the most transformative workshops offered at Alife Virtual School. Have you ever dreamed of giving your avatar a unique personality, a signature dance, or a custom gesture that sets you apart in the metaverse? Today, you will learn how. This class, Creating Custom Animations in Blender, is your master key to unlocking a new level of expression and interactivity. We will guide you through the entire professional pipeline: building custom avatar animations from scratch in the powerful, free software Blender; exporting them correctly; uploading them for free to Alife Virtual; and using basic LSL scripting to bring them to life inside in-world objects. This skill is not just about making your avatar move; it's about breathing life into your virtual identity and creating dynamic experiences for everyone in our thriving free 3D world.
The Alife Advantage: Create Without Cost
In other virtual worlds, the path of an animator is paved with fees. Every upload, every texture, and especially the land required to build and showcase your work, comes at a price. This creates a barrier to entry that stifles creativity. Alife Virtual was built on a different philosophy: a 100% free economy where your imagination is the only currency. Let's compare the real-world cost of being an animator in Alife Virtual versus a platform like Second Life.
| Feature / Cost | Alife Virtual | Second Life (Competitor) |
|---|---|---|
| Animation Upload Fee | $0 (Free & Unlimited) | L$10 per upload (adds up significantly for iterative work) |
| Personal Workshop/Store Space | FREE 65,536 sqm Private Island | Requires land purchase or monthly "tier" fees (e.g., ~$300/mo for a full region) |
| Mesh & Texture Uploads | $0 (Free & Unlimited) | L$10+ per upload, depending on mesh complexity |
| Total Cost to Start | $0 | High, with recurring monthly costs |
As you can see, Alife Virtual isn't just a Second Life alternative; it's a creator-centric evolution. We provide the tools and the space, so you can focus on what you do best: creating.
What You Will Learn
By the end of this advanced tutorial, you will have mastered the following objectives:
- Properly configure a Blender environment for Alife Virtual and Open Simulator avatar animation.
- Understand the structure and function of the standard avatar skeleton (
armature). - Create a complete, looping animation from scratch using
keyframingtechniques. - Refine animation timing and flow using Blender's
Dope SheetandGraph Editor. - Export your creation as a
.bvhfile with settings optimized for our virtual world. - Upload your animation to Alife Virtual—for free—and configure its properties.
- Write a basic LSL scripting example to trigger your custom animation from an in-world object.
Prerequisites
This is an advanced class. We assume you have the following tools and foundational knowledge:
- An Alife Virtual account and the Firestorm Viewer. Our world is fully compatible with this popular viewer.
- A recent version of Blender (3.x or newer) installed on your computer.
- Familiarity with the Blender interface: navigating the 3D viewport, switching between modes (
Object Mode,Edit Mode), and manipulating objects. - Basic experience with building and adding scripts to objects in Alife Virtual.
- The Alife Virtual Animation Kit, which includes the standard avatar
.blendfile. (In Alife, you can grab this for free from the Alife Virtual School resource area).
Step-by-Step Tutorial: From Blender to Breathing Life
Let's begin the exciting process of creating your first custom animation. For this tutorial, we will create a simple, elegant "bow" gesture.
Phase 1: Setting Up Your Blender Workspace
- Open the Skeleton File: Launch Blender. Go to
File > Openand navigate to theAlife_Avatar.blendfile from your kit. This file contains the pre-configured avatar mesh and, most importantly, the skeleton, orarmature, that we will be animating. You'll see the free pro mesh avatar that comes standard in Alife. - Meet the Armature: Click on the skeleton lines in the viewport. This is the
armatureobject. Go to the Object Data Properties (the green running man icon) in the Properties panel and expand the "Viewport Display" section. Check the "In Front" box. This ensures the skeleton is always visible through the avatar mesh, which is crucial for animation. - Enter Pose Mode: With the armature selected, switch from
Object ModetoPose Modeusing the dropdown menu at the top-left of the viewport, or by pressing Ctrl+Tab. The bones will turn blue. InPose Mode, you can rotate, move, and scale individual bones to create poses without permanently altering the armature's rest position. - Prepare your Timeline: At the bottom of the screen is the
Timelineeditor. This is where we'll set our keyframes. For our bow animation, we'll use 60 frames (about 2 seconds at the default 30fps). Set theEndframe value in the timeline to 60.
Pro Tip: Bone Layers
The standard avatar armature has multiple bone layers for different functions (e.g., collision bones, attachment points). For posing, you'll primarily be working with the main deformation bones. In the Object Data Properties for the armature, you can use the bone layer grid to isolate only the bones you need to work with, simplifying your view.
Phase 2: Keyframing the "Bow" Animation
Keyframing is the process of defining a pose at a specific point in time. Blender then automatically calculates the "in-between" frames.
- Set the Starting Pose (Frame 1):
- Ensure the timeline slider is on frame 1.
- The avatar should be in its default standing pose (a T-pose or relaxed A-pose). This is our starting point.
- In
Pose Mode, press A to select all bones. - Press I to bring up the "Insert Keyframe" menu. Select
Location & Rotation. This saves the position and orientation of every bone at frame 1. You'll see yellow diamonds appear in the timeline.
- Create the Bow Pose (Frame 30):
- Drag the timeline slider to frame 30, the midpoint of our animation.
- Select the main spine bones (e.g.,
Torso,Chest,Neck). You can select multiple bones by holding Shift. - Press R to rotate, then X to constrain the rotation to the X-axis (forward/backward). Rotate the bones forward to create a respectful bowing posture.
- You can also slightly rotate the arms to a more natural position during the bow.
- Once you are happy with the pose, press A to select all bones again and press I >
Location & Rotationto set the keyframe for this pose at frame 30.
- Return to the Starting Pose (Frame 60):
- To create a perfect loop or a clean return to neutral, we'll copy our first pose.
- In the
TimelineorDope Sheet, select the keyframes at frame 1. - Press Ctrl+C to copy them.
- Move the timeline slider to frame 60.
- Press Ctrl+V to paste the keyframes.
- Preview Your Animation: Press the Spacebar to play the animation in the viewport. Your avatar should now perform a smooth bow and return to its starting position over 60 frames.
Phase 3: Exporting as a BVH File
The .bvh (Biovision Hierarchy) format is the standard for uploading avatar animations to Alife Virtual and other Open Simulator platforms.
- Select the
armatureobject. It's vital that only the armature is selected. - Go to
File > Export > Motion Capture (.bvh). - The Export BVH panel will appear on the right. These settings are critical for compatibility.
- Under Animation:
- Set
Start Frameto 1 andEnd Frameto 60. - Ensure
Only Keyframesis unchecked so Blender exports the in-between frames.
- Set
- Under Armature:
- Ensure
Root Transform Onlyis unchecked. We need the motion of all bones.
- Ensure
- Under Rotation:
- Change the dropdown from the default to
ZXY Euler. This is the most important step! Second Life and OpenSim grids expect this specific rotation order. Failure to do this will result in twisted limbs.
- Change the dropdown from the default to
- Under Animation:
- Name your file (e.g.,
my_bow_animation.bvh) and click "Export BVH".
Common Mistake: The Floating Avatar
If your avatar floats up or sinks into the ground when the animation plays in-world, it's because you accidentally keyframed the location of the root bone (usually namedHip). For static animations like this, you should only keyframe rotation on most bones. To fix this in Blender, select the root bone, open theGraph Editor, delete its Location F-Curves, and re-export.
Phase 4: Uploading to Alife Virtual
With our .bvh file ready, it's time for the easiest and most rewarding part, thanks to Alife's free creator-focused platform.
- Log into Alife Virtual using your Firestorm Viewer.
- From the top menu, navigate to
Build > Upload > Animation (L$0). Notice the price? It's always free here. - Select the
my_bow_animation.bvhfile you just exported. - The Animation Upload Preview window will appear. Here you can fine-tune the animation's properties before it even enters your inventory.
- Priority: This determines which animation plays if multiple are triggered at once. A standard gesture might be
3or4. Higher numbers override lower numbers. AOs (Animation Overriders) usually use priorities 1-3. - Loop: Check this box if you want the animation to repeat endlessly (like a dance). For our bow, we'll leave it unchecked.
- In / Out Points: You can trim the start and end of the animation here.
- Ease In / Out: Smooths the transition into and out of the animation. A value of 0.5 to 1.0 seconds is usually good.
- Priority: This determines which animation plays if multiple are triggered at once. A standard gesture might be
- Give your animation a descriptive name in the "Name" field (e.g., "My Custom Bow").
- Click "Upload (L$0)". The animation will appear in your inventory's "Animations" folder.
Phase 5: Scripting Your Animation into an Object
Now, let's create an object that will play our animation when touched.
- Go to your free private island or any build-enabled area.
- Right-click the ground and choose
Create. A wooden cube (aprim) will appear. - Right-click the cube and choose
Edit. - Go to the
Contenttab in the edit window. - Find the "My Custom Bow" animation in your inventory and drag it into the cube's
Contentarea. - Click the
New Scriptbutton. A new script named "New Script" will be created and opened. - Delete all the default code in the script window and paste the following LSL scripting code:
string g_animationName = "My Custom Bow"; // The EXACT name of the animation in this object's inventory

default
{
    touch_start(integer total_number)
    {
        // Get the key of the avatar who touched the object
        key avatarKey = llDetectedKey(0);

        // Request permission from the avatar to run an animation
        llRequestPermissions(avatarKey, PERMISSION_TRIGGER_ANIMATION);
    }

    run_time_permissions(integer permissions)
    {
        // This event fires after the avatar clicks "Yes" or "No" on the permission dialog
        if (permissions & PERMISSION_TRIGGER_ANIMATION)
        {
            // If permission was granted, stop any other animations of the same or lower priority
            llStopAnimation("sit"); // Good practice to stop sits

            // Start our custom animation
            llStartAnimation(g_animationName);

            // Optional: Stop the animation after a duration to prevent it from getting "stuck"
            // Our animation is 2 seconds (60 frames at 30fps)
            llSetTimerEvent(2.1);
        }
    }

    timer()
    {
        // Stop the animation and turn off the timer
        llStopAnimation(g_animationName);
        llSetTimerEvent(0);
    }
}
- Change the
g_animationNamevariable at the top to match the exact name of your animation if you named it differently. Case matters! - Click
Save. The script will compile. - Exit Edit mode. Now, click your cube. A dialog will pop up asking for permission to animate your avatar. Click "Yes," and you will perform your custom bow!
Advanced Applications
Mastering this workflow opens up a universe of creative possibilities that form the backbone of the virtual economy and social experience:
- Custom Animation Overriders (AOs): Replace the default walks, sits, and stands with your own unique set of animations for a completely personalized avatar.
- Interactive Furniture: Create chairs, beds, and loungers with custom, high-quality poses that users can access on touch.
- Dance Systems: Build complex, synchronized dance sequences and sell or share them with others.
- Roleplaying & Performance Art: Create specific gestures, actions, and emotes for storytelling and theatrical productions in the metaverse.
Practice Exercise
Your assignment is to solidify your new skills. Create a 5-second "cheer" animation. It should start from a neutral pose, have your avatar raise both arms into the air triumphantly, hold the pose for a moment, and then return to the starting pose. Export it, upload it, and script it into a "Cheer Button" prim on your free island. This will test your ability to work with multiple limbs and create a non-looping, expressive gesture.
Frequently Asked Questions (FAQ)
- Q: Do I need the expensive Avastar plugin for Blender?
- A: No. While Avastar is a fantastic tool that streamlines this process, everything covered in this tutorial can be accomplished using the free skeleton files provided by Alife Virtual and the native tools within Blender. We believe in providing a no-cost path to high-level creation.
- Q: My animation priority is too low and my AO keeps overriding it. How do I fix this?
- A: When you upload the
.bvhfile, you must set a higherPriorityin the upload preview window. AOs typically use priorities 1-3. For a gesture you want to see, set its priority to 4. For a forced action (like sitting on a chair), you might even use priority 5 or 6. - Q: Can I sell the animations I make in Alife Virtual?
- A: Absolutely! The Alife Virtual virtual economy is designed for creators. You can set up a shop on your free island, list your animations on the marketplace (when available), or trade directly with other residents. Since there are no upload fees or land tiers, 100% of your effort translates into value for you and the community.
- Q: Why does my animation look twisted or broken in-world but fine in Blender?
- A: This is almost always caused by incorrect export settings. 99% of the time, the issue is forgetting to set the
Rotationmode toZXY Eulerin the BVH export panel. Double-check your export settings and re-upload the file.
Your Creative Journey Starts Now
You now possess the knowledge to create truly custom, expressive avatar animations—a skill that places you in the top tier of virtual world creators. You've seen how the professional pipeline works and, more importantly, how Alife Virtual removes the financial barriers that hold creators back on other platforms.
Ready to build your dream in a metaverse that puts you first? A world with no upload fees, no land costs, and unlimited potential is waiting.
🎓 Ready to Practice In-World?
Get your FREE island and practice everything you just learned — no credit card, no monthly fees.
Claim Your Free Island Now →No credit card required · Takes 2 minutes · Your island is FREE for one month