CLASS 61: Creating Custom Mesh Heads and HUDs
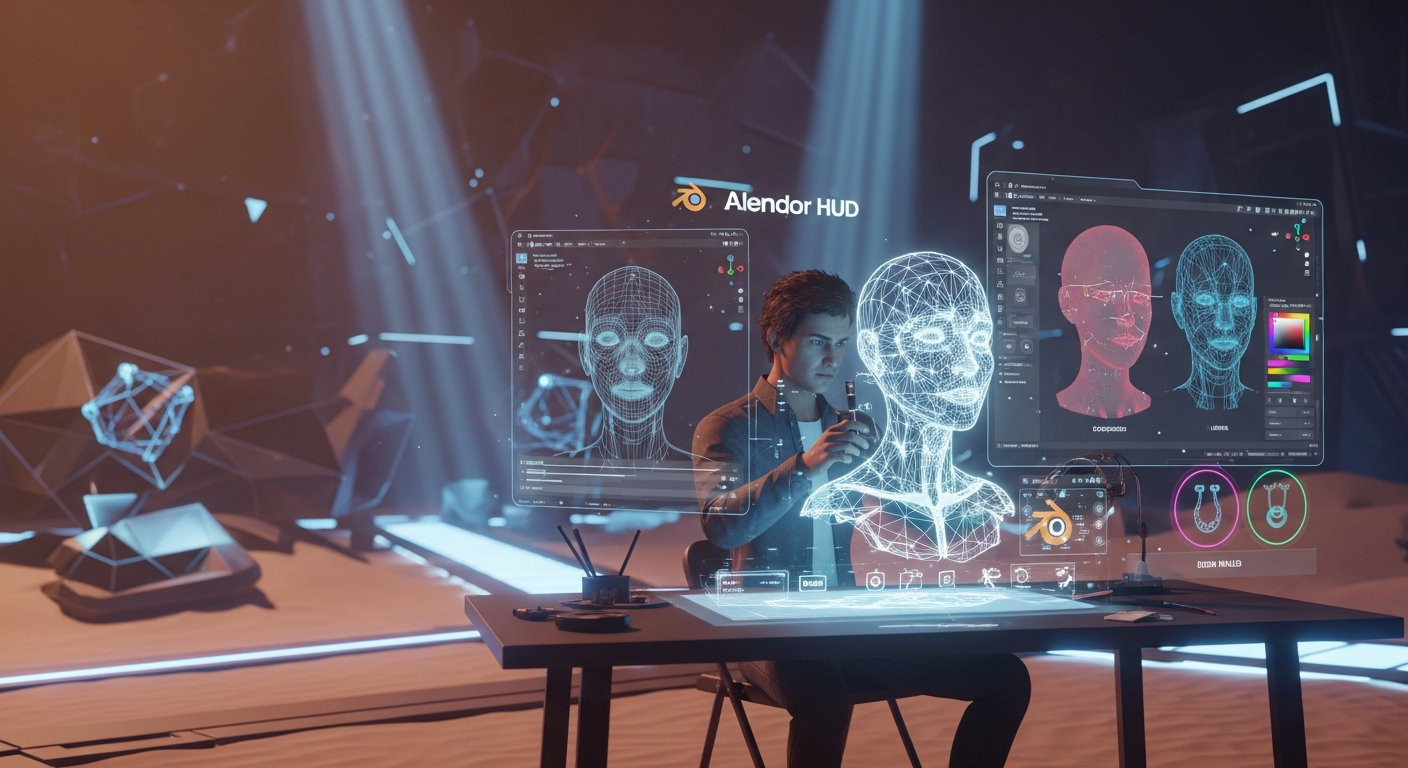
Creating Custom Mesh Heads and HUDs — Free class in Alife Virtual School
Welcome, creators, to one of the most rewarding and technically profound disciplines in avatar development. In the sprawling digital landscape of the metaverse, your avatar is your identity. While many are content with off-the-shelf looks, true pioneers forge their own. This masterclass is your blueprint for doing just that by Creating Custom Mesh Heads and HUDs from scratch. You will learn the complete pipeline, from a simple sphere in Blender to a fully functional, scripted head in Alife Virtual, the free 3D world that champions creator freedom. This skill is the pinnacle of personal expression, allowing you to craft a unique face for yourself or to build a powerful brand within Alife’s burgeoning virtual economy.
The Alife Advantage: Zero-Cost Creation in a Thriving Virtual Economy
Before we dive into the technical details, it's crucial to understand why learning this skill in Alife Virtual is a game-changer. In other platforms, the financial barrier to entry for high-level creation is immense. In Alife, it's non-existent. We believe creativity shouldn't come with a price tag. This philosophy makes Alife Virtual the ultimate sandbox and the best Second Life alternative for aspiring and professional creators.
Let's compare the costs for a project of this magnitude:
| Feature/Cost | Alife Virtual | Other Platforms (e.g., Second Life) |
|---|---|---|
| Private Island (for a workshop/store) | FREE (65,536 sqm Full Region) | ~$300 USD per month |
| Mesh Upload Fees | FREE & UNLIMITED | Fee per upload (e.g., L$10+), dependent on complexity |
| Texture Upload Fees (Skins, etc.) | FREE & UNLIMITED | Fee per upload (e.g., L$10) |
| Total Project Cost | $0.00 | Hundreds of dollars in fees and land costs |
With FREE unlimited uploads and a FREE private island from day one, you can experiment, make mistakes, and perfect your product without ever reaching for your wallet. This is the foundation of Alife's 100% free economy.
What You Will Learn in This Masterclass
This tutorial is a deep dive. By the end, you will have mastered the following objectives:
- Model & Sculpt: Create a unique, high-quality head mesh using Blender's powerful sculpting and modeling tools.
- UV Map & Texture: Professionally unwrap your model and create realistic, multi-layered skin textures.
- Rig & Weight Paint: Bind your head to the Alife Virtual avatar skeleton for seamless movement and rotation.
- Create Shape Keys: Design a suite of facial expressions (morphs) like smiles, blinks, and talk-shapes.
- Build a HUD: Construct a Heads-Up Display (HUD) interface in-world using prims.
- Master LSL Scripting: Write efficient LSL scripting to connect your HUD to the head, controlling expressions, skin tones, and toggling attachments.
Prerequisites: Skills and Tools You'll Need
This is an advanced class. We assume you have the following foundation:
- Software:
- Blender (Version 3.0 or newer recommended).
- A 2D image editor like GIMP (free), Krita (free), or Adobe Photoshop.
- The Firestorm Viewer, fully compatible with Alife Virtual.
- Skills:
- Intermediate knowledge of Blender: You should be comfortable with navigation, basic modeling, modifiers, and UV unwrapping.
- Basic understanding of LSL scripting concepts (variables, events, functions). Alife Virtual School Class 25 is a great primer.
- Familiarity with the build/edit tools within the Firestorm viewer.
- Assets:
- The Alife Virtual Avatar Skeleton files (
.daeand.fbx), available for free on the Alife Virtual resources website. We will use this for rigging.
- The Alife Virtual Avatar Skeleton files (
Part 1: Sculpting and Modeling Your Head in Blender
The journey begins with a digital lump of clay. Our goal is a clean, animatable mesh.
- Setting Up Your Blender Scene: Import the Alife avatar skeleton file (
File > Import > Collada (.dae)). This provides the crucial scale and neck attachment reference. Lock the armature object so you don't move it by accident. - Base Mesh Creation: Add a UV sphere (
Shift + A > Mesh > UV Sphere). Position it roughly where the head should be. Add aSubdivision Surfacemodifier to smooth it out and aMirrormodifier (with Bisect and Clipping enabled) to work symmetrically. - Blocking and Sculpting: Tab into
Sculpt Mode. Use theGrabbrush (G) with a large radius to pull the sphere into a basic head/jaw shape. Use theClay Stripsbrush to build up forms for the cheeks, brow, and nose. Use theCreasebrush (holdingCtrlto pinch) to define the lips and eyelids. Constantly rotate your view to check proportions from all angles. - Retopology for Animation: Your high-poly sculpt is a guide, not the final product. It has messy geometry unsuitable for animation. We must build a clean "skin" over it.
- Create a new mesh object (e.g., a plane).
- Add a
Shrinkwrapmodifier to it, targeting your high-poly sculpt. - In Edit Mode, with face snapping enabled, start extruding edges and vertices over the sculpt's surface, creating clean quad-based edge loops that flow around the eyes, mouth, and facial muscles. This is the most critical and time-consuming modeling step. Aim for a final polycount between 8,000 and 15,000 triangles for good performance.
Part 2: UV Unwrapping and Texturing
A great model with bad UVs is a wasted effort. This step maps the 3D surface onto a 2D plane for texturing.
- Marking Seams: In Edit Mode, select edges where you want the texture to be "cut." Hide these seams in inconspicuous places: down the back of the head, inside the mouth, around the inner eye sockets. Select an edge loop and press
Ctrl + E > Mark Seam. - Unwrapping: Select all faces (
A) and pressU > Unwrap. In the UV Editor window, you'll see your flattened mesh. Organize the islands to maximize texture space. Pin vertices (P) and re-unwrap selected parts to fix stretching. - Creating the Texture: Export the UV Layout (
UV > Export UV Layout) as a.png. Open this in GIMP or Photoshop. This is your guide. Create new layers underneath it to paint your skin texture. Start with a base color, add subtle mottling and color variation, then paint details like eyebrows, lips, and light makeup. Save the final texture as a high-quality.pngfile.
Part 3: Rigging and Weight Painting
Here, we bind the mesh to the skeleton so it can be animated.
- Parenting the Mesh: Select your retopologized head mesh, then
Shift-selectthe armature object. PressCtrl + Pand chooseArmature Deform > With Empty Groups. This assigns the mesh to the skeleton but with zero influence from any bone. - Assigning Vertex Groups: Go to the
Object Data Propertiestab (the green triangle) for your head mesh. You'll see a list of vertex groups matching the bone names. In Edit Mode, select all vertices of your head (excluding the neck) and, with themHeadvertex group selected in the list, click theAssignbutton. - Weight Painting the Neck: This is what separates a good head from a great one.
- Select the armature, go to
Pose Mode, and rotate themHeadbone to see the harsh break at the neck. - Select your head mesh and switch to
Weight Paint Mode. - Select the
mNeckbone's vertex group. With a soft, low-weight brush, paint influence onto the lowest edge loops of the head's neck. - Switch between the
mHeadandmNeckgroups, using theBlurbrush in the tool shelf to blend the weights smoothly. The goal is a gradual transition of color (influence) from red (100%mHead) to blue (0%mHead) down the neck. Keep testing the rotation in Pose Mode until the deformation is smooth.
- Select the armature, go to
Pro Tip: Incorrect WeightingA stiff, robotic neck is the most common sign of an amateur rig. Spend the majority of your rigging time perfecting the blend between the
mHeadandmNeckbones. Use Blender's "Auto-Normalize" feature to ensure weights on any single vertex never add up to more than 1.0.
Part 4: Creating Expressions with Shape Keys
Shape Keys (or morphs) are snapshots of different vertex positions. We use them for all facial animation.
- The Basis Shape Key: In the
Object Data Propertiestab, find theShape Keyspanel. Click the+button once to create theBasiskey. This is the default, neutral expression and cannot be altered. - Creating New Keys: Click the
+button again to create a new key. Name it descriptively, e.g.,Smile_Left,Blink_Right,Jaw_Open. - Sculpting the Expression: Select the new shape key. With its value set to 1.0, tab into
Sculpt Mode. Use theGraborElastic Deformbrushes to modify the mesh. ForSmile_Left, pull the left corner of the mouth up and back. ForBlink_Right, pull the upper eyelid vertices down to meet the lower ones. The changes you make are only saved to this specific shape key. - Symmetry and Combining: Create symmetrical expressions first (e.g.,
Smile), then use theNew shape from mixoption to create a new key, and then use a Mirror operation on that key to create left/right variants. This ensures perfect symmetry.
Part 5: Exporting and Uploading to Alife Virtual
With our asset complete in Blender, it's time to bring it into the open simulator environment of Alife Virtual.
- Blender Export Settings: Select both your head mesh and the armature. Go to
File > Export > Collada (Default) (.dae). In the export options on the right, use these critical settings:- Main: Check
Selection Only. - Geom: Check
Apply Modifiers. - Armature: Check
Deform Bones Only.
- Main: Check
- Uploading to Alife: In the Firestorm viewer, go to
Build > Upload > Mesh Model...and select your.daefile.- In the upload window, give your head a name.
- On the "Rigging" tab, you MUST check
Include skin weightsandInclude joint positions. - The uploader will automatically detect your shape keys. You don't need to do anything on the "Morphs" tab.
- Click
Calculate weights & fee(which will be $0), thenUpload. Your new head is now in your inventory!
Part 6: Building the Control HUD
The HUD is the user's remote control for your head.
- Create the HUD Base: In-world, rez a cube (
prim). In the Edit window (Ctrl+B), go to theObjecttab. UnderAttach to, select a HUD position likeHUD Center 2. ClickWear. The prim will now be attached to your screen. - Design the UI: Rez smaller, flat prims to act as buttons. Position them on the surface of your main HUD prim. Name each button descriptively in the
Generaltab of the Edit window (e.g., "Smile Button", "Skin 1 Button"). This name is how our script will identify it. - Link the Buttons: Select all the button prims first, then
Shift-selectthe main HUD base prim last. PressCtrl+Lto link them into a single object. The base prim must be the "root" prim.
Part 7: LSL Scripting for HUD Functionality
This is where the magic happens. We'll use LSL scripting to make the HUD and head communicate.
- The Communication Channel: We need a private channel. Choose a large, negative random number.
integer CHANNEL = -184729401; - The HUD Script (in the HUD Root Prim): This script listens for clicks and sends commands.
// HUD SCRIPT integer CHANNEL = -184729401; default { touch_start(integer total_number) { // Get the name of the button prim that was clicked string button_name = llGetLinkName(llDetectedLinkNumber(0)); if (button_name == "Smile Button") { llSay(CHANNEL, "SMILE"); } else if (button_name == "Skin 1 Button") { llSay(CHANNEL, "SKIN|fair"); // Use a separator for commands with data } else if (button_name == "Jewelry Toggle") { llSay(CHANNEL, "TOGGLE_EARRINGS"); } } } - The Head Script (in the Mesh Head): This script listens for commands and executes them.
// HEAD SCRIPT
integer CHANNEL = -184729401;
key owner;

// --- Function to handle expressions ---
play_expression(string name, float duration)
{
    // This example plays a "blink" using two shape keys
    if (name == "BLINK") {
        // [key_name, target_value], time_to_reach_target
        llSetKeyframedMotion(["Blink_Left", 1.0, "Blink_Right", 1.0], [0.1]);
        llSleep(0.1);
        llSetKeyframedMotion(["Blink_Left", 0.0, "Blink_Right", 0.0], [0.1]);
    }
    // This example holds a smile for 3 seconds
    if (name == "SMILE") {
        llSetKeyframedMotion(["Smile", 1.0], [0.3]);
        llSleep(3.0);
        llSetKeyframedMotion(["Smile", 0.0], [0.5]);
    }
}

// --- Function to change skin ---
change_skin(string name)
{
    key skin_uuid;
    if (name == "fair") {
        // Get the UUID of your texture from its properties in inventory
        skin_uuid = (key)"...uuid here...";
    } else if (name == "tan") {
        skin_uuid = (key)"...uuid here...";
    }
    // Face 0 is usually the main face of a single-material mesh
    llSetTexture(skin_uuid, 0);
}

default
{
    state_entry()
    {
        owner = llGetOwner();
        llListen(CHANNEL, "", owner, "");
    }

    listen(integer channel, string name, key id, string message)
    {
        list params = llParseString2List(message, ["|"], []);
        string command = llList2String(params, 0);

        if (command == "SMILE")
        {
            play_expression("SMILE", 3.0);
        }
        else if (command == "SKIN")
        {
            string skin_name = llList2String(params, 1);
            change_skin(skin_name);
        }
        else if (command == "TOGGLE_EARRINGS")
        {
            // Assuming your earring is prim link number 2
            // Get current alpha
            float current_alpha = llGetLinkAlpha(2, 0);
            if (current_alpha > 0.5) {
                llSetLinkAlpha(2, 0.0, ALL_SIDES); // Hide
            } else {
                llSetLinkAlpha(2, 1.0, ALL_SIDES); // Show
            }
        }
    }
}
Pro Tip: LSL State ManagementFor a HUD with many pages (Expressions, Skins, Makeup, Options), don't use one giant
if/elseblock. Use LSLstates. Create astate expressions_pageand astate skins_page. When a user clicks the "Skins" tab on the HUD, both the HUD and head scripts should enter their respective "skins" state, which only listens for and processes skin-related commands. This is far more efficient.
Beyond the Basics: Advanced Applications
- Bakes on Mesh (BOM): To make your head compatible with system clothing layers (tattoos, makeup), create a separate, dedicated "BOM" version. In the Edit window, under the Texture tab, set the texture to the special "blank" texture UUID and change the "Alpha Mode" to "Alpha Blending". This allows the underlying avatar skin texture to "bake" onto your mesh.
- Materials & PBR: Alife Virtual supports materials. You can create normal and specular maps for your skin in Blender or a tool like Materialize. Upload them (for free!), and use
llSetLinkPrimitiveParamsFastwith thePRIM_NORMALandPRIM_SPECULARflags to apply them. This will give your skin realistic depth and shine under advanced lighting. - Audio-Driven Lip Sync: For the ultimate feature, an advanced scripter could use an in-world microphone device that uses
llGetSoundLevelor an external web service to measure voice input and trigger corresponding mouth shape keys (likeJaw_Open,OO,EE) in real-time.
Your Assignment: The "Three Expressions" Challenge
Now it's your turn to apply what you've learned.
- Follow the tutorial to model, rig, and upload a basic custom head.
- In Blender, create three distinct shape keys: Happy, Sad, and Surprised.
- Build a HUD with three buttons, one for each expression.
- Script the HUD and head so that clicking a button plays the corresponding expression for 4 seconds before returning to neutral.
- Bonus: Link a small sphere prim to your head as an "earring" and add a fourth button to your HUD that toggles its visibility using
llSetLinkAlpha.
Frequently Asked Questions (FAQ)
- Why do my head and body have a visible seam at the neck?
- This is usually caused by one of three things: 1) The skin tone on your head texture doesn't perfectly match your body's skin tone. 2) Your neck weight painting isn't smooth enough. 3) The world's lighting (Windlight) is creating different shadows on the head versus the body. Many creators sell "neck blender" attachments that use a semi-transparent texture to hide the seam.
- Can I sell the heads I make in Alife Virtual?
- Absolutely! Alife's 100% free economy means you can set up a shop on your free private island and sell your creations with zero commission or listing fees. What you earn is yours to keep. This is the perfect environment to launch a successful virtual business.
- My mesh uploaded looking spiky and distorted. What happened?
- This is almost always a Collada (
.dae) export error. Go back to Blender and double-check your export settings. The most common culprits are failing to check "Selection Only" (exporting lights/cameras), or forgetting to check "Include skin weights" in the Alife uploader. Also ensure no modifiers (like Subdivision Surface) are still active; they should be applied before exporting. - How many shape keys can I have on my head?
- While the technical limit in the Open Simulator platform is high, performance is key. Each shape key adds data to the mesh. For a high-performance, game-ready avatar head, aim for 20-40 core shape keys that can be combined to create a wide range of expressions. Avoid creating hundreds of single-purpose keys.
Ready to Build Your Digital Identity? Join Alife Virtual Today!
You now possess the knowledge to become an elite creator in the metaverse. You've seen how Alife Virtual removes the financial barriers that stifle creativity on other platforms. There are no monthly land fees. There are no upload costs. There is only your imagination and a world waiting for you to build it.
Stop paying to create. Start your journey in a world that invests in you. Download the Firestorm Viewer, log in to Alife Virtual, and instantly claim your free 65,536 sqm private island. The tools are free, the land is free, and your potential is limitless. Your legacy in the next-generation free 3D world begins now.
Visit alifevirtual.com to get started!
🎓 Ready to Practice In-World?
Get your FREE island and practice everything you just learned — no credit card, no monthly fees.
Claim Your Free Island Now →No credit card required · Takes 2 minutes · Your island is FREE for one month