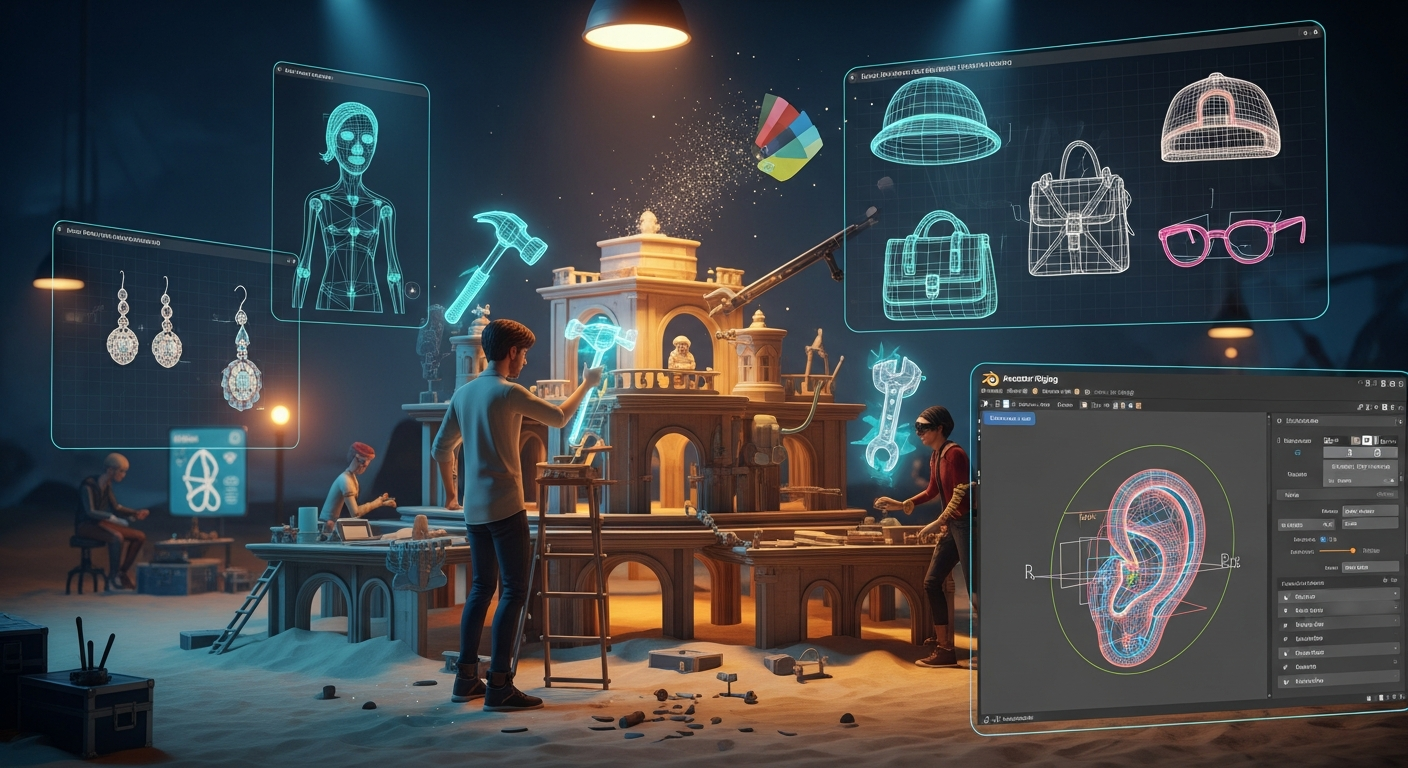
CLASS 21: Creating Wearable Accessories in Blender
Creating Wearable Accessories in Blender — Free class in Alife Virtual School
Welcome to Alife Virtual School! Let's start building your dream.
Have you ever looked at your avatar in Alife Virtual and thought, "This needs a personal touch"? A unique pair of glasses, a stylish handbag, a custom-designed hat that no one else has? That's the magic of creating your own content. It’s how you transform a great avatar into your avatar. In a bustling world with over 1,148,000 members, standing out and expressing your unique style is what it's all about.
This class is your gateway to becoming a content creator. We're going to dive into one of the most rewarding skills you can learn: designing and rigging wearable accessories in Blender. Rigging is the secret sauce that makes an accessory move naturally with your avatar. When your avatar turns their head, you want their earrings to sway realistically, not stay frozen in space. Mastering this skill opens up a universe of creative possibilities, from starting your own in-world fashion brand to simply making amazing, personalized items for you and your friends.
And here’s the best part: in Alife Virtual, your creativity has no limits and no hidden costs. Unlike other platforms like Second Life which charge hefty fees for uploads, Alife Virtual offers completely free mesh, texture, and animation uploads. You can experiment, make mistakes, and perfect your creations as many times as you want without ever paying a cent. Ready to bring your ideas to life? Let's begin.
What You Will Learn
By the end of this intermediate-level tutorial, you will be able to:
- Set up your Blender environment with the Avastar plugin for Alife Virtual development.
- Model a simple, multi-part accessory (we'll use dangling earrings as our example).
- Understand the difference between parenting to a bone and full weight painting.
- "Rig" a static accessory part by parenting it to a single avatar bone (e.g., the head).
- "Rig" a dynamic accessory part by weight painting it to multiple bones for realistic movement.
- Test your rigged accessory's movement directly within Blender.
- Export your creation as a game-ready Collada (.dae) file.
- Import your accessory into Alife Virtual for free and wear it on your avatar.
Prerequisites
This is an intermediate class. We'll assume you have some basic knowledge and tools already. Before you start, please make sure you have the following:
- Basic Blender Knowledge: You should be comfortable with Blender's interface, including navigating the 3D viewport (orbit, pan, zoom), basic object manipulation (move, rotate, scale), and entering/exiting Edit Mode. Our beginner Blender classes can get you up to speed if you're new!
- Blender: The latest stable version of Blender (a powerful, free 3D creation suite).
- Avastar Plugin for Blender: Avastar is an essential (paid) add-on for creating rigged content for virtual worlds like Alife Virtual and Second Life. It simplifies the rigging process immensely. While this tutorial uses Avastar, the principles of weight painting apply more broadly.
- Alife Virtual Account: If you don't have one, register for free to get started. You'll get your free full-body mesh avatar instantly.
- Firestorm Viewer: This is the recommended viewer for Alife Virtual. Since it's the same viewer used for Second Life, all your skills are 100% transferable between worlds.
Tutorial: Crafting and Rigging Your First Pair of Earrings
Let's get hands-on. We will create a pair of earrings with a stud (the static part) and a dangling chain/gem (the dynamic part). This project is perfect for learning both simple parenting and more complex weight painting.
Step 1: Setting Up Your Blender Scene
- Open Blender. If you have a default cube, select it (A then X) and delete it.
- In the top menu, go to
Add -> Avastar -> Basic. This will add a fully rigged Avastar character to your scene. This is the model we will build our accessory against. - Select the Avastar armature (the skeleton) and in the Avastar panel on the right (press N if it's hidden), find the "Pose" section. This is where we can test our rig later. For now, leave it in the default T-Pose.
Tip: It's a good idea to work in a separate "Collection" in Blender. In the Outliner (top right), create a new collection and name it "Earrings". This keeps your project organized and makes exporting easier.
Step 2: Modeling the Earring
We'll model one earring on the right side. We can duplicate and mirror it later.
- Create the Stud: Zoom in on the Avastar's right ear. With your 3D cursor placed near the earlobe (
Shift + Right Click), add a simple shape. Let's use a UV Sphere. Go toAdd -> Mesh -> UV Sphere. In the "Add UV Sphere" options (bottom left), reduce the Segments to 16 and Rings to 8. This keeps our model "low poly," which is good for performance. Scale it down (S) and position it to look like a stud on the earlobe. - Create the Dangle: We'll make a simple chain and gem.
- For the chain, add a Torus (
Add -> Mesh -> Torus). Make it very small and thin. Duplicate it (Shift + D) and link a few together to form a short chain hanging from the stud. - For the gem, add a Cylinder (
Add -> Mesh -> Cylinder). In the options, set Vertices to 8. Scale it down, move it to the end of your chain, and in Edit Mode (Tab), select the bottom face and scale it down to a point (S, then 0) to create a simple gem shape.
- For the chain, add a Torus (
- Join the Parts: For rigging purposes, it's best to have the stud and the dangle as separate objects. However, you should join all the parts of the dangle (the chain links and the gem) into one object. Select all the dangle parts, with the last one selected being the "active" one, and press Ctrl + J to join them.
- Name your objects clearly in the Outliner. For example:
Earring_Stud.RandEarring_Dangle.R.
[Screenshot Description: A close-up view of the Avastar avatar's head in Blender. A simple, newly created mesh earring, consisting of a small sphere (the stud) and a few linked rings with a crystal shape at the bottom (the dangle), is positioned on the earlobe.]
Step 3: Parenting the Static Part (The Stud)
The stud should move perfectly with the head, without any sway. The easiest way to achieve this is by parenting it directly to the head bone.
- Select your stud object (
Earring_Stud.R). - Shift-select the Avastar armature (the skeleton).
- Switch to Pose Mode by pressing Ctrl + Tab and selecting "Pose Mode". The bones will turn blue.
- Select only the head bone. It's usually named
mHead. You might need to hide the avatar mesh to see it clearly. - Press Ctrl + P and choose "Bone".
That's it! Your stud is now "rigged". To test it, stay in Pose Mode, select the head bone, and rotate it (R). You'll see the stud follows the head perfectly.
Step 4: Rigging the Dynamic Part with Weight Paint (The Dangle)
This is where the real magic happens. We want the dangle to hang from the head but also have a little bit of its own secondary motion. We do this by "weight painting" it to the Avastar armature.
- Select your dangle object (
Earring_Dangle.R). - Shift-select the Avastar armature.
- Press Ctrl + P and choose "With Automatic Weights". Blender will do its best to guess the weights, but we will need to clean it up.
- With the dangle object still selected, switch to Weight Paint Mode (Ctrl + Tab -> Weight Paint). Your object will turn blue. Blue means a vertex has zero weight from the selected bone. Red means it has 100% weight.
- In the Avastar panel on the right, under "Skinning/Weighting", you'll see a list of bones. We only care about a few. We want the dangle to be influenced primarily by the head, with a tiny bit of influence from the chest to create a subtle sway.
- Select the
mHeadbone in the list. The entire earring should ideally be red. If it's not, set your brush to "Add" and "Weight" to 1.000, then paint the entire dangle red. This means it's now 100% controlled by the head. - Now for the subtle part. Select the
mChestbone. We want to add a *tiny* bit of influence to the very tip of the dangle.- Set your brush weight to something very low, like 0.1.
- Set the brush Strength to around 0.5.
- Gently dab the very bottom vertex/vertices of your gem. It will turn a light shade of green/cyan. This means it will be slightly pulled by the chest's movement, creating a lag or sway when the head turns.
- Go to the "Tools" tab in the Avastar panel and click "Normalize All". This ensures the weights for each vertex add up to 100%, which is crucial.
[Screenshot Description: The earring dangle object is shown in Weight Paint mode. The top of the dangle is bright red, indicating 100% weight from the mHead bone. The color gradually fades down the chain to a light green at the very tip, indicating a small amount of weight from the mChest bone.]
Warning: Be very careful not to accidentally weight your earring to a leg or arm bone! Always check the vertex groups on your object (in the Object Data Properties tab) to see which bones have influence. You can delete any unwanted groups from there.
Step 5: Finalizing and Exporting
- Mirror the Earring: Now that one side is done, select both the stud and the dangle. Add a "Mirror" modifier. Set the Mirror Object to be the Avastar avatar itself. This will create the left earring. Once you're happy, apply the modifier. You'll now have two separate earrings. You may need to separate them into their own objects in Edit Mode (P -> By Loose Parts) and rename them (e.g.,
Earring_Stud.L, etc.). - Apply Transforms: This is a critical step. Select all your earring parts and the Avastar armature. Press Ctrl + A and apply "All Transforms". This resets their scale and rotation values, preventing weird issues upon upload.
- Export: Select all your earring mesh parts and the Avastar armature (and only those things). Go to
File -> Export -> Collada (Avastar) (.dae).- In the export options on the right, use the "Rigged Mesh" preset.
- Make sure "Selection Only" is checked.
- Name your file something descriptive, like
dangling_earrings.dae, and click "Export".
Step 6: Importing to Alife Virtual (For Free!)
This is the moment of truth! Log into Alife Virtual using the Firestorm Viewer.
- Find a place where you can build. The best place is your very own free private island! Every Alife Virtual member gets a massive 65,536 sqm island with 10,000 prims to build on, completely free, for one month. No monthly land fees like the $300/month you'd pay in Second Life. If you haven't yet, claim your free island now!
- Go to the top menu:
Build -> Upload -> Mesh Model... - Select your
dangling_earrings.daefile. The mesh upload window will appear. - Give your item a name (e.g., "My Awesome Earrings").
- In the "Upload options" tab, this is IMPORTANT: check the box that says "Include skin weights". This tells Alife Virtual that your mesh is rigged to the avatar skeleton.
- Click "Calculate weights & fee". You'll see the cost is A$0. That's right, mesh uploads are free in Alife Virtual!
- Click "Upload". The item will appear in your inventory.
[Screenshot Description: The Alife Virtual (Firestorm) mesh upload window. The model of the earrings is visible in the preview pane. The "Include skin weights" checkbox is highlighted, and the upload fee is shown as A$0.]
Step 7: Wear and Admire!
Find the earrings in your inventory, right-click, and choose "Add". They should snap right onto your avatar's head. If the position is slightly off, you can right-click the item in your inventory, choose "Attach To," and select a different attachment point (like "Head" instead of "Skull"). You can also right-click the worn object on your avatar and choose "Edit" to make fine-tune position adjustments.
Walk around, turn your head, and dance! Watch how your newly created earrings sway and move realistically. Congratulations, you've just created a fully rigged wearable accessory!
Common Mistakes and How to Avoid Them
- Forgetting to Apply Transforms: If your accessory imports at a bizarre size or rotation, you probably forgot to press Ctrl + A -> "All Transforms" in Blender before exporting.
- Accessory Floats Away: If your accessory doesn't move with your avatar at all, you likely forgot to check "Include skin weights" during the upload process in Alife Virtual. Re-upload and make sure it's checked.
- Spiky, Deformed Mesh: If parts of your accessory stretch weirdly to your feet or hands when you move, it means a vertex has been accidentally weighted to the wrong bone. Go back to Weight Paint mode in Blender, find the offending bone group, and paint it with a zero-weight brush to remove its influence.
- Exporting the Wrong Things: If the uploader gives an error, you might have exported extra objects (like cameras or lights) or forgotten to include the armature. Remember to select only your mesh and the armature before exporting.
Advanced Tips and Tricks
- Bento and Facial Bones: The Avastar armature includes "Bento" bones, which allow for fine control over hands, wings, and even facial expressions. You can rig glasses to the
mNosebone or even create an animated tail using the tail bones. - Collision Volumes: For more complex accessories like long hair or capes, Avastar provides "Collision Volumes". These are invisible shapes you parent to bones that help your rigged mesh "collide" with the body and prevent it from clipping through as much.
- Scripting Your Accessories: With Alife Virtual's full LSL scripting support (the same language used in Second Life), you can add scripts to your accessories. Create a HUD that changes the texture or color of your earrings, or make a handbag that opens and closes on click.
Practice Exercise
You've learned the theory, now put it into practice! Your assignment is to create a simple wearable hat (like a beanie or a pirate hat).
- Model a simple hat shape in Blender.
- You don't need complex weight painting for a rigid hat. Just parent the entire hat mesh to the
mHeadbone using the Ctrl + P -> "Bone" method we used for the earring stud. - Export and upload it to Alife Virtual.
- Wear it on your free island and take a picture! You're building your portfolio.
Frequently Asked Questions (FAQ)
- 1. What's the real difference between parenting to a bone and weight painting?
- Parenting to a single bone gives 100% of the control to that one bone. It's perfect for rigid objects like a helmet, a ring, or an earring stud. Weight painting allows a single vertex to be influenced by multiple bones. This creates smooth bending and secondary motion, which is essential for things like clothing, long hair, and our dangling earring.
- 2. Why are my accessories floating next to my avatar, not on them?
- This usually happens if you moved the armature in Blender's Object Mode instead of moving the bones in Pose Mode. Always keep your armature at the world origin (0,0,0) and position your accessories relative to the bones in their default T-Pose.
- 3. Can I use a different 3D program like Maya or 3ds Max?
- Yes, the principles of skinning and weight painting are universal in 3D modeling. However, the Avastar plugin for Blender is specifically designed to streamline the workflow for platforms like Alife Virtual and Second Life, making it by far the easiest and most recommended tool for the job.
- 4. How do I sell my creations in Alife Virtual?
- Once you're happy with your creation, you can set its permissions (copy, modify, transfer) and put it in a vendor in your own shop on your free island or list it on the Alife Virtual marketplace. With free uploads, your profit margin is 100% yours to keep after marketplace fees—a fantastic opportunity for aspiring designers!
Summary and Next Steps
You've done it! You've successfully navigated the intermediate steps of modeling, rigging with bone parenting and weight painting, and importing a custom wearable accessory into Alife Virtual. You now hold a powerful skill that is fundamental to personalizing your virtual experience and creating content for others.
Your journey doesn't end here. This is just the beginning. You can now apply these techniques to create hats, glasses, bags, jewelry, and so much more. The more you practice, the more intuitive the process will become.
We encourage you to continue your learning journey with us. Alife Virtual School offers free daily classes on a huge range of topics. Why not check out our courses on texturing, scripting, or creating full mesh outfits next?
Explore the full curriculum at the Alife Virtual School and keep building your skills!
Ready to Start Creating? Your World Awaits.
There's no better time to join the creative revolution in Alife Virtual. With a welcoming community, powerful building tools, and zero financial barriers to entry, it's the ultimate sandbox for your imagination. Alife Virtual works on any desktop computer—no expensive VR headset required.
Register your free account today and immediately claim your free, permanent 65,536 sqm private island. Your creative space is waiting for you.
🎓 Ready to Practice In-World?
Get your FREE island and practice everything you just learned — no credit card, no monthly fees.
Claim Your Free Island Now →No credit card required · Takes 2 minutes · Your island is FREE for one month