Getting Your Free Island in Alife Virtual
Getting Your Free Island in Alife Virtual — Free class in Alife Virtual School
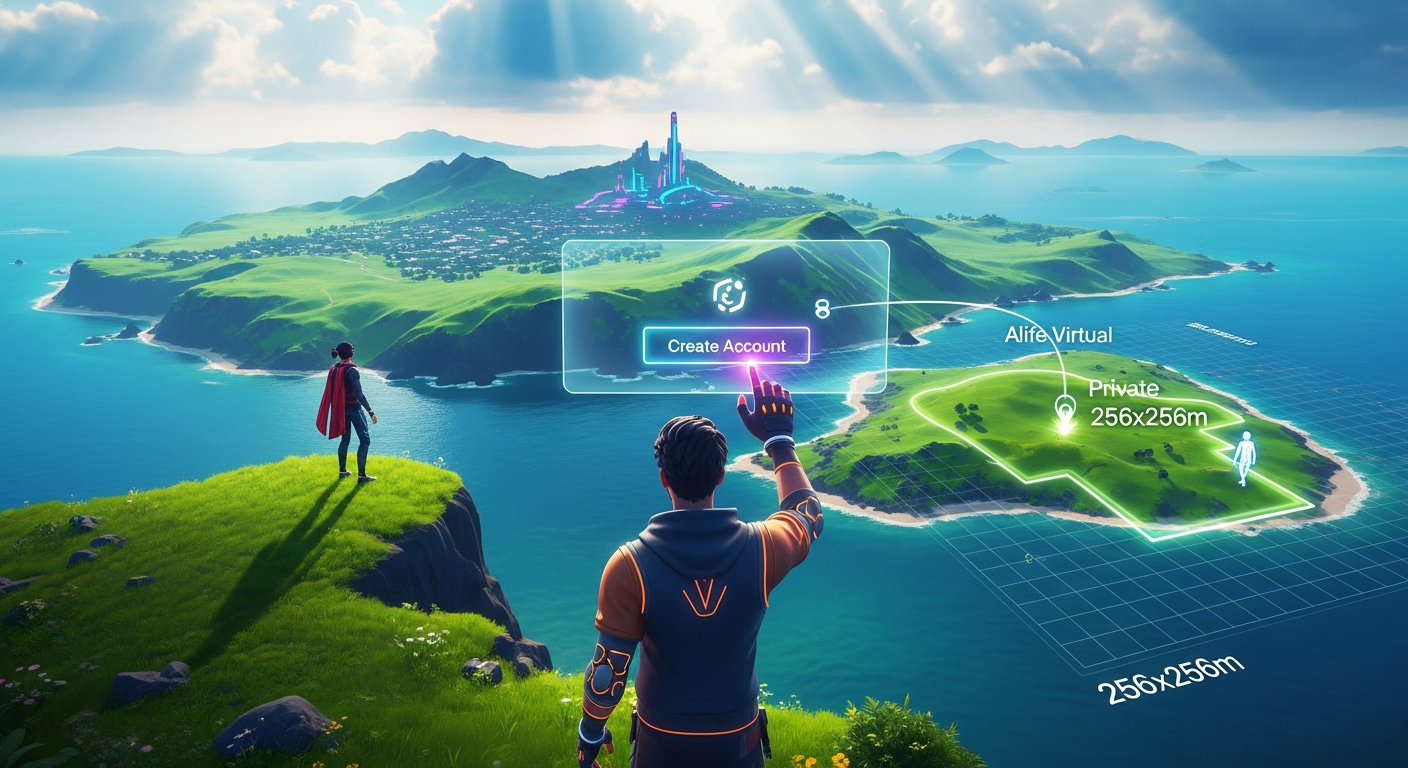
Welcome, future world-builders and metaverse pioneers, to this master-level workshop from Alife Virtual School. For many, the dream of owning a private slice of a digital universe—a place to create, to innovate, to socialize, or simply to escape—has been prohibitively expensive. Today, we change that. This class provides the definitive guide to Getting Your Free Island in Alife Virtual, a skill that unlocks unparalleled creative freedom in one of the most exciting and accessible Second Life alternative platforms available. You are about to transform from a virtual tourist into a digital landowner, acquiring a sprawling 65,536 square meter private region at zero cost. This isn't a temporary trial or a limited offer; this is your permanent home in the metaverse, and your journey begins now.
The Alife Advantage: Why "Free" Here Means Something More
In the rapidly expanding metaverse, the term "free" is often misleading. Many platforms offer a "free-to-play" model that quickly reveals a web of microtransactions, premium subscriptions, and steep fees for core features like land ownership and content creation. Alife Virtual was built on a fundamentally different philosophy. We believe that creativity should not be paywalled. Owning land is not a luxury; it is a foundational right for any serious creator in a free 3D world.
Let's put this into perspective. In Second Life, a comparable full private region (island) costs approximately $349 USD for the initial setup and a recurring fee of around $229 USD per month. Over a year, that's nearly $3,100. In Alife Virtual, the cost is $0. for one month. This isn't just a feature; it's a paradigm shift that redefines the virtual economy and empowers creators of all financial backgrounds.
| Feature | Alife Virtual | Second Life (Competitor) |
|---|---|---|
| Private Island (65,536 sqm) | $0 Setup, $0/month (Free for one month) | ~$349 Setup, ~$229/month |
| Content Uploads (Textures, Mesh, etc.) | Free & Unlimited | L$10 (~$0.04) per upload |
| Starting Avatar | Free Professional Mesh Avatar | Classic "System" Avatar (Requires spending to upgrade) |
| Underlying Technology | Open Simulator (Highly compatible & flexible) | Proprietary (Closed ecosystem) |
What You Will Learn in This Class
Upon completing this tutorial, you will have mastered the entire process of establishing your presence in Alife Virtual. You will be able to:
- Create and secure your Alife Virtual account.
- Install and configure the recommended Firestorm Viewer for optimal performance.
- Navigate the Alife Virtual welcome area and teleport to the Land Claim Hub.
- Successfully claim your personal, 256x256m private island region.
- Utilize the
About Landwindow to configure every critical aspect of your new property, from access rights to environmental settings. - Understand the core principles of parcel management, a crucial skill for any metaverse creator.
Prerequisites
This is a beginner-level class, but it assumes you have the following:
- A desktop or laptop computer (Windows, Mac, or Linux) that meets the minimum system requirements for the Firestorm Viewer.
- A stable broadband internet connection.
- A valid email address for account creation.
- Approximately 30-45 minutes of uninterrupted time to complete the process.
Part 1: Creating Your Alife Virtual Account
Your journey begins at the Alife Virtual website. This is where you will create the identity that will own your future digital empire.
- Open your web browser and navigate to the Alife Virtual registration page: https://alifevirtual.com/wifi/user/register/.
- Choose Your Avatar Name: This is a two-part name. Your "First Name" is your unique identifier. Your "Last Name" can be chosen from a pre-selected list. Choose wisely, as this name will represent you in-world.
- Provide Your Email Address: Use a real, accessible email address. This is critical for account activation and any future password recovery needs.
- Create a Secure Password: Follow the on-screen requirements for password strength. Record this password in a secure location.
- Complete the CAPTCHA: Prove you are not a robot to proceed.
- Agree to the Terms of Service: Read and agree to the terms to finalize your registration.
- Activate Your Account: Check your email inbox for a message from Alife Virtual. Click the activation link within this email. Your account is now live!
Part 2: Installing and Configuring Your Viewer
Alife Virtual is based on the Open Simulator platform, which means it is accessible through various third-party viewers. We strongly recommend Firestorm, the most popular and feature-rich viewer for OpenSim and Second Life.
- Download Firestorm: Navigate to the Firestorm Viewer downloads page. Select the version appropriate for "Other Grids" or "OpenSim" (not the SL version). Download the installer for your operating system (Windows, Mac, or Linux).
- Install Firestorm: Run the installer and follow the on-screen prompts. It's a standard installation process.
- Configure the Alife Virtual Grid: This is the most crucial technical step.
- Launch Firestorm for the first time. The login screen will appear.
- At the very top of the viewer window, click on the
Viewermenu, then selectPreferences(or press Ctrl+P). - In the Preferences window, select the
OpenSimtab on the left. - In the field labeled
Add new grid URI, carefully type or paste the following address:http://grid.alifevirtual.com:8002 - Click the
Applybutton. You will see "Alife Virtual" appear in the list of grids. - Click
OKto close the Preferences window.
- Prepare for Login: Back at the login screen, use the
Griddropdown menu at the bottom to select "Alife Virtual". Now, enter the Avatar Name and Password you created in Part 1.
Part 3: Your First Steps In-World
With your account created and viewer configured, it's time to enter the metaverse.
- Click the
Log Inbutton on the Firestorm login screen. - The viewer will load, and you will materialize in the Alife Virtual Welcome Hub. Take a moment to look around. Notice your avatar; unlike the dated "classic" avatars on other platforms, Alife provides every new member with a high-quality, professional mesh avatar from day one.
- Basic Movement: Use the Arrow Keys or WASD keys to walk. Use your mouse to look around. Hold the Alt key and click-drag to orbit your camera around your avatar.
Part 4: Journey to the Land Claim Hub
Your free island awaits. To claim it, you must travel to a special location within Alife Virtual.
- Look for a large sign or information board in the Welcome Hub that mentions "Free Land" or "Free Islands". These areas are designed to be intuitive for new users.
- Often, there will be a teleporter object. When you move your mouse over it, the cursor may change. Simply left-click the object to be instantly teleported.
- Manual Teleport (Pro Method): If you cannot find the teleporter, you can use the world map.
- Click the
Worldmenu at the top of the screen, then selectWorld Map(or press Ctrl+M). - In the map window, type
Alife Land Hubinto the search box and press Enter. - Select the result from the list and click the
Teleportbutton.
- Click the
- You will arrive at the Land Claim Hub. This area is filled with claim terminals, each representing a free, empty island region.
Part 5: Claiming Your 65,536 sqm Private Island
This is the moment of truth. You are about to become a landowner.
- Walk up to any available land claim terminal. It will typically look like a kiosk or a large sign.
- Left-click the claim terminal.
- A confirmation dialog box will appear, asking if you want to claim your free region. It will state the size (256x256m) and confirm that there are no fees.
- Click
YesorConfirm. - The system will now process your request. This may take a few moments. You will then be automatically teleported directly to the center of your brand new, empty private island.
- Congratulations! You are now standing on your own 65,536 sqm of virtual real estate. Look around. This vast expanse is yours to command.
Pro Tip: Verify Your Ownership
The moment you arrive, verify that the land is yours. Look at the very top of your viewer window. It should say your avatar's name, followed by the name of the region (which will be something generic like "Region 12345"), and then "(Owner)". If you see "(Owner)", the transfer was successful.
Part 6: Mastering the 'About Land' Window
Owning the land is just the beginning. Controlling it is where the real power lies. The About Land window is your command center. To open it, right-click on the ground anywhere on your island and select About Land from the pie menu.
Let's break down the essential tabs:
The GENERAL Tab
- Name: This is where you name your island! Change the generic name to something that reflects your vision (e.g., "Chronos Sanctuary," "Project Genesis," "Lisa's Art Gallery").
- Description: Add a short description. This appears in search results and tells visitors what your island is about.
- Owner: This shows you as the owner. Be very careful with the
Set...button. You can transfer ownership here, but this is an advanced and often irreversible action. - Group: This is a powerful feature. You can "deed" the land to a group you belong to. This allows group members with the correct roles to build and manage the land. For now, leave this set to
(None). - Claimed: The date you claimed the land.
- Area: 65,536 sq.m. A reminder of the scale of your domain.
The OPTIONS Tab
This tab controls the physics and behaviors on your island.
- Allow Flying: Check this to allow yourself and visitors to fly. Uncheck it to ground everyone, which can be useful for certain experiences.
- Allow Create Objects: Absolutely essential. Ensure this is checked so you can build! You can restrict this further in the
ACCESStab. - Object Entry: Check this to allow objects from neighboring regions to cross into yours. Usually safe to leave checked.
- Run Scripts: Check this to allow LSL scripting (Linden Scripting Language) to function. Without this, your island will be static and non-interactive.
- Safe (No Damage): Keep this checked. Unchecking it enables combat damage systems.
- Show Place in Search: Check this and set a category (e.g., "Art," "Social") to make your island discoverable in the in-world search.
The ACCESS Tab
This is your security control panel. It dictates who can visit and who can build.
- Allow Public Access: If unchecked, only you (and group members if deeded) can enter your island. Anyone else will be blocked at the border.
- Access for...: If public access is off, you can use the
Add...button to create a whitelist of specific avatars who are allowed to enter. - Who can build on your land: By default, this is set to just you (the owner). You can change it to allow your group or even everyone (not recommended unless you're creating a public sandbox).
Common Mistake: Accidental Lock-Out
A common beginner mistake is to uncheck
Allow Public Accessand forget to add friends to the access list. They will then be unable to visit you. Always manage your access list carefully when making your island private.
The MEDIA Tab
This tab allows you to add rich media to your island, creating a more immersive atmosphere.
- Music URL: Find an internet radio stream URL (often ending in .mp3, .m3u, or .pls) and paste it here. Your entire island will now play this music for all visitors.
- Media Type: Leave this as
Audiofor a music stream. - Media URL: You can set a texture to display on the land itself. This is less common but can be used for interesting effects.
Beyond the Basics: Advanced Applications for Your Island
You now have a named, configured, and secure island. What's next? Your free region is a blank canvas for nearly any project imaginable in a metaverse.
- Terraforming: Use the land editing tools (
World>Edit Terrain) to raise mountains, dig canyons, create lakes, and shape the very ground you stand on. - Building & Creating: Start building! Rez primitive shapes, link them together, and apply textures. Because Alife Virtual offers free unlimited uploads, you can import custom textures and 3D mesh models from software like Blender without paying a fee for every single asset.
- Scripting & Interactivity: Dive into LSL scripting. Create interactive objects, automated systems, vehicles, or even simple games. Your island is your personal development server.
- Establishing a Business: Set up a shop to sell your own creations. In Alife's 100% free economy, you can build a business from scratch with zero overhead.
- Creating a Social Hub: Design a club, a park, a gallery, or a quiet meditation space. Host events and invite the Alife community to visit your creation.
Practice Exercise: Your First Parcel Customization
Let's apply what you've learned with a practical task.
- Open the
About Landwindow on your island. - Step 1 (Identity): Go to the
GENERALtab. Change theNameof your island to "My First Alife Creation" and add "A work in progress by [Your Name]" to theDescription. - Step 2 (Ambiance): Go to the
MEDIAtab. Find a free Creative Commons music stream online (search for "free internet radio stream URL") and paste it into theMusic URLfield. ClickApply. You should now hear music. - Step 3 (Access Control): Go to the
ACCESStab. UncheckAllow Public Access. Now, find a friend in-world or use an alternate account, and use theAdd...button to add their name to the access list. You have just created your first private, whitelisted space. - Step 4 (Revert): For now, go back to the
ACCESStab and re-checkAllow Public Accessso others can discover your work later.
Frequently Asked Questions (FAQ)
- 1. Is the free island really free for one month?
- Yes. The 65,536 sqm private island is a core offering of Alife Virtual. It is yours to keep for the life of your account, with no monthly fees, tiers, or hidden costs.
- 2. Can I have more than one free island?
- The standard policy is one free island per avatar/account to ensure fair distribution of server resources. However, you can acquire more land through in-world transactions with other residents or participate in special community projects.
- 3. What happens if I mess up my island's settings or terrain?
- You have a great deal of control. For settings, you can always go back into the
About Landwindow and change them. For terrain, if you make a mistake, you can use the land editing tools to revert the land to its original flat state. You can also request a full region reset from support in a worst-case scenario. - 4. Can I upload a custom terrain file (.raw) for my island?
- Yes! This is an advanced feature. If you create a terrain file in a program like Photoshop or a dedicated terrain generator, you can upload it to your island via the
Region/Estatemenu (if you have the correct permissions, which as the owner, you do). This allows for professional, pre-fabricated landscapes.
Ready to Build Your Dream? Join Alife Virtual Today!
You now possess the knowledge to go from a new user to a digital landowner in under an hour, a process that would cost thousands of dollars on other platforms. The barrier to entry has been removed. Your 65,536 sqm canvas is waiting. Your story, your art, and your innovations will define the future of this growing free 3D world.
Don't just read about the metaverse—start building it. Create your free account, download the viewer, and claim the private island that is rightfully yours.
Click Here to Join Alife Virtual and Claim Your Free Island Now!
🎓 Ready to Practice In-World?
Get your FREE island and practice everything you just learned — no credit card, no monthly fees.
Claim Your Free Island Now →No credit card required · Takes 2 minutes · Your island is FREE for one month