Light and Shadow: Advanced EEP Settings
Light and Shadow: Advanced EEP Settings — Free class in Alife Virtual School
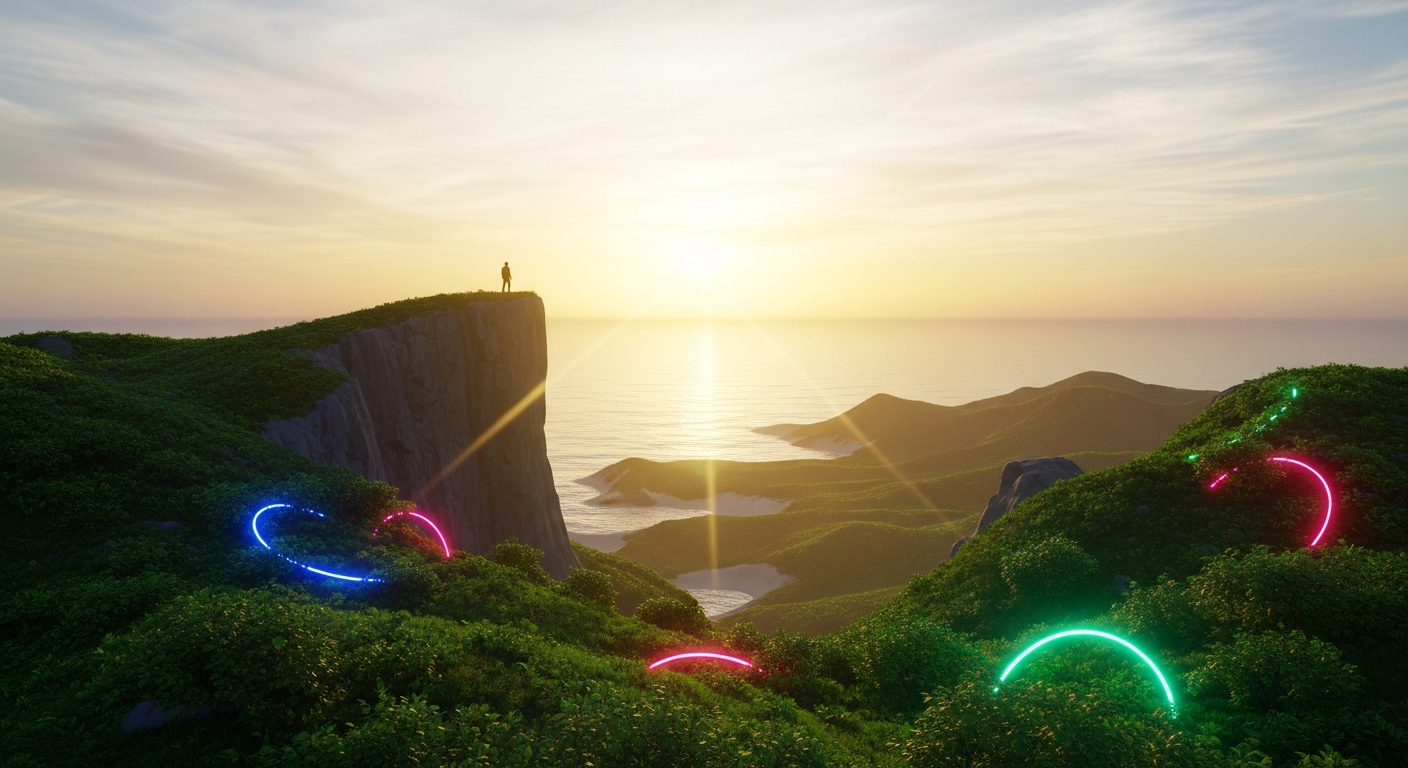
Welcome, creators, to Alife Virtual School. In the sprawling digital expanse of the metaverse, the ability to control light is the ability to control emotion, narrative, and reality itself. Today, we move beyond basic building and into the realm of digital cinematography with our deep dive into Light and Shadow: Advanced EEP Settings. This class will transform you from a resident into a world-smith, giving you the power to forge breathtaking, photorealistic environments. While other platforms lock these powerful tools behind expensive paywalls, in Alife Virtual—the premier free 3D world and a true Second Life alternative—this god-like power is entirely free, empowering you to build immersive experiences on your own private island from day one.
The Alife Advantage: Your Creative Vision, Unleashed
In many virtual worlds, the dream of a fully customized, atmospheric region is a costly one. Land fees, upload costs, and premium accounts create a constant financial drain that stifles creativity. Alife Virtual was built on a different philosophy: a 100% free economy where your imagination is the only currency that matters. Let's break down the staggering difference in cost for a creator wanting to build a single, high-quality region.
| Feature | Alife Virtual Cost | Typical Competitor (e.g., Second Life) |
|---|---|---|
| Private Island (65,536 sqm) | $0 / month (FREE, for one month) | ~$300 / month + Setup Fees |
| Texture/Mesh/Sound Uploads | $0 (FREE & UNLIMITED) | ~L$10 (~$0.04) per upload |
| EEP Environment Creation Tools | $0 (Built-in to Viewer) | $0 (But useless without expensive land to apply it to) |
| Total Cost for 1 Year of Creation | $0 | ~$3,600 + Upload Fees |
With Alife Virtual, the financial barriers are gone. Your FREE Private Island is your canvas. Your FREE unlimited uploads are your palette. And with the skills you learn today, EEP is your brush.
What You Will Learn
Upon completing this masterclass, you will be able to:
- Navigate and understand the Firestorm Environment Editor interface for EEP.
- Create, modify, and save custom
Sky Presetsfrom scratch. - Manipulate atmospheric density, haze, and lighting to create any mood, from a crystal-clear paradise to a smog-choked dystopia.
- Design and animate a full
Day Cycle, blending multiple sky presets for a seamless day-to-night transition. - Configure advanced
Water Presets, mastering reflections, refractions, and water color for photorealistic oceans, rivers, and lakes. - Apply your custom environments to your parcels or your entire region.
Prerequisites
- An Alife Virtual account and your FREE Pro Mesh Avatar.
- The Firestorm Viewer installed. Alife Virtual has full Firestorm support.
- Basic camera and avatar navigation skills.
- Familiarity with the Build/Edit menu (
Ctrl+B). - A desire to make your corner of our open simulator metaverse truly unforgettable.
Part 1: Accessing the Environment Editor
The Extended Environment Patches, or EEP, system is a powerful, object-based environment engine. Unlike the legacy Windlight system, EEP allows for granular control and lets you save your creations as distinct objects in your inventory. Let's open the hood.
- Find a good spot on your free private island where you have a clear view of the sky and any water.
- In the top menu bar of your Firestorm viewer, navigate to World > Environment Editor.
- A new window will pop up. You can also use the shortcut Ctrl+Shift+E.
This window has four main tabs at the top: Atmosphere, Sky Presets, Day Cycles, and Water Presets. This is your command center.
Part 2: Sculpting the Sky - Your First Custom Preset
The sky is the largest object in any scene; mastering it is paramount. We'll create a dramatic "Crimson Sunset" to learn the ropes.
Step 1: Create a New Sky Preset
- Go to the Sky Presets tab.
- Click the New Preset button at the bottom. Name it something descriptive, like "AVS_CrimsonSunset".
- Your new preset is now active, and the sky will likely change to a default state. Now, switch to the Atmosphere tab to begin editing it.
Step 2: Manipulating the Sun, Moon, and Stars
The first set of sliders in the Atmosphere tab controls your celestial bodies.
- Sun/Moon Position: This slider scrubs through the time of day. For our sunset, drag it until the sun is touching the horizon. A value around
0.23or0.73is usually good for sunrise/sunset. - Sun/Moon Color: This is where the magic starts. Click the color swatch. Choose a deep, saturated orange or red. This color tints the main light source.
- Ambient: This is the color of light in the shadows, where the sun isn't directly hitting. For a sunset, a dark, muted purple or blue creates a beautiful, realistic contrast.
- Sun Glow: This controls the size and intensity of the glow around the sun. Increase the
Focusand slightly decrease theSizeto create sharp, dramatic sunbeams. - Star Brightness: Since it's sunset, you can slide this up a tiny bit to make the first stars begin to appear.
Step 3: Painting the Atmosphere
This section controls the very air your avatar breathes. It's how you create depth and mood.
- Blue Horizon: This tints the horizon opposite the sun. For our crimson sunset, click the color swatch and select a deep, fiery red to make the color "bleed" across the sky. The
Scaleslider controls how high this color reaches. - Haze Horizon: This slider adds a layer of haze rising from the horizon line. A small amount of a dark red or purple haze can add a lot of depth.
- Density/Multiplier: This is arguably the most powerful setting. It controls the thickness of the atmosphere. Dragging this slider to the right will make your scene incredibly foggy and dense. For our sunset, a slight increase can soften distant objects and enhance the glow.
- Distance Multiplier: This affects how quickly the fog/haze becomes opaque over a distance. A lower value makes the fog appear closer to you.
Pro Tip: To create "god rays" (crepuscular rays), you need three things: a brightSun Glow, a slightly increased atmosphericDensity/Multiplier, and objects for the light to stream through, like trees or pillars. The light will realistically wrap around the geometry.
Step 4: Customizing the Clouds
Default clouds are fine, but custom clouds are better. Remember, with free unlimited uploads in Alife Virtual, you can find and upload high-resolution, seamless cloud textures to achieve professional results.
- Cloud Color: At sunset, clouds are not white. They catch the light from the sun. Tint them with the same fiery orange/red from your
Sun/Moon Color. - Cloud XY Density: This controls the coverage and scale of the clouds. Drag the slider to see them stretch and gather.
- Cloud Coverage: This slider acts as a master "amount" for your clouds.
- Cloud Scroll X/Y: Want moving clouds? These settings animate your cloud layer. Use very small values (e.g.,
0.005) for a slow, majestic drift. Check the "Animate Clouds" box to see it in action.
Step 5: Save Your Work!
Once you are happy with your Crimson Sunset:
- Go back to the Sky Presets tab.
- Your "AVS_CrimsonSunset" preset should be selected. Click the Save Preset button.
- This will save the sky preset as an object in your inventory in a folder called
#Firestorm->Environments->Skies. You can now drag this object to a friend or apply it to any land you own.
Part 3: Animating Time with Day Cycles
A static sky is beautiful, but an animated sky is alive. A Day Cycle is an asset that blends multiple Sky Presets together over a specified duration.
- Navigate to the Day Cycles tab in the Environment Editor.
- Click New Cycle and name it "AVS_StandardDay".
- You'll see a timeline with a single keyframe. A keyframe is a point in time linked to a specific
Sky Preset. - Click the Add Key button. In the "Select Asset" window, find a bright noon sky preset (you can use a default one like "[TOR] Midday" to start). Set its time to
12:00. - Click Add Key again. This time, find your "AVS_CrimsonSunset" preset. Set its time to
18:00. - Add more keys for night, sunrise, etc., using different sky presets. The system will automatically blend the settings between each keyframe.
- Once you have a few keys, click Save Cycle. This saves the day cycle to your inventory, ready to be applied to your region.
Common Mistake: Drastic changes between keyframes. If you jump from a bright blue noon to a pitch-black midnight in one keyframe, the transition will be jarring. Add intermediate steps like sunset and twilight to smooth the animation.
Part 4: Mastering Photorealistic Water
Water can make or break the realism of a sim. EEP gives you precise control over every aspect of its appearance.
Step 1: Create a New Water Preset
- Go to the Water Presets tab and click New Preset. Name it "AVS_TropicalWater".
- Your new preset is now active. Switch back to the Atmosphere tab and scroll down to the
Watersection to edit it.
Step 2: Configuring Water Settings
- Fog Color: This tints the water. For a tropical look, choose a vibrant cyan or turquoise. For a murky swamp, a dark green-brown would be better.
- Fog Density: Controls how clear or murky the water is. A low value makes it transparent, while a high value makes it opaque.
- Underwater Fog Modifier: A multiplier that makes the water look even foggier when your camera is submerged.
- Reflection Wavelet Scale: This is a crucial setting for realism. It controls the scale of the waves on the water's surface that distort reflections. Experiment with this to match the "feel" of your water (calm lake vs. choppy sea).
- Fresnel Scale & Offset: These settings control the intensity of reflections based on your viewing angle. Increasing the scale makes reflections stronger, even when looking straight down.
- Refraction Scale: This controls how much light bends as it passes through the water, distorting the appearance of objects beneath the surface.
- WaterNormalMap: This is the secret to hyper-realistic water. It uses a special texture (a normal map) to define the shape of the waves. Click the texture UUID field to select a new one. You can find amazing, free-to-use water normal maps online and upload them for FREE in Alife Virtual. A high-quality normal map is a game-changer.
Step 3: Save Your Water Preset
Just like with the sky, navigate back to the Water Presets tab and click Save Preset. This saves your "AVS_TropicalWater" to your inventory in the #Firestorm -> Environments -> Water folder.
Part 5: Applying Your New Environment
You've built the assets; now it's time to deploy them. You can apply environments at the parcel or region level.
- For a Parcel: Right-click the ground and choose About Land. Go to the ENVIRONMENT tab. Here you can select your custom
Day Cycle(or a staticSky) and yourWaterpreset. - For Your Entire Region: As the owner of your free private island, you have full control. Go to World > Region/Estate. In the ENVIRONMENT tab, you can set the default
Day CycleandWaterfor the entire 65,536 sqm sim.
Advanced Applications
EEP is more than just a beautification tool; it's a core part of the creator's toolkit in our dynamic metaverse.
- Environmental Storytelling: Build a roleplay sim? Create a perpetual smoggy twilight for your vampire clan's castle or a harsh, double-sun desert for your sci-fi outpost. The environment tells the story before a single word is spoken.
- Virtual Photography and Machinima: EEP is your virtual lighting rig. Dial in the perfect "golden hour" light, add dramatic fog, and capture stunning images or films of your creations and your free pro mesh avatar.
- Triggered Environments with LSL: For advanced creators, you can use LSL scripting to change a parcel's environment based on triggers. Imagine walking into a cave and having the sky preset automatically change to a dark, enclosed "cavern" environment. This creates truly interactive and dynamic experiences.
- Commercial Venues: Make your store or club stand out in Alife's virtual economy. A unique, beautifully lit environment is a powerful draw that encourages visitors to stay longer and explore.
Practice Exercise: The Bioluminescent Jungle
Your mission is to put these new skills to the test. On a section of your private island, create a "Bioluminescent Alien Jungle" environment.
- Sky: Create a new sky preset. Make it a dark, moonless night (
Sun/Moon Positionaround0.5). Make theAmbientlight a very dark, deep blue. - Atmosphere: Add a significant amount of atmospheric
Density/Multiplier. Tint the fog with an eerie green or purpleHaze Horizoncolor. - Water: Create a new water preset. Give the
Fog Colora bright, glowing teal color. Increase theFog Densityso it looks murky and supernatural. - Lighting: Add some glowing plants or prims to your jungle scene. Notice how their light interacts with the dense fog you created.
- Apply: Apply your new sky and water presets to the parcel and enjoy your alien world!
Frequently Asked Questions (FAQ)
- 1. Can I use EEP settings made by other Alife Virtual residents?
- Absolutely! EEP assets are inventory items. If a creator sets the permissions to copy/transfer, you can use their environments. Many creators sell or give away their EEP creations, contributing to our rich, user-driven virtual economy.
- 2. Do these advanced settings impact performance?
- EEP can be slightly more demanding than default settings, especially with animated clouds and complex water. However, modern computers and the Firestorm viewer are highly optimized. The biggest performance impact usually comes from shadow-casting lights, not the environment itself. If you experience lag, try slightly reducing atmospheric density or disabling cloud animation.
- 3. How is EEP different from the old Windlight system?
- Windlight was a global setting. EEP is inventory-based. This means you can have different environmental settings on adjacent parcels, own and trade them like objects, and trigger them with scripts—making it far more powerful and flexible for creators in a diverse open simulator environment like Alife.
- 4. Can I sell my EEP creations in Alife Virtual?
- Yes! We encourage it. Your custom skies, water, and day cycles are products of your skill. You can set them for sale on our marketplace or in your in-world store. It's a fantastic way to participate in our 100% free economy, where creators are rewarded for their talent.
Your Canvas Awaits.
You now hold the knowledge to paint with light, to sculpt atmosphere, and to breathe life into your virtual spaces. You have the power to create not just places, but worlds. And in Alife Virtual, you have the ultimate canvas—a full, 65,536 sqm private island, completely free, for one month.
Stop paying to create. Stop being limited by upload fees. Join a world built for builders, by builders.
Join Alife Virtual today and start building the worlds you've only dreamed of—for free.
🎓 Ready to Practice In-World?
Get your FREE island and practice everything you just learned — no credit card, no monthly fees.
Claim Your Free Island Now →No credit card required · Takes 2 minutes · Your island is FREE for one month