Alife Virtual School Class 11: LSL Experience Keys and Permissions
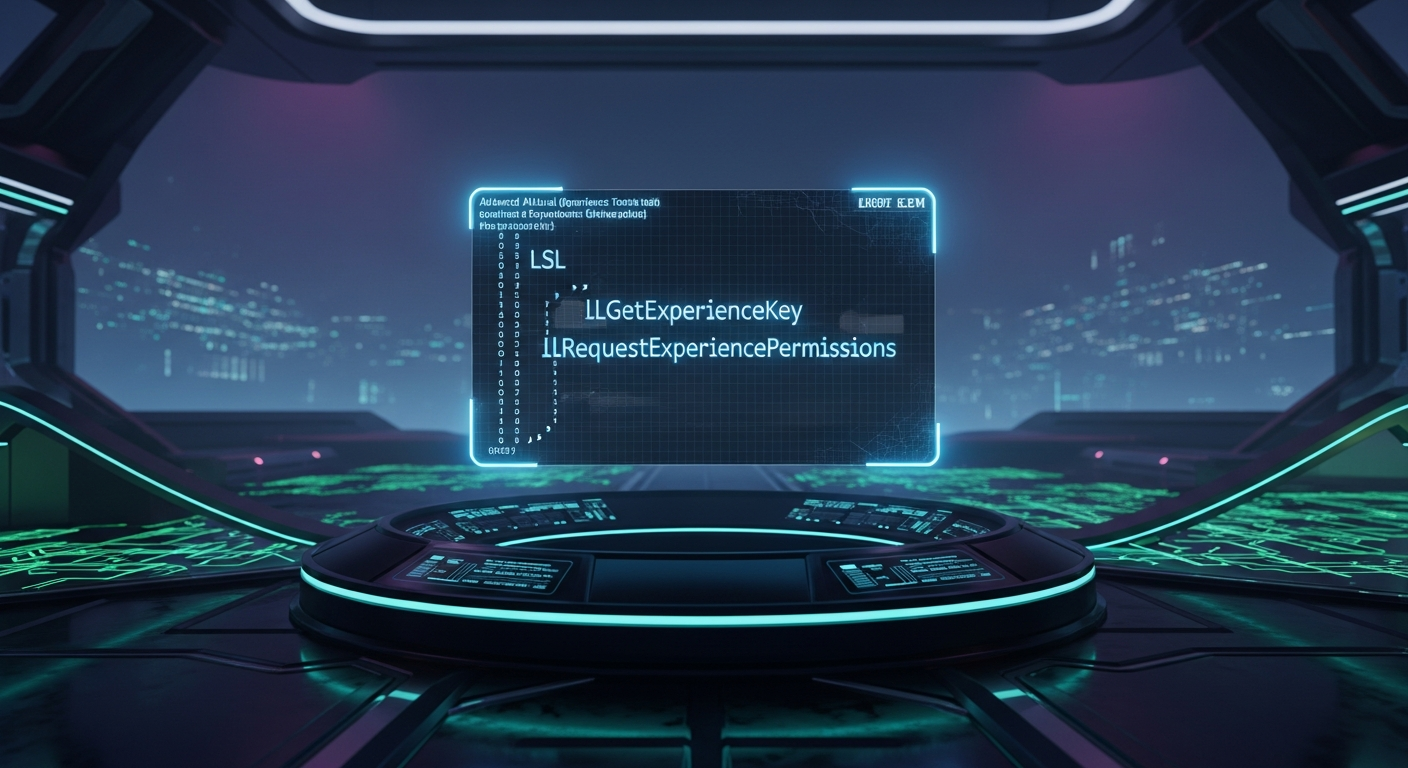
LSL Experience Keys and Permissions — Free class in Alife Virtual School
Build Seamless Immersive Experiences Without Annoying Popups
Welcome, Alife scripters! You’ve mastered the basics. You can make objects move, change color, and respond to touch. But you’ve probably hit a wall—a very annoying, very repetitive wall of permission popups. Every time your creation needs to attach a HUD, teleport a user, or take controls for a vehicle, that little blue dialog box appears, breaking the immersion and frustrating your users.
What if you could ask for permission just once and have it apply to every object in your game, your store, or your entire island? That's the professional polish that separates good creations from great ones, and it's exactly what you're going to learn today. This is the secret to building truly seamless, immersive experiences in Alife Virtual.
By mastering Experience Tools, you can leverage the full power of your free private island and its generous 10,000 prims to build complex, multi-object systems that just work. Imagine a role-playing game where combat tools, health HUDs, and quest-givers all cooperate flawlessly without a single permission popup after the initial sign-up. That's the power we're unlocking in this class.
What You Will Learn
By the end of this advanced tutorial, you will be able to:
- Understand what LSL Experience Keys are and why they are essential for professional-grade projects.
- Create and manage your own Experiences through the Alife Virtual interface.
- Use
llRequestExperiencePermissions()to ask a user to join your experience. - Gracefully handle both acceptance and denial of experience permissions.
- Use
llGetExperienceKey()in "worker" scripts to perform actions without further popups. - Build a multi-object system that shares a single, persistent set of permissions.
- Avoid common mistakes that trip up even experienced scripters.
Prerequisites
This is an advanced class. Before you begin, you should be comfortable with the following:
- Advanced LSL Scripting: You should understand variables (especially keys and integers), events (like
touch_startandstate_entry), functions, and basic state management. - An Alife Virtual Account: This class is hands-on! If you don't have an account yet, you can register for free and join our community of over 1,148,000 residents.
- Firestorm Viewer: Alife Virtual uses the popular Firestorm Viewer. Your skills here are 100% transferable to and from Second Life.
- A Place to Build: You'll need a sandbox or, even better, your own land. Every Alife Virtual resident can claim a FREE 65,536 sqm private island for one month, with no monthly land fees. This is the perfect place to practice!
Tutorial: From Annoying Popups to Seamless Action
Let's build a simple system to demonstrate the power of Experiences. Our goal is to create a "Welcome Area" with two objects: an "Experience Kiosk" and a "Teleporter." Normally, the teleporter would ask for permission every time. We're going to make it work instantly after a one-time approval at the kiosk.
Step 1: Understanding The Problem - The "Before" Scenario
Rez a simple prim (a cube or cylinder). Name it "Old Teleporter." Add the following script to its contents:
// OLD, INEFFICIENT TELEPORTER SCRIPT
default
{
    touch_start(integer total_number)
    {
        // This will trigger a permission popup EVERY time.
        llRequestPermissions(llDetectedKey(0), PERMISSION_TELEPORT);
    }

    run_time_permissions(integer perm)
    {
        if (perm & PERMISSION_TELEPORT)
        {
            // Teleport the user 10 meters up in the air
            vector currentPos = llGetPos();
            vector targetPos = currentPos + <0, 0, 10>;
            llTeleportAgent(llDetectedKey(0), "", targetPos, llGetPos());
        }
    }
}
Save the script. Now, click the object. You'll see the dreaded permission dialog. Click "Yes," and it will teleport you. Click it again... and you'll see the exact same dialog. This is what we're going to fix.
Step 2: Create Your First Experience in Alife Virtual
An "Experience" is a named entity that you, the creator, own. It has a unique key (a UUID) that your scripts can reference. Let's create one.
- In your Firestorm Viewer, go to the top menu bar and navigate to World -> Experience Profile.
- A window titled "Experiences" will appear. Click the "Create" button.
- The "Create Experience" window will open. You need to fill in a few fields:
- Name: Give it a clear, descriptive name. For this tutorial, let's use "My Awesome Island Experience".
- Description: Explain what the experience does. E.g., "Allows seamless teleportation and tool attachments on my island."
- Make sure the "Enabled" box is checked.
- Click "OK" to create the Experience.
- Your new experience will now appear in the list. Select it. Look in the details pane on the right. You will see an "Experience Key". This is a long string of letters and numbers (a UUID). This key is the heart of the entire system. Click the "Copy Key" button to copy it to your clipboard.
Pro Tip: Paste the Experience Key into a notecard in-world or a text file on your computer. You're going to need it for every script that's part of this experience, so keep it handy!
(Image description: A screenshot of the Firestorm Viewer's "Create Experience" window. The "Name" field is filled with "My Awesome Island Experience," and an arrow is pointing to the "Experience Key" UUID in the details pane, which has a "Copy Key" button next to it.)
Step 3: The "Master" Script - Requesting Permission
Now, let's create our "Experience Kiosk." This will be the single point of entry for our experience. Rez a new prim, name it "Experience Kiosk," and add the following script. This script's only job is to ask the user to accept the experience.
// EXPERIENCE KIOSK SCRIPT

// Paste the Experience Key you copied in Step 2 here.
key g_experienceKey = "00000000-0000-0000-0000-000000000000";

default
{
    state_entry()
    {
        llSetText("Click to join our island experience!", <1.0, 1.0, 1.0>, 1.0);
    }

    touch_start(integer total_number)
    {
        key avatarKey = llDetectedKey(0);

        // This is the magic function. It asks the user to approve the Experience.
        // The dialog will show the Name and Description you set up in Step 2.
        llRequestExperiencePermissions(avatarKey, g_experienceKey);
    }

    // This event fires if the user clicks "Accept" or "Allow".
    experience_permissions(key avatar_id)
    {
        llSay(0, "Thank you, " + llKey2Name(avatar_id) + "! You've joined the experience. Enjoy the seamless features!");
    }

    // This event fires if the user clicks "Decline" or "Block".
    experience_permissions_denied(key avatar_id, integer reason)
    {
        llSay(0, "Experience permissions were declined. You can click again if you change your mind.");
    }
}
IMPORTANT: Replace the placeholder 00000000-0000-0000-0000-000000000000 with the actual Experience Key you copied in Step 2!
Save this script. When you click the kiosk, you will see a new kind of permission dialog. It will use the name and description you provided. It gives the user three options: Allow, Block, or Ignore. If they click "Allow," they have now joined your experience!
Step 4: The "Worker" Script - Using the Permission
Now for the payoff. Let's create our new, improved teleporter. Rez another prim, name it "Smart Teleporter," and add this script. Notice how much cleaner it is!
// SMART TELEPORTER SCRIPT (EXPERIENCE-ENABLED)

// Paste the SAME Experience Key here.
key g_experienceKey = "00000000-0000-0000-0000-000000000000";

default
{
    state_entry()
    {
        // Set the experience key for this script.
        // This is crucial! It tells the simulator this script BELONGS to the experience.
        llSetExperienceKey(g_experienceKey);
        llSetText("Instant Teleport!", <0.0, 1.0, 0.5>, 1.0);
    }

    touch_start(integer total_number)
    {
        key avatarKey = llDetectedKey(0);

        // We don't need to request permissions here.
        // The experience framework handles it.
        // This will just WORK if the user has accepted the experience.
        vector currentPos = llGetPos();
        vector targetPos = currentPos + <0, 0, 10>;
        llTeleportAgent(avatarKey, "", targetPos, llGetPos());
    }
}
Again, remember to paste your actual Experience Key into the script. Now, save it.
Step 5: Test the Seamless Flow
Here's the moment of truth. Go through the full user journey:
- First, click the "Smart Teleporter." What happens? Nothing. The script tries to teleport you, but since it doesn't have permission, it fails silently. This is the default behavior.
- Now, walk over to your "Experience Kiosk" and click it.
- In the dialog that appears, click "Allow". The kiosk will say "Thank you!".
- Go back and click the "Smart Teleporter" again.
This time, you are teleported instantly. No popup. No delay. You can click it a hundred times, and it will work every single time. You can add ten more teleporters to your free island, and as long as they contain this script (with the correct key), they will all work seamlessly for anyone who has joined the experience.
Key Insight: The "Kiosk" script uses
llRequestExperiencePermissions()to get the user's approval. The "Teleporter" script usesllSetExperienceKey()to identify itself as part of that approved experience. This is the fundamental pattern for all experience-based systems.
Common Mistakes and How to Avoid Them
-
Mistake: Forgetting to put the Experience Key in all scripts.
If your "worker" script (the teleporter) doesn't have the
llSetExperienceKey(g_experienceKey);line, it has no idea it's part of an experience and will fail to perform its action. -
Mistake: Typos in the Experience Key.
A UUID key must be exact. If even one character is wrong, the system won't work. Always use copy-paste, and consider storing the key in a central configuration notecard for larger projects.
-
Mistake: Requesting permissions in every object.
The whole point of experiences is to ask only once. Do not put
llRequestExperiencePermissions()in your teleporters, HUDs, or tools. It should only be in a central controller or sign-up object. -
Mistake: Not handling permission denial.
Your "Kiosk" script should use the
experience_permissions_deniedevent to give the user helpful feedback. Don't leave them wondering why nothing is happening.
Advanced Tips and Tricks
Once you've mastered the basics, you can take experiences to the next level.
- Dynamic Keys: For complex systems you plan to sell or distribute, don't hard-code the key. Instead, have your scripts read the Experience Key from a notecard named "config" inside the object's inventory. This allows the new owner to create their own experience and paste their key into the notecard without ever touching your code.
- Checking Status: You can use
llGetPermissionsKey()on a user to see if they are part of any experience, andllGetPermissions()to check which specific permissions have been granted. This can be useful for debugging. - Supercharged Attachments: The
PERMISSION_ATTACHis one of the most powerful experience permissions. You can create a game HUD that automatically attaches, detaches, and re-attaches without the user ever seeing a popup. Combined with Alife Virtual's free mesh and texture uploads, you can create stunningly complex and beautiful attachments without worrying about upload fees, which can be prohibitive on platforms like Second Life. - Land vs. Owner Experiences: The Experience you created is owned by you. You can also deed the experience to a group, or enable "Land" experiences, which are tied to a specific parcel. This is great for public sandboxes or group-owned roleplay sims.
Practice Exercise: The Experience-Locked Door
Ready to apply your new skill? Here's a challenge for you to try on your free 65,536 sqm island:
- Create a "locked" door (a simple wall prim).
- Create a "keypad" prim next to it.
- Use the same Experience Kiosk you already built.
- Write a script for the door that, when touched, checks if the avatar is part of your experience.
- If they are part of the experience, the door should become phantom and transparent for 10 seconds.
- If they are not part of the experience, the door should say, "Access Denied. Please use the Experience Kiosk to gain access."
This simple exercise combines permission checking with object manipulation and is a perfect stepping stone to building more complex interactive environments.
Frequently Asked Questions (FAQ)
What's the difference between `llRequestPermissions()` and `llRequestExperiencePermissions()`?
llRequestPermissions() is a one-time request for a single script. The permission is forgotten as soon as the script is reset or the user leaves the area. llRequestExperiencePermissions() is a persistent, one-time request that applies to an entire set of scripts (the "Experience") and is remembered for that user across the entire grid until they revoke it.
Can I use one Experience across multiple islands or parcels?
Yes! An Experience is tied to your avatar, not to a piece of land. As long as you are the owner of the objects, you can place scripts belonging to the same experience on your main island, your private sandbox, a friend's land, or anywhere else. This is incredibly powerful for creating a consistent brand or game across different locations.
What are the most common permissions to request for an Experience?
The most useful ones for creating immersive systems are:
PERMISSION_TAKE_CONTROLS: For vehicles, character controllers, and custom movement.PERMISSION_ATTACH: For automatically attaching HUDs, tools, or cosmetic items.PERMISSION_TELEPORT: For teleporters, travel networks, and game mechanics.PERMISSION_TRIGGER_ANIMATION: For forcing animations on users (e.g., in a dance club or cutscene).
What happens if I edit my Experience's Name or Description later?
It's perfectly safe! The scripts are tied to the Experience Key (the UUID), which never changes. If you edit the name or description in the World -> Experience Profile window, new users will simply see the updated information when they are prompted to join. It will not break anything for existing users.
Summary and Next Steps
Congratulations! You've just learned one of the most powerful and professional LSL scripting techniques available. You now know how to bundle your creations into a single, cohesive "Experience," eliminating constant permission popups and creating a smooth, uninterrupted journey for your users. This skill is a game-changer, transforming clunky objects into a polished, integrated system.
You've seen how to create an experience, request permissions with a master script, and use those permissions with worker scripts. This is the foundation for building almost any large-scale project in Alife Virtual, from complex combat systems to interactive art installations and automated store vendors.
Your next step is to practice! Implement the door exercise, then start thinking about how you can refactor your existing projects to use experiences. For more learning, be sure to browse the other free daily classes at the Alife Virtual School. A great follow-up to this class would be "Advanced HUD Design" or "Creating Vehicles with LSL."
Ready to Build Without Limits? Join Alife Virtual Today!
This entire tutorial uses LSL scripting, which is identical to Second Life's, but in Alife Virtual you have the freedom to build big without the cost. Stop paying hundreds of dollars a month for land or per-upload fees for your meshes and textures. Join a thriving community where your creativity is the only limit.
- Register for your free Alife Virtual account and get a full-body mesh avatar.
- Claim your FREE 65,536 sqm private island and start building with 10,000 prims today.
- Explore our free school for more classes on scripting, building, and design.
It all works on any desktop computer with the Firestorm Viewer—no VR headset required. We can't wait to see what you create!
🎓 Ready to Practice In-World?
Get your FREE island and practice everything you just learned — no credit card, no monthly fees.
Claim Your Free Island Now →No credit card required · Takes 2 minutes · Your island is FREE for one month