Alife Virtual School - Class 9: LSL Vehicle Scripts and Physics
LSL Vehicle Scripts and Physics — Free class in Alife Virtual School
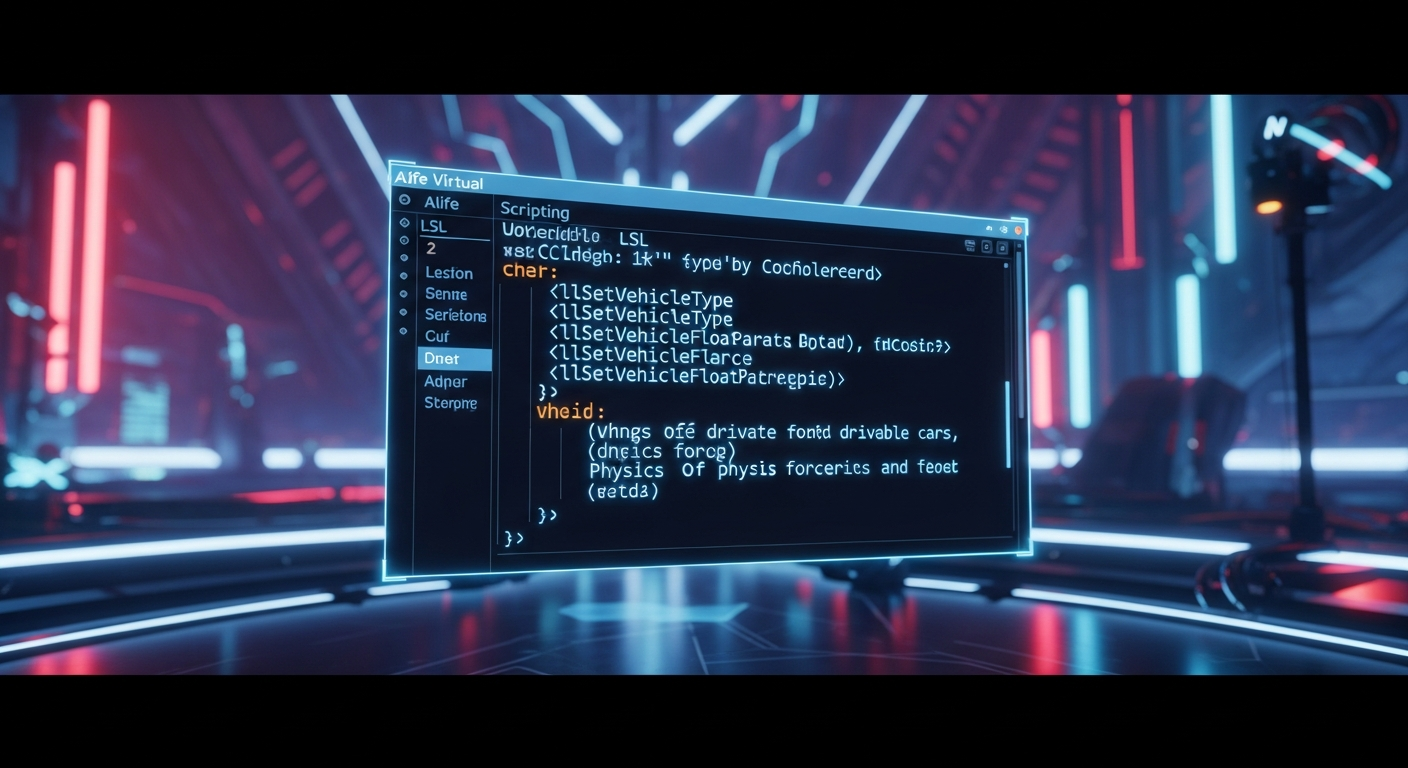
Take the Driver's Seat: Master LSL Vehicle Scripting in Alife Virtual
Welcome, creators, to the Alife Virtual School! In the sprawling, beautiful world of Alife Virtual, movement is freedom. Whether you're exploring your own free private island, visiting a friend's build across the grid, or participating in a race, how you get there is part of the adventure. While teleporting is fast, there's nothing quite like the satisfaction of cruising in a vehicle you built and scripted yourself.
This is where the real power of LSL (Linden Scripting Language) shines. Today, we're diving deep into one of the most exciting areas of in-world creation: vehicle physics. You'll learn how to transform a simple set of prims into a responsive car, a nimble boat, or even a soaring aircraft. This skill is not just about transportation; it's about bringing your creations to life, giving them purpose and interactivity that will amaze you and other residents.
And the best part? Every skill you learn here is an investment. Because Alife Virtual uses the same Firestorm Viewer and has full LSL scripting support, everything you master is directly transferable to other virtual worlds like Second Life. The difference is, here you can practice, build, and experiment without the cost. With free mesh, texture, and animation uploads and a massive 10,000 prims on your own island, your only limit is your imagination.
What You Will Learn
By the end of this advanced tutorial, you will be able to:
- Understand the built-in LSL vehicle physics system.
- Use
llSetVehicleTypeto define a prim as a car, boat, or aircraft. - Fine-tune your vehicle's handling with
llSetVehicleFloatParam. - Script vehicle movement using physics forces and motors.
- Capture and respond to keyboard input from a driver.
- Build a complete, driveable car script from the ground up.
- Troubleshoot common issues with vehicle scripts.
Prerequisites
This is an advanced class. Before you begin, you should be comfortable with the following:
- A Free Alife Virtual Account: You'll need to be in-world to practice. If you haven't joined our community of over 1,148,000 residents yet, you can register for free and get started.
- Basic Building Skills: You should know how to create, position, and link prims.
- Intermediate LSL Knowledge: You should understand variables, states, events (especially
state_entry,touch_start, andchanged), and functions. If you need a refresher, check out the earlier lessons on our free daily classes schedule. - Your Own Space: The best place to build and test is on your own land. Every Alife Virtual resident can claim a FREE private 65,536 sqm island with 10,000 prims—no monthly fees, ever!
Part 1: The Foundation of Every Vehicle
At the heart of LSL vehicle scripting are a handful of powerful functions that tell the Alife Virtual physics engine, "Hey, this object isn't just a static box—it's a car!" Let's start with the most important one.
Step 1: Build a Simple Vehicle Chassis
First, we need something to script. Let's build a rudimentary car body on your free island.
- Rez a cube prim on the ground. Stretch it into a rectangular shape, like a basic car body. This will be our root prim.
- Rez a second, smaller cube. Place it on top of the first prim where a driver might sit. This will be our seat.
- Select the seat prim first, then hold Shift and select the main body prim.
- Press Ctrl+L or go to the Build menu -> Link. The main body prim (the last one selected) should now have a yellow outline, indicating it is the root prim. This is crucial!
[Screenshot Description: A simple two-prim object is shown. A larger, flat blue rectangle representing the car body, and a smaller grey cube on top representing the seat. The larger blue prim is highlighted with a yellow outline, indicating it's the root prim of the linkset.]
Tip: The root prim is the center of your vehicle's physics. All vehicle scripts must be placed in the root prim to function correctly.
Step 2: Introducing llSetVehicleType
Now, let's turn this lifeless object into a vehicle. Right-click your linked object, select 'Edit', go to the 'Content' tab in the build window, and create a 'New Script'.
Delete the default code and replace it with this:
default
{
    state_entry()
    {
        llSetVehicleType(VEHICLE_TYPE_CAR);
    }
}
Save the script. That's it! You've just created a "vehicle." If you try to sit on it (right-click > Sit Here), you'll notice your camera perspective changes to a driving view. You can't move yet, but the physics engine now recognizes it as a car.
The llSetVehicleType() function accepts one of several predefined constants. Each constant loads a set of default physics parameters suited for a specific type of vehicle.
| Vehicle Type Constant | Description |
|---|---|
VEHICLE_TYPE_NONE |
Turns off the vehicle physics. The object behaves like a normal prim. |
VEHICLE_TYPE_SLED |
A basic, slippery type. It has no vertical support and slides along surfaces. |
VEHICLE_TYPE_CAR |
Simulates a standard car with suspension, friction, and steering. A great starting point. |
VEHICLE_TYPE_BOAT |
Simulates a boat's behavior in water, including buoyancy and water friction. |
VEHICLE_TYPE_AIRPLANE |
Simulates an aircraft with lift and banking. Requires forward motion to stay aloft. |
VEHICLE_TYPE_BALLOON |
Simulates a hot-air balloon with strong vertical attraction (hover) and slow response. |
Part 2: Fine-Tuning with Physics Parameters
Using llSetVehicleType is like choosing a car model off the lot. But the real fun begins when you open the hood and start tuning the engine. This is done with the llSetVehicle*Param family of functions, primarily llSetVehicleFloatParam().
This function lets you override the default settings for your chosen vehicle type. Let's add some hover to our car to make it float slightly, which is great for handling uneven terrain on your free 65,536 sqm island.
Step 3: Add Hover and Stability
Modify your script to look like this:
default
{
    state_entry()
    {
        // Set the base vehicle type
        llSetVehicleType(VEHICLE_TYPE_CAR);

        // --- Custom Physics Tuning ---

        // Set the vehicle to hover 1.0 meters off the ground
        llSetVehicleFloatParam(VEHICLE_HOVER_HEIGHT, 1.0);
        // How quickly it reaches that height (lower is faster)
        llSetVehicleFloatParam(VEHICLE_HOVER_TIMESCALE, 0.5);
        // How "bouncy" the hover is (higher is more stable)
        llSetVehicleFloatParam(VEHICLE_HOVER_EFFICIENCY, 0.8);

        // Add some vertical stability to prevent flipping
        llSetVehicleFloatParam(VEHICLE_VERTICAL_ATTRACTION_TIMESCALE, 1.0);
        llSetVehicleFloatParam(VEHICLE_VERTICAL_ATTRACTION_EFFICIENCY, 0.9);
    }
}
Save this script. You'll see your vehicle pop up and float gently above the ground. It's still not driveable, but it's now customized. There are dozens of parameters you can tweak. Experimenting with them is key to getting the "feel" of your vehicle just right.
Warning: The vehicle parameter system is powerful but sensitive. A small change can have a big effect. Always test your changes incrementally. If your vehicle starts behaving erratically, double-check the values you just changed.
Part 3: Adding Controls and Movement
A vehicle that just sits there isn't very useful. Now we need to script the logic to detect a driver, ask for permission to control their avatar, and translate their keyboard presses into motion.
Step 4: Detecting a Driver and Requesting Permissions
We need to know when someone sits in our vehicle. The changed event fires when this happens. Once a driver is seated, we must ask for permission to take control of their movement keys.
Add this to your script:
key driver; // A global variable to store the driver's key

default
{
    // ... (state_entry from before) ...

    changed(integer change)
    {
        // Check if the change was an avatar sitting or standing
        if (change & CHANGED_LINK)
        {
            // llAvatarOnSitTarget() returns the key of the avatar on the seat
            // If no one is sitting, it returns NULL_KEY
            driver = llAvatarOnSitTarget();

            if (driver != NULL_KEY) // Someone sat down
            {
                // Request permission to take control of the avatar's movement keys
                llRequestPermissions(driver, PERMISSION_TAKE_CONTROLS);
            }
            else // Someone stood up
            {
                // If we had controls, release them
                llReleaseControls();
            }
        }
    }

    // ... (more code to come) ...
}
Step 5: Handling Permissions and Reading Input
When the user clicks "Yes" on the permission dialog, the run_time_permissions event is triggered in our script. This is our cue to officially take control. Once we have control, the control event will fire every time the driver presses a designated key (W, A, S, D, arrows, etc.).
Add these final event handlers to your script:
// ... (script so far) ...

run_time_permissions(integer perm)
{
    // Check if the permission granted was for taking controls
    if (perm & PERMISSION_TAKE_CONTROLS)
    {
        llTakeControls(CONTROL_FWD | CONTROL_BACK | CONTROL_LEFT | CONTROL_RIGHT, TRUE, FALSE);
    }
}

control(key id, integer level, integer edge)
{
    // This is where the magic happens! We'll add movement logic here.
}
The llTakeControls() function tells the system which keys we want to listen for. In this case, we're grabbing the forward, back, left, and right controls.
Step 6: The Complete Driveable Car Script
Now, let's fill in the control event with actual movement logic. We will use the "motor" parameters of the vehicle system. We'll set a direction for the motor to push and a timescale for how quickly it gets to full power.
Here is the full, working script. This code will create a simple, fun, and functional hover-car.
// --- ALIFE VIRTUAL SCHOOL: LSL VEHICLE SCRIPT ---

// --- GLOBAL VARIABLES ---
key gDriver;            // Stores the key of the current driver
integer gControls;      // Stores the current control flags

// --- VEHICLE PARAMETERS ---
float FWD_SPEED = 8.0;
float REV_SPEED = -4.0;
float TURN_SPEED = 2.0;

// --- INITIALIZATION ---
default
{
    state_entry()
    {
        // Set up the basic vehicle physics profile
        llSetVehicleType(VEHICLE_TYPE_CAR);

        // --- Custom Physics Tuning ---
        // Set hover parameters
        llSetVehicleFloatParam(VEHICLE_HOVER_HEIGHT, 0.8);
        llSetVehicleFloatParam(VEHICLE_HOVER_TIMESCALE, 0.5);
        llSetVehicleFloatParam(VEHICLE_HOVER_EFFICIENCY, 0.8);

        // Set vertical attraction to prevent flipping
        llSetVehicleFloatParam(VEHICLE_VERTICAL_ATTRACTION_TIMESCALE, 1.0);
        llSetVehicleFloatParam(VEHICLE_VERTICAL_ATTRACTION_EFFICIENCY, 0.9);

        // Set motor decay so it stops when keys are released
        llSetVehicleFloatParam(VEHICLE_LINEAR_MOTOR_DECAY_TIMESCALE, 0.5);
        llSetVehicleFloatParam(VEHICLE_ANGULAR_MOTOR_DECAY_TIMESCALE, 0.5);

        // Make the seat prim sit-able
        llSitTarget(<0.0, 0.0, 0.5>, ZERO_ROTATION);
    }

    changed(integer change)
    {
        if (change & CHANGED_LINK)
        {
            gDriver = llAvatarOnSitTarget();

            if (gDriver != NULL_KEY) // Driver sat down
            {
                llRequestPermissions(gDriver, PERMISSION_TAKE_CONTROLS);
            }
            else // Driver stood up
            {
                llReleaseControls();
                // Stop all motors
                llSetVehicleVectorParam(VEHICLE_LINEAR_MOTOR_DIRECTION, ZERO_VECTOR);
                llSetVehicleVectorParam(VEHICLE_ANGULAR_MOTOR_DIRECTION, ZERO_VECTOR);
            }
        }
    }

    run_time_permissions(integer perm)
    {
        if (perm & PERMISSION_TAKE_CONTROLS)
        {
            // Take control of standard movement keys
            llTakeControls(CONTROL_FWD | CONTROL_BACK | CONTROL_LEFT | CONTROL_RIGHT, TRUE, FALSE);
        }
    }

    control(key id, integer level, integer edge)
    {
        // Store the state of the keys being pressed
        gControls = level;

        vector linear_motor;
        vector angular_motor;

        // --- FORWARD / BACKWARD ---
        if (gControls & CONTROL_FWD)
        {
            linear_motor.x = FWD_SPEED;
        }
        else if (gControls & CONTROL_BACK)
        {
            linear_motor.x = REV_SPEED;
        }

        // --- TURNING ---
        if (gControls & CONTROL_LEFT)
        {
            angular_motor.z = TURN_SPEED;
        }
        else if (gControls & CONTROL_RIGHT)
        {
            angular_motor.z = -TURN_SPEED;
        }

        // Apply the forces
        llSetVehicleVectorParam(VEHICLE_LINEAR_MOTOR_DIRECTION, linear_motor);
        llSetVehicleFloatParam(VEHICLE_LINEAR_MOTOR_TIMESCALE, 0.5);

        llSetVehicleVectorParam(VEHICLE_ANGULAR_MOTOR_DIRECTION, angular_motor);
        llSetVehicleFloatParam(VEHICLE_ANGULAR_MOTOR_TIMESCALE, 0.5);
    }
}
Save this script, hop in your vehicle, grant permissions, and use your arrow keys or WASD to drive! Congratulations, you've just scripted a working vehicle in Alife Virtual!
Common Mistakes and How to Avoid Them
- Script in the Wrong Prim: The vehicle script must be in the root prim of your linkset. If your vehicle doesn't respond, this is the first thing to check.
- Permissions Not Granted: If you can't control the vehicle, you may have clicked "No" on the permissions dialog, or your script might be missing the
llRequestPermissionscall. - Vehicle Flies Away or is Unstable: Your motor or force values are too high, or your friction/attraction values are too low. Tweak your
VEHICLE_parameters. Lower values are generally more stable. - Wrong Local Axis: The script above assumes the "front" of your vehicle is along the local X-axis. If your car goes sideways, you either need to rotate the root prim in the editor or change the motor vector (e.g., from
linear_motor.xtolinear_motor.y).
Advanced Tips and Tricks
- Realistic Banking: For aircraft or speedy cars, use
VEHICLE_BANKING_EFFICIENCY. A value of 1.0 will cause your vehicle to bank sharply into turns, while 0.0 will keep it flat. - Sounds and Effects: Use the
controlevent to add engine sounds. You can usellLoopSound()for a constant engine hum and change the volume based on speed. Add a particle script for exhaust smoke! Since Alife Virtual offers free texture and sound uploads, you can create a truly unique sensory experience without spending a dime. - Manual Physics: For ultimate control, you can bypass the vehicle system entirely. Set
llSetStatus(STATUS_PHYSICS, TRUE);and then use functions likellApplyImpulseandllSetForcedirectly in thecontrolevent. This is much more complex but allows for unique behaviors not possible with the vehicle presets.
Practice Exercise: Build a Boat!
Now it's your turn to apply what you've learned. Your mission is to create a simple boat.
- On your free island, build a simple boat-like shape near the water.
- Copy the complete car script from above into its root prim.
- Make the following changes:
- Change
llSetVehicleType(VEHICLE_TYPE_CAR);tollSetVehicleType(VEHICLE_TYPE_BOAT);. - Remove all the
VEHICLE_HOVER_parameters. The boat type handles its own buoyancy. - Experiment with the
FWD_SPEEDandTURN_SPEEDvariables. Boats are generally slower to turn than cars.
- Change
- Save the script and test your boat in the water! See how it handles differently from the car.
Frequently Asked Questions (FAQ)
- Why does my vehicle tip over so easily?
- This is usually due to a high center of mass or insufficient vertical stability. Try increasing
VEHICLE_VERTICAL_ATTRACTION_EFFICIENCYto a value closer to 1.0. Also, ensure your vehicle build isn't too top-heavy. - Can I make a vehicle without using
llSetVehicleType? - Yes, this is what we call "manual physics." You would use
llSetStatus(STATUS_PHYSICS, TRUE)and then apply all forces yourself with functions likellApplyImpulse. It's much more difficult but offers total control. The vehicle functions are a powerful and highly recommended shortcut. - How do I make the vehicle stop when I let go of the keys?
- The vehicle parameters
VEHICLE_LINEAR_MOTOR_DECAY_TIMESCALEandVEHICLE_ANGULAR_MOTOR_DECAY_TIMESCALEcontrol this. A smaller value (e.g., 0.5) will cause the motor to "decay" or stop quickly when you release the controls. A larger value will make it drift more. - Do these LSL vehicle scripts work in Second Life too?
- Absolutely! Alife Virtual prides itself on full, identical LSL support. Any vehicle script you write and perfect here will work exactly the same in Second Life. The difference is that in Alife Virtual, you have a free island, 10,000 prims, and zero upload fees to learn, experiment, and perfect your craft without financial pressure.
Summary and Next Steps
You've done it! You've successfully navigated the complexities of LSL vehicle scripting. You learned how to define a vehicle with llSetVehicleType, customize its physical properties with llSetVehicleFloatParam, and give it life with driver controls and motor forces. You now possess one of the most sought-after scripting skills in any virtual world.
Your journey doesn't end here. The next step is to experiment. Try building an airplane using VEHICLE_TYPE_AIRPLANE. Design a custom body for your car with unique prims and textures. Explore the other vehicle parameters to create a truly one-of-a-kind ride. Keep pushing the boundaries of what's possible.
Ready to start building your dream garage? There's a whole world waiting for you to explore it, and now you can build the very wheels (or wings, or hulls) to do so. Join our vibrant community and let your creativity run wild.
Register for your free Alife Virtual account today and immediately claim your for one month-free private island. With no monthly fees, a free full-body mesh avatar, and a welcoming community, Alife Virtual is the ultimate sandbox for creators. We can't wait to see what you'll build!
🎓 Ready to Practice In-World?
Get your FREE island and practice everything you just learned — no credit card, no monthly fees.
Claim Your Free Island Now →No credit card required · Takes 2 minutes · Your island is FREE for one month