Monetizing Classes: Selling Your Knowledge
Monetizing Classes: Selling Your Knowledge — Free class in Alife Virtual School
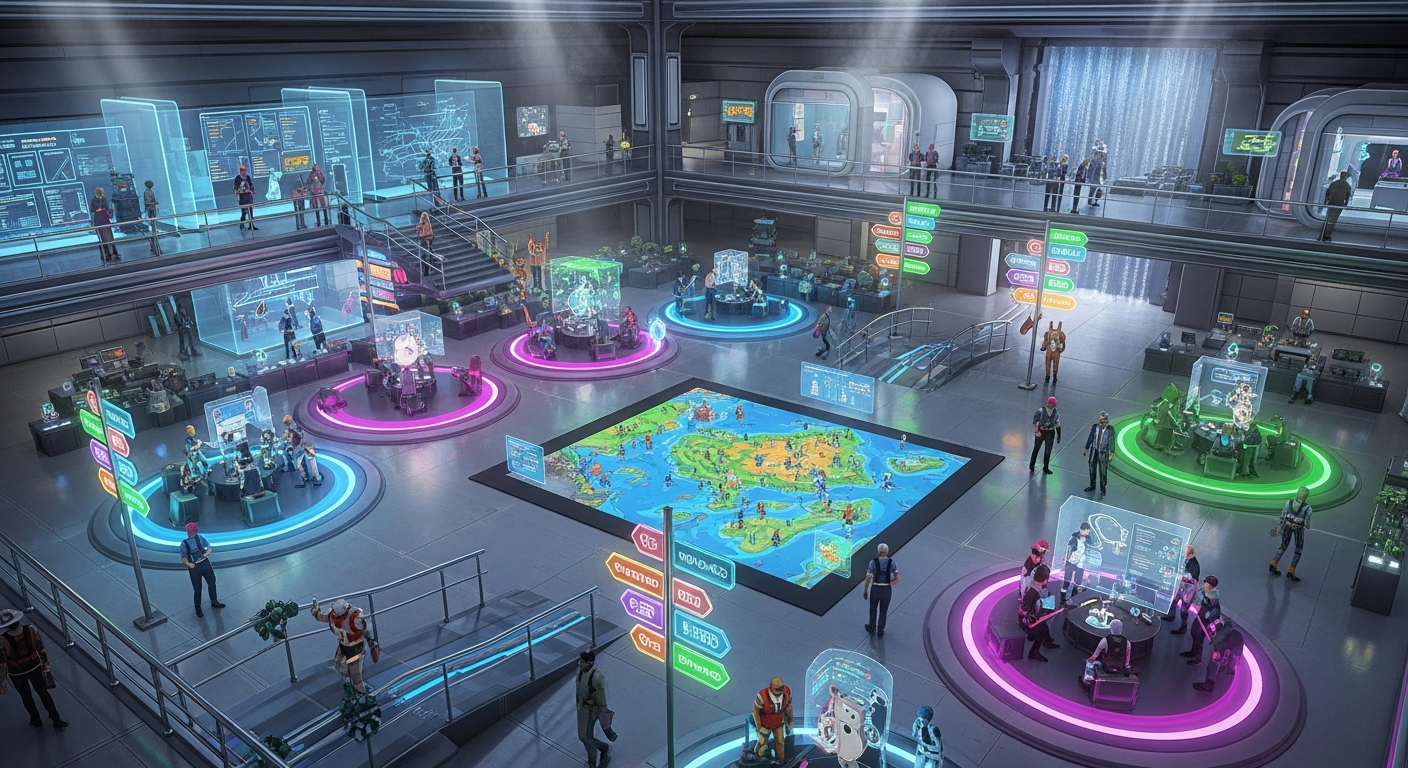
Welcome, creators and future entrepreneurs, to Alife Virtual School. In the rapidly expanding metaverse, your unique skills and knowledge are not just hobbies—they are valuable assets. This class, Monetizing Classes: Selling Your Knowledge, is your comprehensive guide to transforming your expertise into a sustainable business right here in Alife Virtual. Forget the idea that you need to be a master coder or a 3D modeling prodigy; if you have a skill to share, whether it's building, scripting, fashion design, or even hosting events, you have the potential to build a thriving enterprise in this vibrant free 3D world. We will dive deep into the practical steps of creating tutorial hubs, packaging and selling your knowledge as instructional notecards, and orchestrating profitable paid workshops within Alife Virtual's revolutionary, cost-free environment.
The Alife Advantage: Zero Overhead, Infinite Potential
Before we build your business, let's establish why Alife Virtual is the ultimate launchpad for your educational venture, especially when compared to older platforms. In a typical Second Life alternative or open simulator grid, starting a business means facing significant upfront and recurring costs. Alife Virtual shatters that model.
The financial barrier to entry is zero. This isn't just a feature; it's a fundamental shift in the virtual economy, designed to empower creators like you. Let's break down the staggering difference in cost:
| Feature / Cost | Alife Virtual | Competitors (e.g., Second Life) |
|---|---|---|
| Private Island (Full Region) | FREE (65,536 sqm, yours for one month) | ~$300 USD per month + setup fees |
| Asset Uploads (Textures, Mesh, etc.) | FREE & UNLIMITED | L$10 (~$0.04 USD) per upload |
| Starting Capital Needed for a Store | $0.00 | Hundreds of dollars for land and initial uploads |
| Profit Margin | Potentially 100% (no overhead costs) | Significantly reduced by monthly land fees |
This isn't just about saving money. It's about freedom. The freedom to experiment, to build big, to fail without financial ruin, and to reinvest every single Alife Credit (AC$) you earn back into your business. Your FREE private island isn't a small starter plot; it's a massive canvas for you to build a sprawling educational campus if you wish, at no cost.
What You Will Learn
By the end of this masterclass, you will be equipped to:
- Identify your unique, marketable skills within the Alife Virtual ecosystem.
- Design and build a functional and attractive Tutorial Hub on your free island.
- Create, package, and set permissions for a sellable instructional notecard.
- Set up a simple, scripted vendor to sell your products automatically.
- Plan, promote, and execute a paid, live workshop for other residents.
- Understand the core principles of pricing, marketing, and customer service in a virtual economy.
Prerequisites
This is a beginner's guide to business, but it assumes you have a basic familiarity with the Alife Virtual environment. You should be comfortable with:
- Basic avatar movement and camera controls.
- Opening and managing your inventory.
- Using the Build menu (Ctrl+B) to
rezand manipulate prims. - Basic texture application on prims.
- Communicating via local and group chat.
Your Step-by-Step Guide to Building an Education Business
Let's move from theory to practice. We will build your business from the ground up, one strategic step at a time.
Part 1: Define Your Niche - What Will You Teach?
The first step is introspection. What do you know that others want to learn? Don't underestimate your skills. New users arrive in Alife Virtual every day, and they need help with everything.
- Brainstorm Your Skills: Create a notecard in-world and list everything you're good at. Examples include:
- Building: Basic prim manipulation, creating simple furniture, texturing.
- Scripting: Beginner
LSL scriptingfor doors, lights, or greeters. - Design: Avatar styling, creating skins/tattoos, basic mesh clothing.
- Social: Hosting events, DJing, roleplaying etiquette.
- Business: Landscaping, store design, marketing.
- Identify Your Target Audience: Who are you teaching? Absolute beginners? Intermediate builders? Defining your audience helps you tailor your content and marketing. A class for brand new users will be very different from one for aspiring scripters.
- Start Small and Specific: Don't try to teach "everything about building." Start with "How to Build a Simple Chair" or "5 Essential Texturing Tricks." A narrow focus establishes you as an expert in that specific area and makes your products easier to create.
Part 2: Build Your Classroom - The Tutorial Hub
Your free 65,536 sqm island is your campus. You don't need to build a massive university on day one. Start with a small, professional Tutorial Hub.
- Choose a Location: Find a nice, flat area on your island. Set a landmark for easy teleportation.
- Create the Structure:
Reza large prim cube for the floor (e.g., 20m x 20m x 0.5m).Rezprims for walls. Remember to leave an opening for the entrance.- Keep the design simple and clean. Good lighting is crucial. You can use prims with the "Light" feature enabled in the build menu.
- Designate Zones: A good hub has three key areas:
- Welcome Area: The first thing visitors see. Include a welcome sign, a group joiner for your business, and perhaps a landmark giver to your main store.
- Demonstration Area: An open space where you can conduct live workshops. You might include a stage, seating for students, and a large "screen" (a flat prim) where you can display textures with instructions.
- Vendor Area: A dedicated section with your product vendors. This is where you'll sell your notecards, texture packs, and pre-built models.
- Branding: Create a simple logo for your school. Since uploads are free in Alife, you can create one in an external program (like Canva or GIMP) and upload it at no cost. Apply this logo to your walls and vendors to create a professional, branded look.
Pro Tip: Set your Tutorial Hub as your island's landing point. In the World > Region/Estate > Estate tab, you can set the "Teleport Routing" to a specific position. When people visit your island, they'll arrive directly at your classroom.
Part 3: Package Your Knowledge - The Instructional Notecard
The simplest product to sell is a well-written instructional notecard. It's a low-effort, high-value item that can generate passive income.
- Create a New Notecard: Go to your inventory, click the
+button, and select "New Notecard." - Structure Your Content: A professional notecard is easy to read. Use clear headings, short paragraphs, and lists.
- Title: e.g., "How to Create a Glowing Prim"
- Introduction: Briefly explain what the student will learn.
- Required Materials: e.g., "1 prim."
- Step-by-Step Instructions: Be precise. Use terms like "Right-click the object," "Go to the Texture tab," etc.
- Pro Tips: Add a small section with extra advice.
- Your Brand: End with your name and the name of your school.
- Create a "Box" for the Product:
Reza simple prim cube. This will be the packaging.- Create a nice texture for the box that clearly states the product's name and price. Again, free uploads make this easy.
- Rename the prim box in your inventory to something clear, e.g., "[Your School] Glowing Prim Tutorial."
- Package the Product:
- Drag the instructional notecard from your inventory into the Contents tab of the box prim you created.
- Crucially, set the permissions. Right-click the notecard inside the box's contents. Set its permissions to No Modify / No Copy / Yes Transfer for the next owner. This prevents the buyer from giving away free copies.
- Take the fully packaged box back into your inventory.
Part 4: Automate Your Sales - The Vendor System
A vendor is an object that takes payment from a customer and delivers a product. While complex vendors require advanced LSL scripting, we can start with a very simple concept.
- Create the Vendor Prim:
Reza prim to serve as your vendor. It could be a simple panel, a custom mesh object, or anything you like. Texture it with your product information. - The "Pay" Method: The simplest vendor in a virtual economy uses the object's built-in "Pay" feature. Right-click your vendor prim, select "Pay...". A user can pay the object directly. The challenge is automating the delivery.
- A Simple Delivery Script: For true automation, you need a script. Below is a very basic "giver" script. This script will give an item from the vendor's inventory to anyone who touches it. For a paid vendor, the script would be more complex, involving a
money()event. However, for a beginner, a touch-to-get system for a freebie is a great way to start.// Simple Item Giver Script - Touch to receive // Place this script and the item to be given inside a prim. default { touch_start(integer total_number) { // Get the name of the first item in the prim's inventory string itemName = llGetInventoryName(INVENTORY_OBJECT, 0); // Check if there is an item to give if (itemName != "") { // Give a copy of the item to the person who touched the prim llGiveInventory(llDetectedKey(0), itemName); // Tell the user they received the item llSay(0, "Thanks for your interest! I've sent you " + itemName + "."); } else { // If the prim's inventory is empty llSay(0, "Sorry, this vendor is currently out of stock."); } } } - Setting Up the Simple Giver Vendor:
- Create a new script in your inventory, name it "SimpleGiver," and paste the code above.
- Drop the "SimpleGiver" script into your vendor prim's Contents tab.
- Drop your packaged product (the tutorial box we made) into the vendor prim's Contents tab as well. Make sure the product has Copy/Transfer permissions for the next owner, but the notecard inside should still be No Copy.
- Your vendor is now active! When someone touches it, they will receive a copy of your product. This is perfect for giving away a free sample to attract customers.
Common Mistake: Incorrect Permissions. Always double-check the permissions on your items. If you sell aNo Copyproduct, you have to restock the vendor after every sale. If you sell aCopy/Transferproduct, people can give it away. The standard for most goods is Yes Copy / No Modify / No Transfer for the final product sold to the customer.
Part 5: Go Live - Running a Paid Workshop
Live workshops offer high value and command higher prices. They are interactive, personal, and establish you as a true expert.
- Plan Your Class: Define the topic, duration (e.g., 60 minutes), price (e.g., AC$ 250), and maximum number of students (e.g., 10, to keep it manageable).
- Promote the Event: This is key!
- Announce your workshop in the Alife Virtual official group chat and on any relevant community forums.
- Create an in-world poster with the date, time (specify SLT/PST), topic, price, and a landmark to your Tutorial Hub.
- Network! Visit other popular spots and talk about your upcoming class.
- Set Up the Payment System:
- The Honor System: For your first class, simply place a "Tip Jar" prim near the entrance and ask students to pay the class fee upon arrival. Right-click the prim and set it to "Pay."
- The Scripted Door (Intermediate): A more advanced method is a scripted door that only opens for a specific group, or after a user pays it. This requires a more complex script.
- Execute the Workshop:
- Start on time. Welcome everyone and briefly outline the class.
- Speak clearly using voice or type in local chat. Use a prim "screen" to show textures with key points.
- Walk students through the steps live. Encourage questions.
- At the end, thank everyone for coming and perhaps offer them a notecard summary of the class as a bonus.
Advanced Applications
Once you've mastered the basics, you can expand your educational empire:
- Interactive Tutorials: Use
LSL scriptingto create self-paced tutorials where objectsrezand provide instructions as the student progresses. - Subscription Models: Create a private group. For a monthly fee (paid to you directly), members get access to exclusive tutorials, a weekly Q&A session, and a new freebie pack every month.
- Full Kits: Instead of just a notecard, sell a full kit. For a building class, this could include the notecard, a set of high-quality textures (free for you to upload!), and a few pre-made mesh components.
- Collaborate: Partner with another creator. A builder and a scripter could co-host a workshop on creating interactive furniture, splitting the profits.
Practice Exercise: Your First Product Kiosk
Let's put this into action. Your assignment is to create and launch your very first product.
- Go to your free private island.
- Write a simple instructional notecard on a topic you know well ("How to Change Your Avatar's Shape," "How to Use Landmarks," etc.).
- Package this notecard inside a prim box with a professional-looking texture. Set the notecard permissions correctly (Next Owner: No-Copy).
- Create a simple vendor "kiosk" (a prim with your branding and product info).
- Use the simple giver script provided in this tutorial to create a freebie vendor that gives away your new tutorial.
- Announce your new freebie in the Alife Virtual main group chat with a landmark to your kiosk. This is your first marketing campaign!
Frequently Asked Questions (FAQ)
- 1. How do I determine the price for my products or classes?
- Start by looking at what, if any, similar products sell for. However, the main driver is value. How much time will your tutorial save someone? A 60-minute live class that teaches a valuable skill is worth more than a simple notecard. A good starting range for notecards is AC$ 25-100, and for live workshops, AC$ 250-1000, depending on the complexity.
- 2. What if someone copies my work and gives it away for free?
- Digital content protection is a challenge in any metaverse. Using correct permissions (No-Transfer on items you sell) is your first line of defense. However, the best defense is building a strong brand. Customers will pay for quality, support, and updates directly from the original creator. Focus on providing value that pirates can't replicate, like live support and a community around your brand.
- 3. Do I need to be an expert in
LSL scriptingto have a business? - Absolutely not. You can run a successful business selling manual-delivery items or using simple, free scripts found in creator resource centers. Many successful virtual businesses started with just notecards and pre-built items. You can learn scripting as you go to enhance your business later.
- 4. How do I get my first students and customers?
- Be active and visible. Participate in community chats, offer helpful advice for free, and mention that you have tutorials available. Use the Alife Virtual groups and social media. Your freebie vendor is a powerful marketing tool—it draws people in and shows them the quality of your work, making them more likely to buy a premium product.
- 5. What is the in-world currency and how do I cash it out?
- The in-world currency is Alife Credits (AC$). The virtual economy of Alife is designed to be self-contained and 100% free, meaning there are no official "cash-out" options to real-world currency. The value you generate is in the goods, services, and land you can acquire within the virtual world. Think of it as building a powerful and influential empire inside Alife, funded by your knowledge.
Your Empire Awaits. Join Alife Virtual Today.
You now hold the blueprint to build a business from nothing but your own knowledge. The barriers that exist in other virtual worlds have been demolished here. Your FREE Private Island is waiting. Your FREE unlimited uploads are ready. Your success is limited only by your imagination and your drive to teach.
Stop paying hundreds of dollars a month just to exist. Stop paying a fee for every single texture you upload. Step into a world built for creators, by creators. Step into Alife Virtual.
Click here to join Alife Virtual for free and claim your island. Your students are waiting.
🎓 Ready to Practice In-World?
Get your FREE island and practice everything you just learned — no credit card, no monthly fees.
Claim Your Free Island Now →No credit card required · Takes 2 minutes · Your island is FREE for one month