CLASS 28: PBR Materials in Alife Virtual
PBR Materials in Alife Virtual — Free class in Alife Virtual School
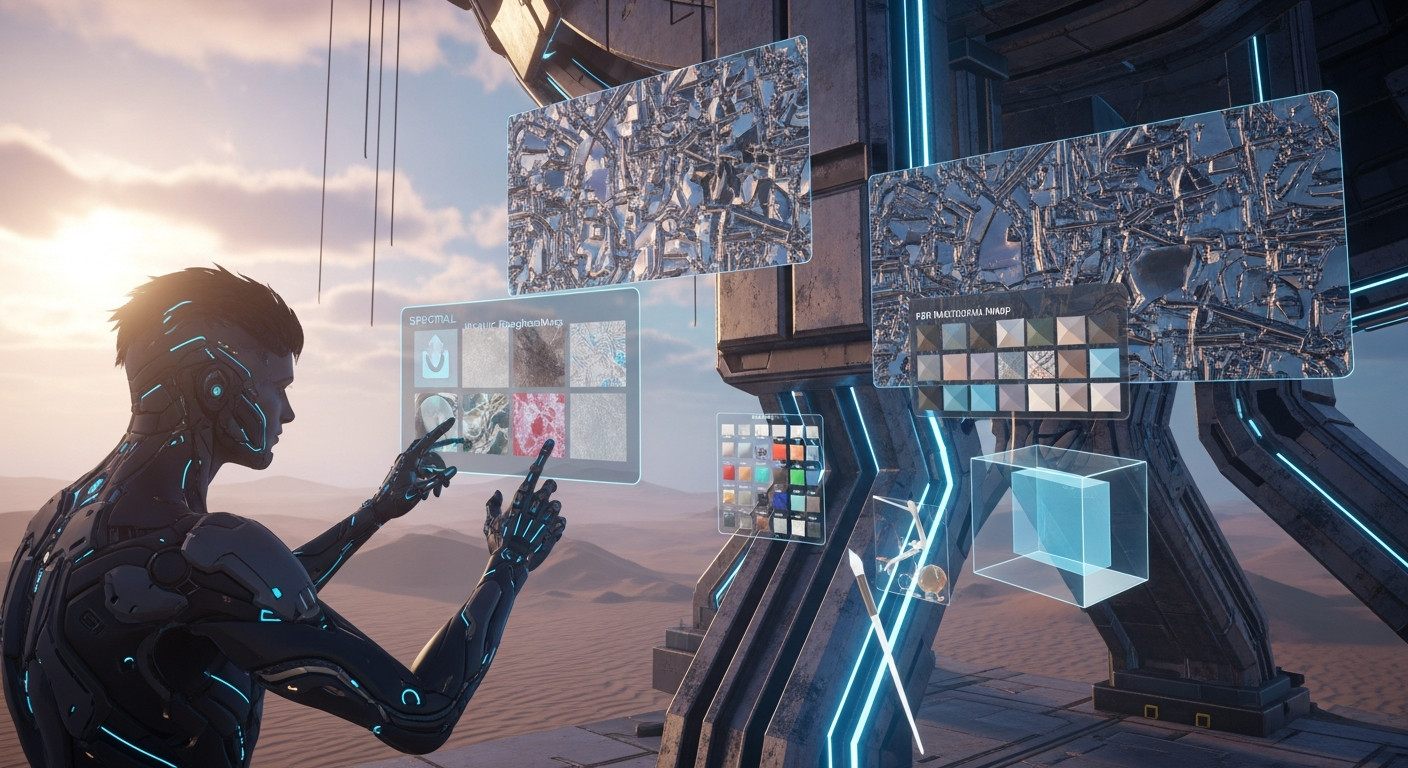
Welcome, creators, to Alife Virtual School! Today, we're diving deep into one of the most transformative features available in our free 3D world: PBR Materials in Alife Virtual. If you've ever marveled at the stunning realism of modern video games—the glint of light on polished steel, the soft diffusion across worn leather, or the eerie glow of a futuristic console—you've witnessed the power of Physically Based Rendering (PBR). This intermediate-level class will demystify the PBR workflow and empower you to apply these same breathtaking, real-time lighting effects to your own mesh creations, elevating your builds from static objects to dynamic, immersive art. In a rapidly evolving metaverse, mastering PBR is no longer a luxury; it's a fundamental skill for any serious creator, and here in Alife Virtual, we give you the tools to master it without the financial barriers found elsewhere.
The Alife Advantage: Create Without Cost
In the vast landscape of virtual worlds, creative freedom is often gated by financial constraints. Building a high-fidelity presence in a platform like Second Life can be an expensive endeavor. Every texture, mesh model, and sound you upload comes with a fee. Securing land to build on requires a significant upfront investment and hefty monthly tier payments. Alife Virtual was built on a different philosophy: a truly free 3D world where your imagination is the only limit.
Let's break down the cost difference for a typical PBR project:
| Feature / Action | Alife Virtual Cost | Typical "Second Life Alternative" Cost |
|---|---|---|
| Uploading 4 PBR Maps (Diffuse, Normal, M/R, Emissive) | $0.00 (FREE Unlimited Uploads) | ~$0.16 (L$40 at L$10/upload) |
| Uploading 1 Complex Mesh Model | $0.00 (FREE Unlimited Uploads) | ~$0.20 - $2.00+ (Based on complexity) |
| Land to Build On (Full 65,536sqm Region) | $0.00 (FREE Private Island, for one month) | ~$349/month + setup fees |
| Total Cost for One PBR Asset on Your Own Land | $0.00 | ~$350+ per month |
This isn't just about saving money; it's about fostering a vibrant virtual economy and community built on pure creativity. With Alife Virtual, you can experiment, iterate, and perfect your PBR materials without ever worrying about upload fees or land costs. You can focus on what truly matters: bringing your vision to life.
What You Will Learn
By the end of this masterclass, you will be able to:
- Understand the core concepts of the PBR Metallic/Roughness workflow.
- Identify and explain the purpose of each essential PBR texture map: Diffuse, Normal, Metallic/Roughness, and Emissive.
- Prepare and correctly channel-pack your textures for optimal use in our open simulator environment.
- Upload your PBR maps to Alife Virtual for free.
- Apply and configure PBR materials to a mesh object using the Firestorm Viewer's build tools.
- Troubleshoot common issues to achieve photorealistic results.
Prerequisites
This is an intermediate class. We assume you have a basic understanding of the following:
- Navigating the Alife Virtual world using the Firestorm Viewer.
- Basic 3D modeling concepts (you should have a mesh object ready to use).
- Familiarity with creating or obtaining textures. Access to software like Substance Painter, ArmorPaint, Quixel Mixer, Photoshop, or GIMP is highly recommended.
- A foundational knowledge of the build/edit window within the viewer.
Step-by-Step Tutorial: From Flat to Photorealistic
Let's begin the journey of transforming a simple mesh object into a dynamic, realistic asset. For this tutorial, we will use a sci-fi metal panel as our example object.
Part 1: Understanding the PBR Texture Maps
PBR mimics how light behaves in the real world. To do this, it requires more information than just a simple color texture. We provide this information using a set of specialized images called maps.
1. Diffuse Map (Albedo)
This is the map you are likely most familiar with. It defines the base color of the material, devoid of any lighting or shadow information. Think of it as what the object would look like under perfect, flat, white light.
- File Type:
.png,.tga - What it does: Sets the raw color and pattern.
- Editor Slot:
Texture (Diffuse)
2. Normal Map
This is where the magic of surface detail begins. A Normal Map is a special purple/blue-hued texture that tells the rendering engine how to simulate high-resolution geometric detail on a low-polygon surface. It fakes the appearance of bumps, dents, scratches, and grooves without adding any actual polygons to your mesh. This is crucial for performance in a real-time metaverse environment.
- File Type:
.png,.tga - What it does: Adds fake 3D surface detail and depth.
- Editor Slot:
Normal Map (Bumpiness)
3. Metallic/Roughness Map (The "PBR" Map)
This is the heart of the PBR system and the most technically specific map. In Alife Virtual, and most modern GLTF-based engines, we use a "channel-packed" map. This means we store two different types of information (Metallic and Roughness) in the Red and Green channels of a single image file to save memory and upload slots.
- Metallic (Red Channel): A grayscale map that defines which parts of your object are raw metal (white) and which are non-metal/dielectric (black). Values in between represent things like dust or rust on a metal surface.
- Roughness (Green Channel): A grayscale map that defines how rough or smooth a surface is. A pure black value creates a perfectly smooth, mirror-like surface. A pure white value creates a completely matte, diffuse surface. This controls the sharpness and size of light reflections.
- File Type:
.png,.tga - What it does: Controls the core material properties of metalness and surface reflection.
- Editor Slot:
Metallic/Roughness Map (Shininess)
4. Emissive Map
This map tells the engine which parts of your object should glow or emit their own light, independent of any external light sources. It's perfect for computer screens, alien symbols, neon signs, or engine thrusters. A black area on this map emits no light, while brighter colors (like white, red, or blue) will glow with that color.
- File Type:
.png,.tga - What it does: Makes parts of the object glow.
- Editor Slot:
Emissive Map (Glow)
Part 2: Preparing and Exporting Your Maps
Before you can upload, you must ensure your maps are correctly formatted, especially the Metallic/Roughness map. Here, we'll use a common workflow from Substance Painter, but the principles apply to any texturing software.
- Normal Map Format: Ensure your project is set to use the OpenGL Normal format, not DirectX. The key difference is the direction of the Green channel. If your normal maps look inverted in-world, this is almost always the cause.
- Channel Packing: This is the most critical step. You need to create a single texture file for Metallic/Roughness.
- The Red (R) channel of your output image must contain your Metallic map.
- The Green (G) channel of your output image must contain your Roughness map.
- The Blue (B) channel is typically left black as it is unused in this workflow.
In Substance Painter, you can create a custom export preset. Create a new
RGBoutput map. Drag your input mapMetallicto theRchannel and your input mapRoughnessto theGchannel. LeaveBempty or set it to black. Name this export map something clear, likeMyAsset_PBR_MR. - Export Settings: Export all four maps (Diffuse, Normal, Metallic/Roughness, Emissive) as
.pngfiles. A resolution of1024x1024is a great balance of quality and performance for most assets. For very small details,512x512may suffice.
Pro Tip: Always name your files logically before uploading. For example:
sci_fi_panel_diff.png,sci_fi_panel_norm.png,sci_fi_panel_mr.png,sci_fi_panel_emis.png. This will save you immense confusion later.
Part 3: Free Unlimited Uploads to Alife Virtual
Now, let's bring your maps into our world. Thanks to Alife Virtual's commitment to a 100% free economy, this part is simple and costs you nothing.
- In the Firestorm Viewer, navigate to the top menu and click
Build > Upload > Image... ($0). - A file browser will open. Select one of your exported
.pngmaps. - The "Upload Image" preview window will appear. The name will be pre-filled. Click the
Upload ($0)button. - Repeat this process for all four of your PBR maps. They will now appear in your inventory's
Texturesfolder.
Part 4: Applying PBR Materials In-World
This is where your creation comes to life. Rez your mesh object on your FREE private island and let's get to work.
- Right-click your mesh object and choose
Edit. - In the edit window, go to the Texture tab.
- Make sure
Select Faceis ticked. Click on the surface of your mesh that you want to apply the material to. If the whole object uses one material, you can apply it to all faces at once. - You'll see a section for
Texturewith a dropdown menu that currently saysTexture (Diffuse). This is where we apply our maps. - Apply the Diffuse Map:
- Click the texture swatch under the
Texture (Diffuse)dropdown. - In the "Pick: Texture" window, find your uploaded diffuse map (e.g.,
sci_fi_panel_diff), select it, and clickOK. Your object's base color should now appear.
- Click the texture swatch under the
- Apply the Normal Map:
- Click the dropdown and change it to
Normal Map (Bumpiness). - Click the new texture swatch and select your uploaded normal map (
sci_fi_panel_norm). You should immediately see detailed shadows and highlights appear on the surface.
- Click the dropdown and change it to
- Apply the Metallic/Roughness Map:
- Click the dropdown and change it to
Metallic/Roughness Map (Shininess). - Click the texture swatch and select your channel-packed metallic/roughness map (
sci_fi_panel_mr). This is the "wow" moment. You will see metallic parts start to reflect light and rough parts become matte.
- Click the dropdown and change it to
- Apply the Emissive Map:
- Click the dropdown and change it to
Emissive Map (Glow). - Click the texture swatch and select your emissive map (
sci_fi_panel_emis). The parts you designated will now begin to glow.
- Click the dropdown and change it to
- Fine-Tuning: Below the texture swatches are several important sliders:
Glossiness: This slider acts as a multiplier for your Roughness map. It is inverted; moving it to the right (higher gloss) makes the surface more reflective (less rough). Keep it at the default middle position (51) to let your texture map do all the work. Adjust it only for minor tweaks.Environment: This slider controls the strength of the environment-based reflections on your object. For highly reflective materials like chrome, you may want to increase this. For most materials, the default value is fine.Glow: This slider controls the intensity of your Emissive map. A value of0means no glow, while1.0is maximum glow.
Congratulations! You have successfully applied a full PBR material set to your object. Move your camera around, change the time of day using the World > Environment Editor, and watch how the light plays realistically across every surface.
Common Mistakes & Pro Tips
- Mistake: My object looks waxy and wrong. Your Metallic/Roughness map is likely incorrect. Double-check that your Metallic information is in the Red channel and Roughness is in the Green channel. Using separate maps for them will not work.
- Mistake: My bumps and dents look inverted. You exported your Normal Map in DirectX format instead of OpenGL. Go back to your texturing software, flip the Green channel (there's often a checkbox for this), and re-export.
- Pro Tip: Use Alpha for Transparency. The
Alpha Modesetting under the texture dropdowns allows you to use the alpha channel of your Diffuse map for transparency. Set it toAlpha Blendingfor glass-like effects orAlpha Maskingfor sharp cutouts (like a chain-link fence).- Pro Tip: Optimize Performance. Not every object needs all four maps. If an object has no glowing parts, skip the Emissive map. If an object is entirely non-metallic (like wood or stone), you can often get away with just a Diffuse and Normal map, using the
Glossinessslider to manually set a roughness value.
Advanced Applications: Taking PBR Further
Once you've mastered the basics, you can explore more dynamic uses for PBR materials.
Animated Materials with LSL Scripting
You can manipulate PBR material properties in real-time using LSL scripting. For example, you can create a blinking light or a pulsating engine glow.
Create a new script inside your object and use the llSetLinkPrimitiveParamsFast function. To make an object's emissive color flash red, you could use a simple timer event:
default
{
    state_entry()
    {
        llSetTimerEvent(1.0); // Fire every second
    }

    timer()
    {
        // Toggle the emissive color between red and off
        if (llGetColor(ALL_SIDES) == <1,0,0>)
        {
            // Set emissive color to black (off)
            llSetLinkPrimitiveParamsFast(LINK_SET, [PRIM_FULLBRIGHT, ALL_SIDES, FALSE, PRIM_EMISSIVE, ALL_SIDES, <0,0,0>]);
        }
        else
        {
            // Set emissive color to red
            llSetLinkPrimitiveParamsFast(LINK_SET, [PRIM_FULLBRIGHT, ALL_SIDES, TRUE, PRIM_EMISSIVE, ALL_SIDES, <1,0,0>]);
        }
    }
}
This opens up a world of possibilities for interactive and dynamic environments, all running smoothly in our high-performance grid.
Practice Exercise
Your mission is to put this knowledge into practice.
- Find or create a simple mesh object, like a treasure chest, a weapon, or a piece of furniture.
- Go to a free PBR texture resource like Poly Haven or AmbientCG and download a full texture set (e.g., "Worn Wood" or "Rusted Metal"). Make sure it includes Diffuse, Normal, and Roughness maps (you may need to get Metallic separately or assume it's black if the material is non-metal).
- Use an image editor like GIMP or Photoshop to create your channel-packed Metallic/Roughness map.
- Upload the necessary maps to Alife Virtual for free.
- Apply the materials to your object on your free private island.
- Experiment with the
Environmentslider and the sun's position to see how your object reacts to different lighting. Share your results in the Alife Virtual Discord community!
Frequently Asked Questions (FAQ)
- 1. Why do my texture uploads cost money in Second Life but are free here?
- Alife Virtual is built on a "creator-first" principle. We believe that financial barriers stifle creativity. By providing FREE unlimited uploads and FREE private islands, we eliminate the costs associated with content creation, allowing our virtual economy to be driven by talent and trade, not by platform fees.
- 2. What's the difference between a Normal Map and a Bump Map?
- A Bump Map is an older technology that uses a simple grayscale image to represent height, meaning it can only push pixels up or down. A Normal Map uses RGB data to represent the direction (X, Y, Z) a surface is facing, allowing for far more complex and accurate lighting details, such as angled dents and beveled edges. For PBR, Normal Maps are the industry standard.
- 3. Can I use PBR materials on basic prims, or only mesh?
- PBR materials are designed to work with mesh objects and will deliver the best results on them. While you can apply the material maps to prims, the lighting calculations may not be as accurate, especially on complex prims (like toruses or twisted prims) where the underlying geometry is not optimized for this type of rendering.
- 4. My Normal Map makes my object look strange and inverted. How do I fix this?
- This is the classic OpenGL vs. DirectX Normal Map issue. Virtual worlds like Alife Virtual use the OpenGL standard. 3D applications and game engines sometimes default to DirectX. The fix is to invert the Green (Y) channel of your Normal Map texture. Most texturing programs have a setting or checkbox for this upon export.
- 5. Does Alife Virtual support other PBR workflows, like Specular/Glossiness?
- Our platform is optimized for the Metallic/Roughness workflow, which is the current industry standard for real-time rendering due to its efficiency and intuitive nature. While the viewer still has a "Specular Map" slot from older systems, for true PBR results, you should focus exclusively on the Metallic/Roughness workflow detailed in this class.
Your Creative Future is Free. Claim It Now.
You now possess the knowledge to create visually stunning content that rivals top-tier games and virtual experiences. The best part? In Alife Virtual, you can do it all without spending a dime. No upload fees. No monthly land payments. Just pure, unadulterated creativity.
Stop paying to create and start building your dream in a truly free 3D world. Join our growing community of artists, developers, and explorers who are defining the future of the metaverse.
Claim Your FREE Private Island in Alife Virtual Today and Start Building!
🎓 Ready to Practice In-World?
Get your FREE island and practice everything you just learned — no credit card, no monthly fees.
Claim Your Free Island Now →No credit card required · Takes 2 minutes · Your island is FREE for one month