Class 4: Snapshot and Photography Tools in Firestorm
Snapshot and Photography Tools in Firestorm — Free class in Alife Virtual School
Welcome, student, to your fourth class at Alife Virtual School! In today's session, we're diving into one of the most rewarding skills you can learn in a virtual world: photography. Alife Virtual is a breathtakingly beautiful place, from the sun-drenched beaches of your own private island to the bustling, creative builds of our 1,148,000+ members. Learning to capture that beauty is how you create lasting memories, share your experiences, and express your artistic vision.
This class will turn you from a happy snapper into a confident virtual photographer. We'll be using the powerful, industry-standard Firestorm Viewer—the very same one used for Second Life, which means every skill you learn here is directly transferable. The big difference? In Alife Virtual, your creative freedom is truly unlimited, with features like free uploads and a massive free island that other platforms charge hundreds of dollars for.
Let's get ready to frame your perfect shot!
What You Will Learn
By the end of this tutorial, you will be able to:
- Take a basic, high-quality snapshot and save it to your computer.
- Save a snapshot directly to your Alife Virtual inventory to use as a texture—for free!
- Capture stunningly detailed, high-resolution images up to 6144x6144 pixels.
- Understand and use Depth of Field (DoF) to create professional-looking photos with a sharp focus and beautifully blurred background.
- Establish a simple yet effective workflow for taking better pictures in-world.
Prerequisites
Before we begin, please make sure you have the following:
- An Alife Virtual Account: If you're not yet a resident, what are you waiting for? Register for free and join our vibrant community.
- Firestorm Viewer Installed: Alife Virtual uses the Firestorm Viewer. Download and install it to log in.
- Your Avatar: Log in and get comfortable with your free full-body mesh avatar. It comes with custom outfits, so you're photo-ready from day one!
- A Sense of Adventure: The best photos come from exploration and experimentation.
Main Tutorial: Your First Steps into Virtual Photography
Ready to go? Let's walk through the process step-by-step. Don't worry, it's easier than you think!
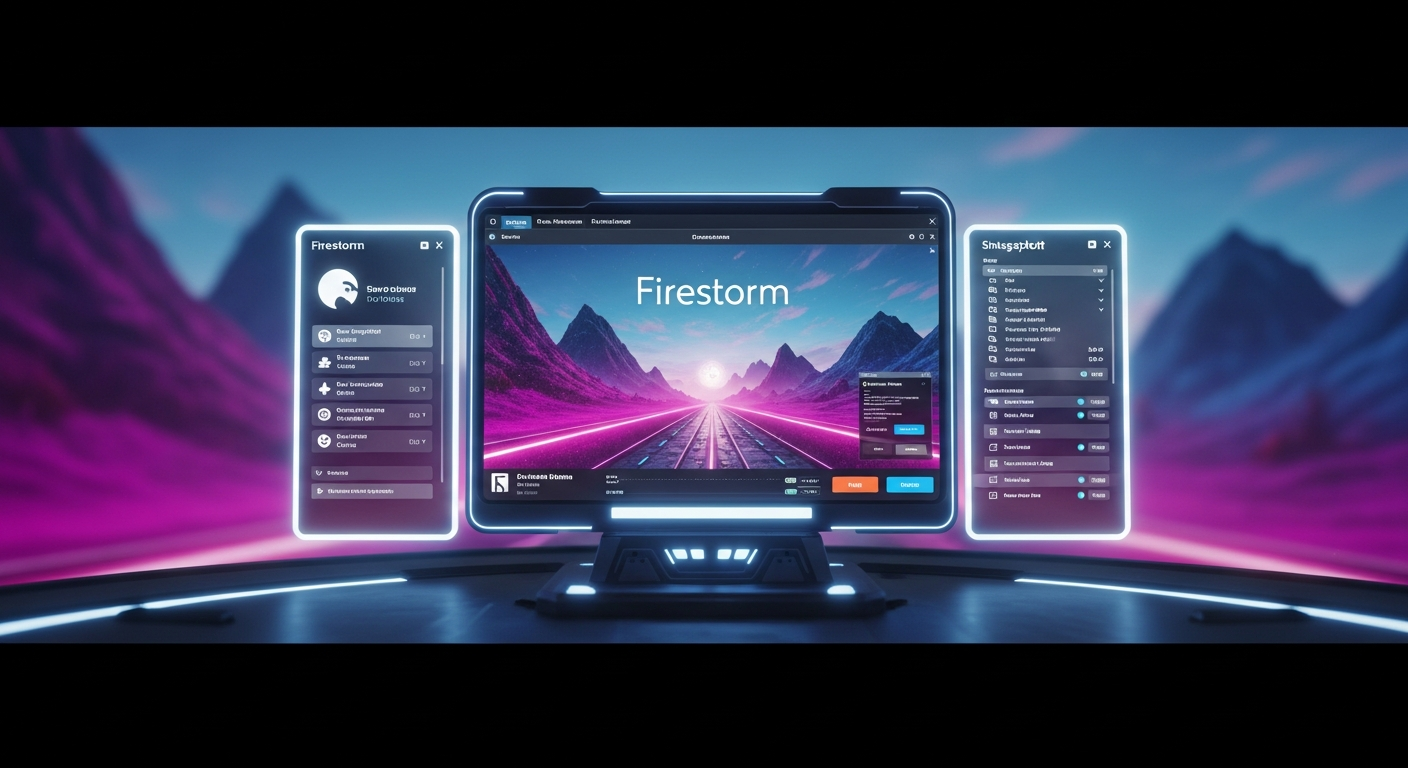
Part 1: Accessing the Snapshot Tool
First, you need to know where to find the tool. Firestorm gives you a couple of easy ways to open the Snapshot window.
- The Toolbar Button: Look at the bottom of your screen. You'll see a toolbar with various buttons. Click the one that looks like a camera, usually labeled "Snapshot".
- The Top Menu: Alternatively, you can go to the top menu bar and navigate to
Avatar > Snapshot.
Either method will open the "Snapshot" window. Take a moment to look at the options. You'll see settings for size, format, and different save destinations. This is your photography command center.
Part 2: The "Save to Disk" Snapshot (Your First Raw Photo)
This is the most common type of snapshot. It saves a standard image file (like a PNG or JPG) directly to your computer's hard drive. This is perfect for sharing on social media, editing in other software, or simply keeping as a memory.
Let's take one now.
- Frame your shot by moving your camera. Use your mouse and arrow keys to find a view you like.
- Open the Snapshot window using one of the methods above.
- In the window, ensure the "Save to Disk" option is selected.
- Under "Format," choose PNG. While JPG files are smaller, PNG offers superior, lossless quality, which is essential for high-quality photography and later editing.
- Click the "Refresh" button. This updates the preview image in the window to match exactly what your camera sees.
- Click the "Save" button. A file browser window will pop up, allowing you to name your file and choose where on your computer to save it.
Pro Tip: Always use PNG for your "master" copies. You can always convert a PNG to a JPG later if you need a smaller file size for a specific purpose, but you can't get back the quality lost by saving as a JPG first.
Part 3: Saving to Your Alife Virtual Inventory
This is a game-changing feature, especially in Alife Virtual. Saving a photo to your inventory turns it into a texture. You can then apply this texture to any prim surface—a picture frame, a wall, a piece of clothing, or a sign. It's how you personalize your space.
In many virtual worlds like Second Life, every upload, including saving a photo to inventory, costs real money (or an in-world equivalent). In Alife Virtual, this is 100% free. This opens up incredible creative possibilities without worrying about fees.
- Frame your shot and open the Snapshot window.
- This time, select the option "Save to Inventory (L$0)". Notice how Alife Virtual proudly displays the zero cost!
- You'll see a dropdown menu with different image sizes (e.g., 512x512, 1024x1024). The size you choose affects the texture's quality. For most uses, 512x512 or 1024x1024 is excellent.
- Click the "Save" button. The image will be uploaded directly into your inventory.
- To find it, open your Inventory (Ctrl+I) and look inside the "Photo Album" folder. From there, you can drag and drop it onto any object you have permission to modify.
A World of Free Creativity: The ability to create unlimited free textures from your snapshots is a cornerstone of building in Alife Virtual. You can create custom art for the walls of your house on your free private island, make personalized gifts for friends, or design unique clothing textures—all without ever paying an upload fee.
Part 4: Mastering High-Resolution Snapshots
Want your photos to look crisp, professional, and full of detail? The secret is high resolution. The default snapshot size is just the size of your viewer window, which might not be very large. We can do much better.
Let's capture an image that's big enough to print!
- Open the Snapshot window.
- Find the "Size" section. Click the dropdown menu that currently says "Current Window" and select "Custom".
- Two boxes will appear for Width and Height. You can enter any dimensions you like, up to a massive 6144 x 6144 pixels. For a standard high-definition shot, try
1920x1080. For a super-detailed art shot, you could go for4096x4096. - Make sure "Save to Disk" and "PNG" are selected.
- Click "Save".
Warning: Be Patient! When you take a high-resolution snapshot, Firestorm has to "stitch together" multiple smaller images to create the final large one. This can cause your viewer to freeze for a few seconds or even up to a minute for extremely large images. This is normal. Do not panic or click anything. Just wait patiently until the "Save As" dialog box appears.
Part 5: Introduction to Depth of Field (DoF)
Depth of Field is what separates a simple "screenshot" from a beautiful "photograph". It's a photographic effect where your main subject is in sharp focus while the background and foreground are softly blurred. It directs the viewer's eye and adds a sense of depth and professionalism.
Setting it up is easy.
- Enable DoF: Go to your top menu:
Avatar > Preferences(or press Ctrl+P). Go to the "Graphics" tab. Make sure your quality slider is at least on "High" or "Ultra". Then, check the box that says "Depth of Field". Click "OK". Your world might look a bit blurry now; that's okay! - Set Your Focus: The key to DoF is telling the camera what to focus on. The easiest way is to use Firestorm's advanced camera tools. Press Alt+Ctrl+F1 to open the "Camera Controls" floater. Now, simply left-click on the object or avatar you want to be in focus. You'll see the focus shift in real-time.
- Fine-Tune the Blur (Optional): For more control, open the Phototools floater by pressing Ctrl+Alt+P. Go to the "DoF/Glow" tab. Here you can play with sliders like "Blur Size" to control how blurry the background gets.
- Take the Shot: Once your focus is set and the blur looks good, open the Snapshot window and take your picture as you normally would (preferably at a high resolution!). The final image will have that beautiful, professional-looking DoF effect.
Common Mistakes and How to Avoid Them
As a beginner, you might run into a few common issues. Here’s how to fix them.
- Mistake 1: My photos look blurry or pixelated.
- Cause: You're likely taking a "Current Window" snapshot on low graphics settings. The snapshot only captures what's being rendered.
Fix: Before taking a photo, go toPreferences > Graphicsand slide the "Quality and Speed" slider to High or Ultra. Then, use the "Custom" size option in the Snapshot tool to capture at a high resolution like 1920x1080 or higher. - Mistake 2: I can see my chat window and buttons in my photo!
- Cause: You forgot to hide the User Interface (UI).
Fix: Use the magic keyboard shortcut: Ctrl+Alt+F1. This toggles all UI elements on and off, giving you a perfectly clean view for your shot. Press it again to bring the UI back. - Mistake 3: My avatar is in a boring, stiff pose.
- Cause: You're using the default standing animation.
Fix: Your free Alife Virtual mesh avatar comes with a folder of poses and animations! You can also find thousands of free or cheap poses and "pose stands" across the grid. Use these to bring life and emotion to your avatar for photos.
Advanced Tips and Tricks
Ready to level up? Try these techniques.
- Master the Light with Windlight/EEP: Lighting is everything. Go to
World > Environment Editor > Environment Settings. Here you can access hundreds of presets that control the sky, sun position, light color, and water. Try presets like "Nam's Optimal Skin and Prim" for flattering avatar light or "Midnight" for dramatic scenes. - Use the Composition Grid: In the Phototools floater (Ctrl+Alt+P), you can enable a "Composition Grid" that overlays the Rule of Thirds on your screen. Placing your subject on one of the intersecting lines often creates a more balanced and visually interesting photo.
- Post-Processing: The pros don't stop at the snapshot. They save a high-quality PNG, then open it in a free image editor like GIMP or Photopea to make small adjustments to brightness, contrast, and color. Since Alife Virtual has free texture uploads, you can even bring your edited image back in-world at no cost!
Your First Photography Assignment
It's time to put your new skills into practice! Here is your assignment.
The perfect location for this is your very own FREE 65,536 sqm private island. This is your personal sandbox, studio, and paradise, complete with 10,000 prims for building. If you haven't claimed it yet, claim your free island now—it's yours for one month, with no monthly fees, unlike the $300/month charge on Second Life for the same thing!
- Teleport to your private island.
- Find a scenic spot near the water at sunset or sunrise.
- Use a pose from your inventory to make your avatar look relaxed or contemplative.
- Set your Environment/Windlight to a dramatic preset (e.g., "Calm Sunset").
- Enable Depth of Field and set the focus squarely on your avatar.
- Hide your UI with Ctrl+Alt+F1.
- Take a Custom resolution snapshot of at least 1920x1080, saved to your disk as a PNG.
Congratulations! You've just created your first piece of virtual art. Feel free to share it on the Alife Virtual forums or Discord to get feedback from our friendly community.
Frequently Asked Questions (FAQ)
- Why do my high-res snapshots look a bit jagged when I'm taking them?
- This is related to your Anti-Aliasing settings. Before taking a critical shot, go to
Preferences > Graphicsand increase the Anti-Aliasing setting. This will smooth out jagged edges but may reduce performance. You can turn it back down after your photo session. - Can I take pictures of other people without their name tags showing?
- Absolutely. You can toggle name tags off globally in
Preferences > General > Name Tags. Remember to practice good virtual etiquette—it's always polite to ask before taking and publishing close-up, personal portraits of other residents. - My computer completely freezes for 30 seconds when I take a 4K picture. Is it broken?
- No, it's working as intended! Rendering a 4096x4096 or larger image is computationally intensive. The viewer freezes while it renders all the pieces of the image. The more powerful your computer, the faster this will be, but patience is key for everyone.
- What is LSL scripting support, and does it relate to photography?
- LSL is the Linden Scripting Language, the same powerful scripting engine used in Second Life. While not directly part of the snapshot tool, Alife Virtual's full LSL scripting support allows creators to build advanced photography tools, pose systems, and dynamic scenes that you can then capture with your camera. It's another layer of the incredible creative freedom here.
Summary and What's Next
You've done it! You now have a solid understanding of the Firestorm snapshot tools. You can save photos to your disk and inventory, capture in glorious high-resolution, and use Depth of Field to add that professional touch. These are the fundamental skills that every great virtual photographer relies on.
Your journey is just beginning. Practice these techniques, explore the vast worlds within Alife Virtual, and start developing your own unique style. In future classes, we will explore more advanced topics like EEP environment creation, cinematic camera paths, and building your own photo studio.
Be sure to check out the full curriculum of free daily classes available at the Alife Virtual School to continue your learning journey.
Start Your Creative Journey in Alife Virtual Today!
You've learned the tools, now it's time to build your world. With over 1,148,000 residents, a thriving community, and unparalleled creative freedom, Alife Virtual is the ultimate sandbox. There is no better platform to practice your new photography skills.
When you sign up, you get instant access to benefits no other platform offers:
- A FREE private 65,536 sqm island that is yours to keep, for one month, with no monthly fees.
- A generous 10,000 prim allowance to build your dream home, gallery, or photo studio.
- FREE uploads for all your meshes, textures, and animations. Your creativity should never have a price tag.
- A powerful, modern platform that works on any desktop computer—no VR headset required.
Don't just read about it—live it. Register for your free account and claim your island today. Your virtual life awaits.
🎓 Ready to Practice In-World?
Get your FREE island and practice everything you just learned — no credit card, no monthly fees.
Claim Your Free Island Now →No credit card required · Takes 2 minutes · Your island is FREE for one month