Virtual World Photography: Capture Stunning Screenshots
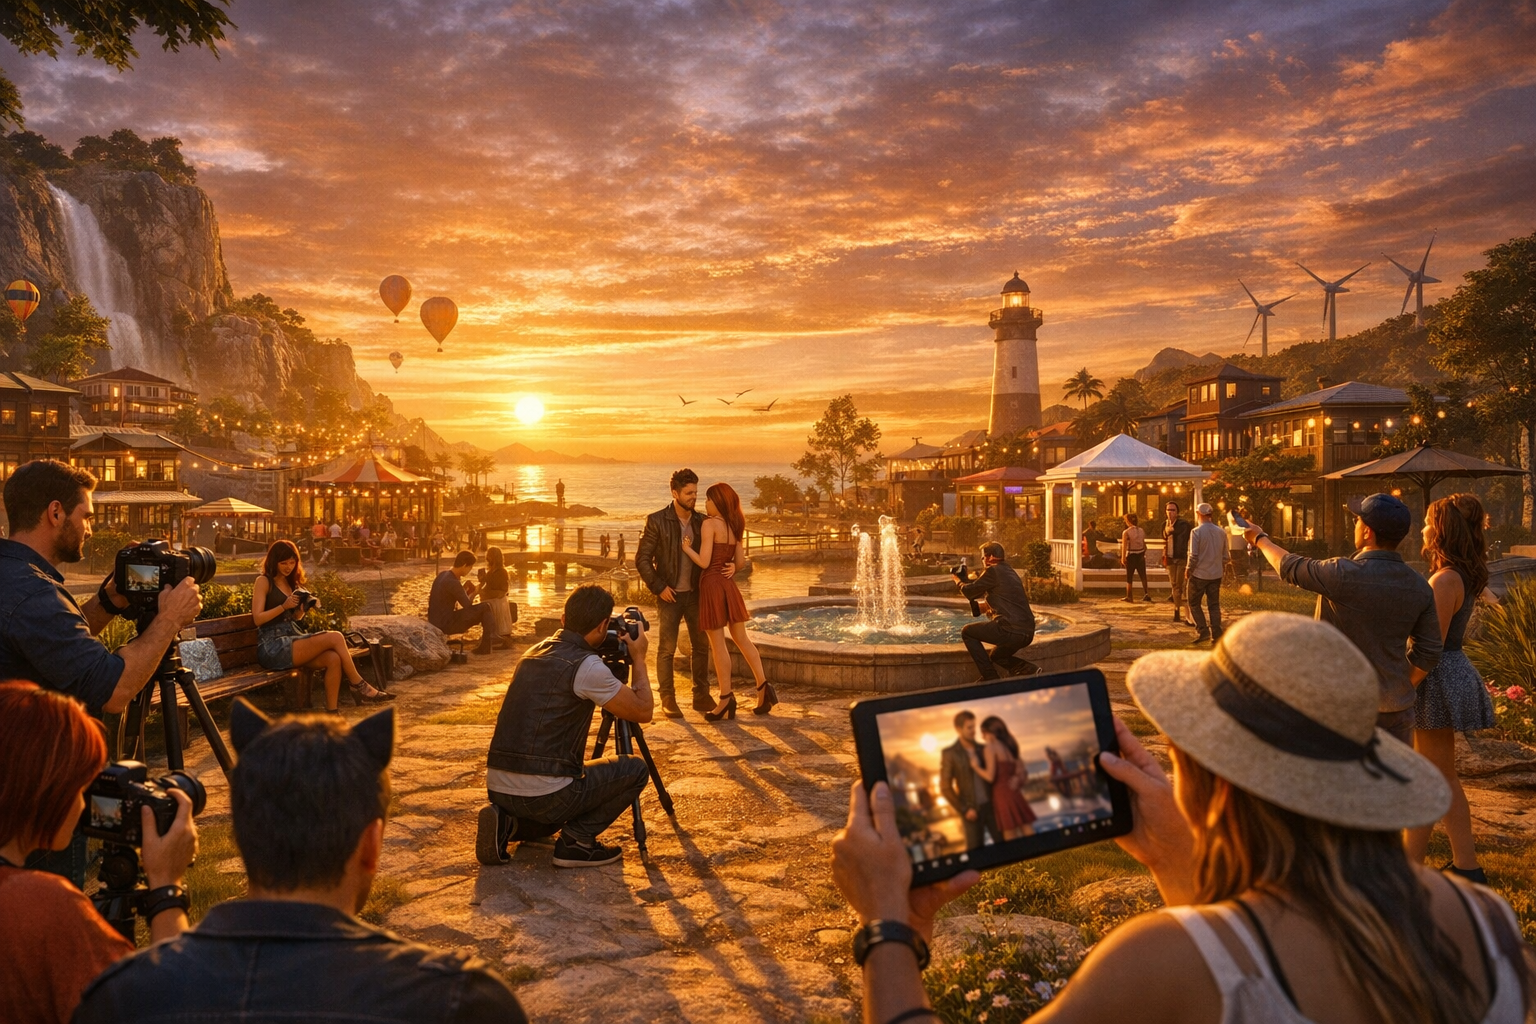
Virtual World Photography: Capture Stunning Screenshots — Free class in Alife Virtual School
In a crowded metaverse, the difference between being overlooked and being remembered often comes down to one thing: your images. Virtual World Photography: Capture Stunning Screenshots is not just about pressing a screenshot key. It is about learning how to frame identity, tell stories, market creations, showcase events, and build a personal brand inside a free 3D world. Whether you are a blogger, creator, roleplayer, merchant, educator, or simply a resident who wants better profile pictures, mastering virtual photography can instantly elevate how others see your presence in Alife Virtual.
For residents exploring a second life alternative, strong screenshots are also practical. Great images help sell products in a virtual economy, promote land rentals, document community moments, and create polished social media content. In Alife Virtual, where you can experiment freely without upload fees or land tier stress, photography becomes a skill you can practice aggressively and improve quickly. This class will teach you professional techniques for composition, lighting with EEP, depth of field, posing, shadow control, post-processing, and platform-ready sharing workflows that make your images look deliberate rather than accidental.
Alife Advantage: Professional Virtual Photography Without the Usual Cost Barriers
Photography in virtual worlds often becomes expensive before you even learn the basics. Many platforms charge for land, uploads, avatar upgrades, and production assets. Alife Virtual removes those barriers, making it one of the best environments for new photographers, bloggers, and visual storytellers.
| Feature | Alife Virtual | Typical Competitor Cost |
|---|---|---|
| Private shooting region | FREE private island, 65,536 sqm full region for one month |
Often around $300/month in Second Life-style platforms |
| Uploads for props, backdrops, textures, poses, sounds | FREE unlimited uploads | Upload fees add up quickly |
| Starter avatar quality | FREE Pro Mesh Avatar | Often requires additional spending |
| Viewer support | Firestorm compatible | Varies by platform |
| Creative experimentation | 100% free economy approach for building and testing | Financial barriers slow learning |
This matters because photography improves through repetition. If every backdrop, texture, animation, and test scene costs money, you will shoot less. In Alife Virtual, you can build a studio, upload custom backgrounds, test pose props, and create themed sets without worrying about fees. That freedom is a serious advantage for anyone learning visual production in an open simulator environment.
What You Will Learn
- How to set up your viewer for clean, high-quality screenshots
- How to use composition rules to create stronger, more professional images
- How to shape mood and realism with
EEPlighting controls - How to use depth of field without making images blurry or artificial
- How to choose and refine avatar poses for portraits, fashion, and storytelling
- How shadows improve depth, drama, and visual credibility
- How to do post-processing that enhances rather than damages image quality
- How to export and share screenshots effectively on social media
Prerequisites
- An Alife Virtual account
- A viewer such as
Firestorm - Basic camera movement knowledge
- A location, avatar, or object to photograph
- Optional: pose stand, animation overrider, backdrop textures, or a private island studio
You do not need advanced building knowledge or lsl scripting skills to take excellent screenshots. However, if you later create your own pose systems, lighting tools, or interactive studio props, lsl scripting can become a valuable extension of your photography workflow.
Step-by-Step Tutorial: How to Capture Stunning Virtual World Screenshots
Step 1: Prepare Your Viewer for Image Quality
Before thinking about artistic choices, optimize your technical settings. A beautiful composition can still fail if your viewer is rendering low quality shadows, poor anti-aliasing, or insufficient draw distance.
- Open your graphics preferences in
Firestorm. - Set graphics quality to a high preset, then fine-tune manually.
- Enable
Advanced Lighting Model. - Enable
Shadowsif your system can handle them. - Enable
Ambient Occlusionfor subtle depth. - Use a reasonable
Draw Distance. For portraits, lower values often improve performance. - Set a larger viewer window if you want higher-resolution captures.
- Hide interface elements before shooting.
If your frame rate drops too low, photography becomes difficult because camera movement feels imprecise. Reduce unnecessary scene complexity. For example, lower draw distance, remove extra attachments, or move to a controlled studio region. One of the biggest advantages of having a free private island in Alife Virtual is that you can create a clean shooting environment with minimal lag.
Pro Tip: For portraits, you rarely need extreme draw distance. Reducing it can improve performance and make camera control much smoother.
Step 2: Understand the Purpose of the Shot
Every good screenshot has a job. Before touching the camera, decide what the image is meant to do.
- Portrait: showcase avatar identity, styling, emotion
- Fashion: highlight clothing, accessories, and body lines
- Environmental: capture a location, build, or roleplay atmosphere
- Product: sell an item clearly in the virtual economy
- Storytelling: suggest a narrative moment or scene
- Social media: create a scroll-stopping image with strong visual focus
Purpose determines framing, lens distance, lighting intensity, and editing style. A product vendor image should be cleaner and more readable than a dramatic fantasy portrait. A roleplay scene may prioritize atmosphere over sharp facial detail. Clarity of intent is the foundation of professional visual work.
Step 3: Master Composition Rules That Instantly Improve Images
Composition is how you organize visual elements inside the frame. It is one of the fastest ways to make screenshots look intentional and premium.
Rule of Thirds
Imagine the screen divided into a 3x3 grid. Place the subject’s eyes, face, or main focal point near one of the intersections rather than dead center. This often creates a more dynamic image.
Leading Lines
Use roads, railings, architecture, fences, tree rows, or room edges to direct the viewer’s eye toward your subject. In virtual worlds, builds often contain strong geometric lines, making this technique especially powerful.
Framing
Use windows, arches, plants, doorways, or foreground objects to frame the avatar. This adds depth and visual interest.
Negative Space
Leave empty space around the subject when you want a clean, elegant, or emotionally isolated look. This also works well for social media text overlays.
Balance
If your subject is on one side of the image, balance the frame with environmental detail, lighting contrast, or a secondary object on the other side.
Camera Height
Eye-level angles feel natural. Low angles make avatars look powerful. High angles can create vulnerability or fashion-editorial style. Avoid random angles that distort the body unless distortion is your artistic goal.
Common Mistake: Centering every avatar in every shot. Center composition can work, but if used by default it often makes images feel flat and repetitive.
Step 4: Control Lighting with EEP
EEP, or Environmental Enhancement Project, gives you control over sky, sun, ambient light, clouds, and atmosphere. Lighting is where average screenshots become memorable.
Start by testing different times of day:
- Morning: softer, cleaner, hopeful mood
- Noon: bright and clear, but can look harsh or flat
- Golden hour: warm, flattering, cinematic
- Blue hour: moody and elegant with cool tones
- Night: dramatic, neon, atmospheric, but harder to control
When adjusting EEP, pay attention to these factors:
- Sun position: determines where highlights and shadows fall
- Ambient light: controls overall fill and softness
- Sky tint: influences mood and color harmony
- Cloud density: can diffuse light or add drama
- Haze: adds distance atmosphere but can reduce clarity
For portraits, place the light so the face is readable. Side lighting adds drama. Front lighting is flattering but can look flat. Backlighting creates glow and silhouettes, especially effective with hair and transparent materials.
Keep skin tones, fabric detail, and environmental mood working together. If your clothing is dark and your sky is dark, the avatar may disappear into the background. Contrast creates focus.
Pro Tip: Save favorite
EEPpresets for specific use cases such as portrait studio, fantasy sunset, urban neon, and product vendor lighting. Consistency helps build a recognizable visual style.
Step 5: Use Depth of Field with Precision
Depth of Field simulates camera focus by keeping one area sharp while softly blurring foreground or background elements. Used well, it creates realism and directs attention. Used poorly, it makes the image look muddy.
Best practices:
- Focus on the eyes for portraits
- Use subtle blur for realism
- Avoid over-blurring important clothing or product details
- Check edges around hair, accessories, and transparent textures
- Reframe after setting focus if needed
If your image includes intricate jewelry, makeup, or branded products, be careful. Too much depth blur can hide the very details you meant to showcase. For vendor ads and fashion blogging, moderate Depth of Field is usually better than extreme blur.
Common Mistake: Using heavy blur to fake professionalism. Professional images are not defined by blur alone. Sharp focus on the right subject matters more.
Step 6: Pose the Avatar Like a Photographer, Not a Bystander
Posing is about body language, silhouette, and intention. In virtual photography, a weak pose can ruin even perfect lighting.
When selecting poses, ask:
- Does the pose match the mood of the scene?
- Are the hands natural or awkward?
- Is the body line attractive from this camera angle?
- Does the face direction support the composition?
- Do clothing and hair behave well in this animation?
For beginners, start with simple, stable poses. Avoid overly twisted positions unless you are shooting high-fashion editorials. Check for clipping through clothing, furniture, or props. Small camera adjustments can often solve clipping without changing the pose.
If you are photographing couples or groups, align eye lines and spacing carefully. Tangled limbs and uneven heights create visual confusion. In social scenes, candid screenshots can work well, but even candid images benefit from intentional camera placement and a clean focal point.
Step 7: Work with Shadows Instead of Avoiding Them
Shadows add dimension, realism, and mood. Without them, scenes often look flat and artificial. The key is not simply turning shadows on, but understanding how to shape them.
Use shadows to:
- Define facial structure and body form
- Anchor the avatar to the ground
- Create mystery or drama
- Add architectural interest through patterned light
- Separate foreground from background
Rotate the camera and adjust EEP until shadows support the subject rather than cut awkwardly across the face. Hard shadows can be beautiful in editorial or cinematic work. Softer shadows are usually better for beauty portraits and product images.
Pro Tip: If facial shadows are too harsh, slightly rotate the avatar or move the camera rather than immediately changing the entire environment. Small angle changes can dramatically improve results.
Step 8: Build a Clean Background
Background quality is one of the easiest ways to distinguish polished work from amateur captures. A strong subject can still be weakened by clutter, random signs, floating objects, or mismatched scenery.
Choose backgrounds that do one of three things:
- Support: reinforce the subject’s theme or style
- Contrast: make the avatar stand out clearly
- Simplify: remove distractions entirely
In Alife Virtual, free uploads make custom backdrops easy. You can create studio walls, city panels, fantasy skies, textured floors, or branded content boards at no extra cost. On a free private island, you can construct multiple dedicated shooting sets for portraits, fashion, vendor ads, and event promos.
Step 9: Capture at the Right Resolution
Take the highest practical resolution your system supports. Larger captures preserve detail for editing and cropping. If your viewer has a snapshot tool, compare saving to disk versus direct upload. For best quality, saving locally is usually preferred.
General guidelines:
- Use high resolution for editing flexibility
- Leave extra space around the subject if you may crop later
- Check image sharpness at full size before finalizing
- Take multiple versions with minor angle changes
Professionals rarely rely on a single capture. They shoot variations. Change camera height, zoom level, head tilt, and framing. Tiny differences often separate a decent shot from a standout one.
Step 10: Post-Process with Restraint and Purpose
Post-processing is where you refine the image, not where you rescue poor fundamentals. Even simple editing can dramatically improve a screenshot when done carefully.
Typical adjustments include:
- Crop: improve composition and social media fit
- Exposure: brighten or darken overall image
- Contrast: increase depth and separation
- Highlights/Shadows: recover detail
- Color balance: correct unwanted tints
- Sharpening: add crispness carefully
- Noise reduction: smooth grain if needed
- Retouching: remove distractions or minor flaws
Avoid overediting. Excessive skin smoothing, extreme filters, halo effects, and oversaturated colors often make virtual screenshots look dated or cheap. Aim for a clean finish that supports the subject.
Common Mistake: Applying every available filter. Good post-processing is usually subtle. If viewers notice the effect before the subject, the edit is probably too strong.
Step 11: Prepare Images for Social Media Sharing
Different platforms favor different crops and visual styles. Before posting, decide where the image will appear.
- Square: good for profile posts and balanced portraits
- Portrait/vertical: strong for mobile-first feeds
- Landscape: best for scenic builds and blog headers
When sharing, include a clear caption and useful tags. If the screenshot features your avatar, location, event, store, or build, mention them. If you are promoting your work in a metaverse community, consistency matters. Repeating a recognizable style, color palette, or posting format helps build a stronger identity.
If you run events, classes, or a shop in this second life alternative, screenshots can become core marketing assets. A single polished image can outperform long explanations when attracting new visitors.
Common Mistakes Beginners Make
- Using default midday lighting for every image
- Ignoring background clutter
- Overusing
Depth of Field - Choosing awkward poses with broken hand placement
- Taking only one shot instead of multiple variations
- Editing too heavily after a weak original capture
- Forgetting the image’s purpose
- Leaving interface elements or nametags visible
Pro Tip: Create a repeatable workflow: choose purpose, set background, load
EEP, test pose, check shadows, shoot variations, then edit lightly. Consistency produces better results than random experimentation.
Advanced Applications
Once you master the basics, virtual photography becomes a professional tool with many uses inside Alife Virtual and other open simulator platforms.
Branding and Merchandising
Creators can produce polished vendor ads, marketplace graphics, and promotional banners. In a growing virtual economy, better images often mean more clicks and more sales.
Event Promotion
DJs, clubs, schools, communities, and roleplay regions can use cinematic screenshots to advertise experiences. A compelling event poster starts with a strong virtual photo.
Blogging and Influencer Content
Fashion bloggers and lifestyle creators can establish a signature visual identity. Consistent color grading, recurring camera styles, and recognizable scene design help build audience trust.
Studio Creation
With free land and uploads, you can build your own photo studio. Add backdrop changers, pose stands, product rez zones, or even custom tools enhanced with lsl scripting for automated scene setup.
Educational and Documentary Work
Teachers, builders, and community leaders can document tutorials, architectural projects, historical recreations, and collaborative builds. Screenshots become teaching assets as well as art.
Practice Exercise
Complete this beginner assignment to reinforce the class:
- Choose one avatar outfit and one location in Alife Virtual.
- Create three screenshots with different goals:
- Portrait
- Fashion/editorial
- Environmental storytelling
- For each shot, change the
EEPsetting to create a different mood. - Use the rule of thirds in at least one image.
- Use subtle
Depth of Fieldin at least one image. - Take five variations of each shot before choosing your best version.
- Apply light post-processing and export one social-media-ready crop.
- Review your results and ask:
- What is the focal point?
- What emotion does the lighting create?
- Is the background helping or distracting?
- Would someone stop scrolling to look at this?
FAQ
Do I need expensive software to create great virtual world screenshots?
No. You can achieve excellent results with a good viewer setup, smart EEP lighting, clean composition, and basic editing tools. Strong fundamentals matter more than expensive software.
What is the best time of day for portraits in Alife Virtual?
Golden hour and soft morning light are usually flattering starting points. However, the best choice depends on your theme, outfit, and background. Test several EEP presets instead of relying on one.
Should I always use Depth of Field?
No. Use it when it improves focus and mood. For product ads, detailed fashion images, or wide scenic shots, minimal or no blur may be better.
Can I build my own photo studio in Alife Virtual?
Yes, and this is one of Alife Virtual’s biggest advantages. With a FREE private island, FREE unlimited uploads, and a FREE Pro Mesh Avatar, you can build and test studio setups without the high monthly fees common elsewhere.
How does Alife Virtual compare to other platforms for photographers?
As a second life alternative and free 3D world, Alife Virtual removes many cost barriers that limit practice. Free land, free uploads, and Firestorm support make it exceptionally attractive for photographers, bloggers, and creators.
Final Thoughts: Turn Screenshots Into a Signature Skill
Virtual photography is one of the most valuable creative skills you can learn in the modern metaverse. It helps you express identity, market your work, document communities, and stand out in any open simulator space. The techniques in this class are beginner-friendly, but they are also the same foundations used by top virtual photographers: intentional composition, controlled lighting, clean posing, smart focus, meaningful shadows, and disciplined editing.
Alife Virtual gives you an ideal place to learn because it removes the usual financial friction. You can experiment on a FREE 65,536 sqm private island, upload unlimited assets at no cost, start with a high-quality FREE Pro Mesh Avatar, use Firestorm, and create without monthly tier pressure. That means more practice, faster growth, and more freedom to develop your style.
Join Alife Virtual today, claim your free creative space, and start building a portfolio of stunning screenshots that showcase your avatar, your vision, and your place in a truly accessible virtual world.
🎓 Ready to Practice In-World?
Get your FREE island and practice everything you just learned — no credit card, no monthly fees.
Claim Your Free Island Now →No credit card required · Takes 2 minutes · Your island is FREE for one month