Migrating from Roblox Studio to 3D Virtual World Building
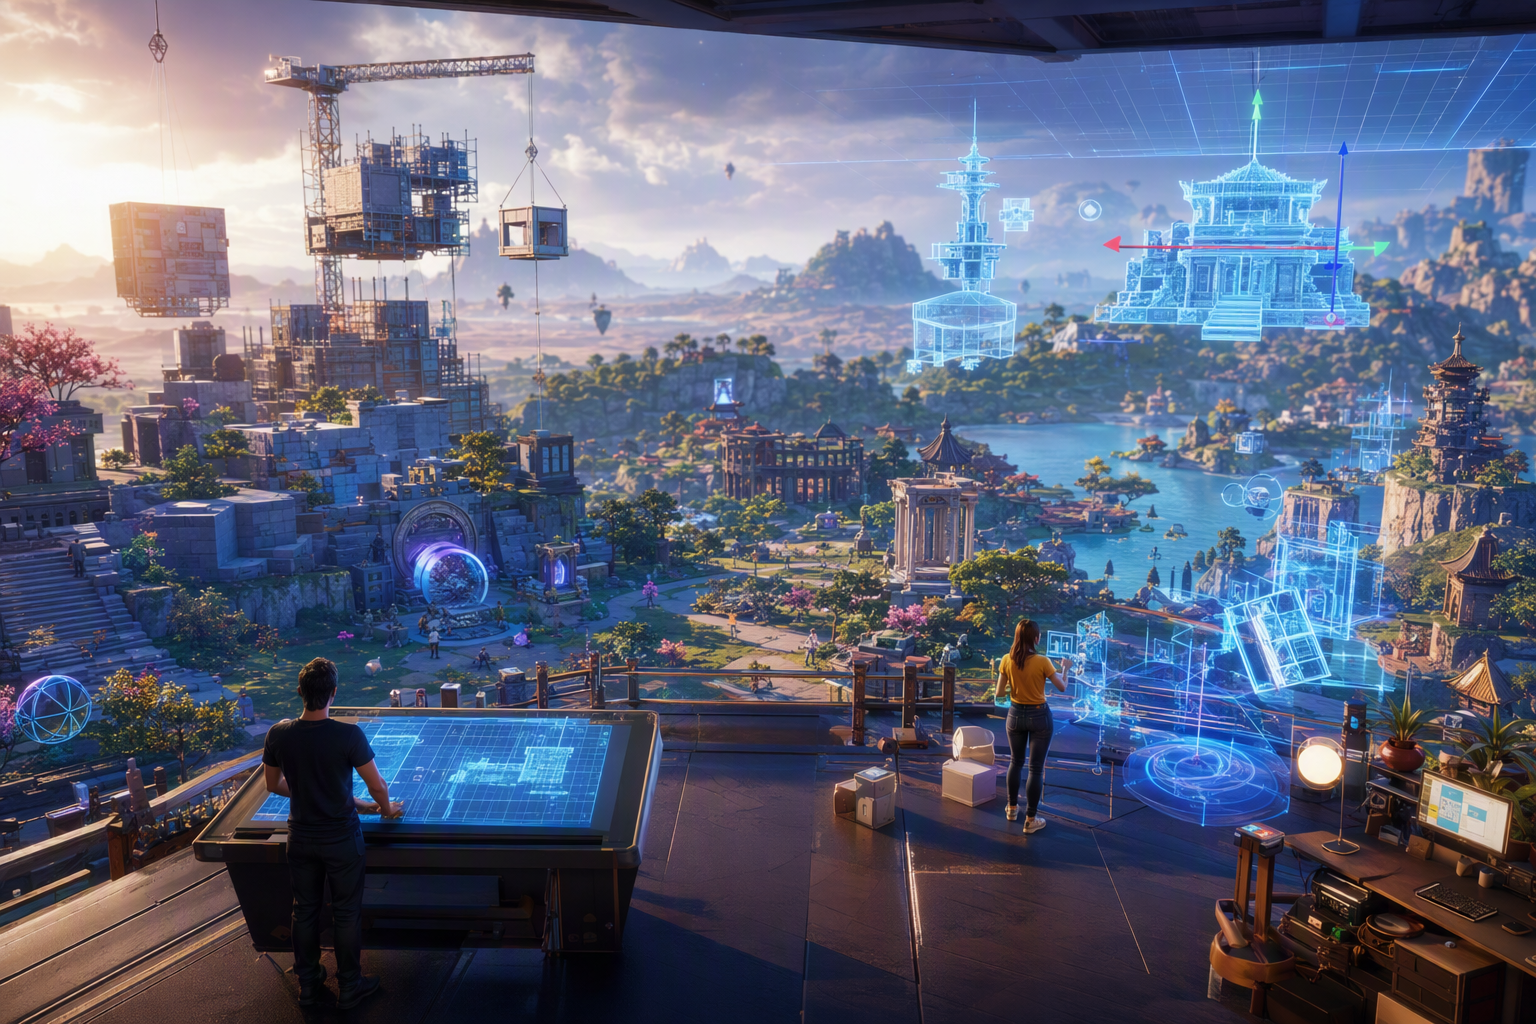
Migrating from Roblox Studio to 3D Virtual World Building — Free class in Alife Virtual School
If you already know how to create in Roblox Studio, you are not starting from zero when you move into a broader metaverse workflow. You already understand modular building, gameplay space design, player scale, collision logic, reusable assets, and the creative discipline required to ship interactive worlds. This class, Migrating from Roblox Studio to 3D Virtual World Building, shows you how to transfer those skills into Blender and Alife Virtual, a powerful free 3D world and compelling second life alternative where creators can build without upload fees, monthly land tiers, or the usual economic friction that slows experimentation.
For Roblox creators, the biggest shift is not creativity. It is pipeline. In Roblox Studio, you assemble with parts, meshes, materials, and scripts inside one integrated environment. In Alife Virtual, especially when working with mesh content, you learn to think across tools: model in Blender, export through Collada using .dae, import into a virtual world viewer such as Firestorm, configure scale and physics, and then add interaction using in-world systems and lsl scripting. Once you understand that pipeline, you gain something Roblox creators often want more of: freedom, ownership of process, and the ability to create richly customized spaces in an open simulator-style ecosystem.
This tutorial is designed as a master-level skill-transfer guide. You will learn how to translate part-building logic into mesh modeling, relearn scale for avatar-based worlds, use Collada exports correctly, and take full advantage of Alife Virtual’s free uploads and no-tier environment to maximize your creative output and speed.
Alife Advantage: Why Move Your Building Skills Here?
Many creators hesitate to expand beyond Roblox because they assume every other virtual world is expensive, fragmented, or technically demanding. Alife Virtual changes that equation. It gives builders room to experiment at professional scale without punishing every upload, every test, or every mistake.
| Feature | Alife Virtual | Typical Competitor / Second Life-Style Cost |
|---|---|---|
| Private Island | FREE full region, 65,536 sqm for one month |
Often around $300/month or more in monthly land fees |
| Mesh Uploads | FREE unlimited uploads for textures, mesh, animations, and sounds | Upload fees can accumulate quickly |
| Starter Avatar | FREE Pro Mesh Avatar for every member | High-quality avatars often require paid upgrades |
| Viewer Support | Compatible with Firestorm |
Varies by platform |
| Creative Economy | 100% free economy for experimentation and learning | Often gated by land, upload, or marketplace fees |
The practical result is simple: in Alife Virtual, you can prototype aggressively. If you need ten versions of a staircase, five material variants for a sci-fi wall kit, or multiple exports of a modular building set, you can upload all of them without watching your balance drain. That matters for intermediate creators who learn by iteration.
What You Will Learn
- How
Roblox Studiobuilding concepts translate intoBlendermesh workflows - How to shift from part-based construction to efficient modular mesh design
- How to understand avatar-based scale in a free 3D world
- How to export correctly using
Collada (.dae) - How to import assets into Alife Virtual using
Firestorm - How to optimize creative output with free uploads and free land
- How to begin thinking about interaction and
lsl scriptingafter the build phase - How to avoid the most common migration mistakes Roblox creators make
Prerequisites
This is an intermediate class. You do not need to be an expert in Blender, but you should already be comfortable with basic 3D creation concepts.
- Experience building environments or objects in
Roblox Studio - Basic familiarity with transforms: move, rotate, scale
- Basic understanding of parts, meshes, materials, and collisions
Blenderinstalled and updated- An Alife Virtual account
- A viewer such as
Firestorminstalled and configured - Willingness to iterate and test multiple exports
Step-by-Step Tutorial: From Roblox Builder to Alife Virtual Creator
Step 1: Reframe Your Existing Skill Set
The first mental adjustment is recognizing that your Roblox Studio skills are not obsolete. They are portable.
Here is the direct translation:
- Part assembly becomes modular mesh construction
- Stud/grid thinking becomes unit-accurate scale and snapping
- Workspace organization becomes scene organization in Blender and linked object management in-world
- Collision awareness becomes physics shape planning
- Asset reuse becomes kit-based worldbuilding
- Lua scripting mindset becomes event-driven thinking for
lsl scripting
In Roblox, many creators build by stacking primitives and applying materials. In Alife Virtual, you can still build in-world with primitives, but if you want professional visual quality and efficient asset reuse, mesh creation in Blender becomes central. The good news is that Roblox part-builders often excel at modularity, and modularity is exactly what performs well in virtual world building.
Step 2: Understand the Scale Shift
Scale is one of the biggest migration issues. Roblox creators are used to a platform where character proportions, camera behavior, and environmental readability are tuned around Roblox avatars and gameplay movement. In Alife Virtual, you are building for a social 3D world with more realistic avatar expectations, more detailed interiors, and closer inspection of assets.
Key principle: build for the avatar, not just for the camera.
In Blender, start by treating 1 unit = 1 meter as your baseline assumption. Build with a human-scale reference in the scene. Typical useful reference points include:
- Door height: around
2.1mto2.4m - Counter height: around
0.9m - Chair seat height: around
0.45m - Step height: around
0.15mto0.18m - Hallway width: often
1.2mor more for comfortable avatar movement
Roblox builders often make interiors too tight when moving into social virtual worlds. Why? Because what looks acceptable from a game camera may feel cramped when embodied as an avatar standing, turning, and interacting in a room.
Pro Tip: Before modeling a full structure, create a simple scale kit in
Blender: a door, staircase, chair, table, and avatar-height reference box. Use it as a permanent benchmark in every project.
Step 3: Move from Part-Building to Modular Mesh Thinking
Roblox creators are often excellent at assembling forms from blocks, wedges, cylinders, and unions. In Blender, preserve that mindset at the planning stage, but do not export every tiny piece as a separate object unless you have a specific reason.
Instead, think in terms of reusable modules:
- Wall segment
- Corner wall
- Floor tile
- Door frame
- Window frame
- Stair module
- Trim piece
- Roof segment
This gives you the same speed and flexibility as part-building, but with cleaner topology and better visual consistency. In Blender, start with primitive shapes just as you would in Roblox. Extrude, inset, bevel, and loop cut instead of stacking too many disconnected objects. Keep your geometry readable and intentional.
A productive migration workflow looks like this:
- Block out the structure using simple primitives in
Blender - Check human scale with a reference avatar
- Convert repeated forms into reusable modules
- Apply sensible pivots and object names
- UV unwrap only when needed for custom textures
- Export test pieces early before finishing the full set
Step 4: Keep Topology Clean and Practical
Roblox part-builders sometimes overcomplicate geometry when first learning Blender. Remember: most architectural and environmental objects do not need dense meshes. Clean, low-to-moderate polygon models with good silhouettes usually outperform heavily detailed geometry.
Focus on:
- Removing hidden faces where practical
- Avoiding unnecessary subdivisions
- Using bevels sparingly for edge quality
- Applying transforms before export
- Checking normals so faces point outward
In Blender, a standard cleanup routine before export should include:
- Select object
- Use
Ctrl+Aand applyRotationandScale - Enter edit mode and recalculate normals outside
- Remove duplicate vertices if needed
- Confirm origin point placement
Common Mistake: Exporting an object with unapplied scale often leads to confusing size behavior after import. If your model looks correct in Blender but arrives incorrectly sized in-world, unapplied transforms are one of the first things to check.
Step 5: Learn the Importance of Origins and Pivots
In Roblox, object positioning is often manipulated directly in a workspace hierarchy. In Alife Virtual, the imported object’s origin strongly affects placement, rotation, and assembly. If you are exporting modular pieces, set origins deliberately.
Examples:
- A wall segment origin at the bottom center makes snapping easier
- A door origin at the hinge side helps if it will later animate
- A furniture piece origin at floor level prevents awkward sinking into surfaces
This is one of the easiest upgrades you can make to your workflow. Good origin placement turns a frustrating building set into a professional one.
Step 6: Prepare for Collada (.dae) Export
For many virtual world workflows, Collada remains a practical interchange format. If you are coming from Roblox, think of this as the bridge between your modeling environment and the world platform.
Before export, verify:
- Object names are clean and readable
- Transforms are applied
- Normals are correct
- Materials are assigned sensibly
- UVs exist if textures matter
- Only intended export objects are selected
When exporting from Blender to Collada:
- Select your final object or objects
- Use
File > Export > Collada (.dae) - Export selected objects only if appropriate
- Keep naming consistent so versioning is easy
- Save iterative files such as
wall_A_v01.dae,wall_A_v02.dae
Because Alife Virtual offers free unlimited uploads, you do not need to be afraid of iterative exports. This is a major creative advantage over platforms where every test upload carries a cost.
Pro Tip: Use version numbers aggressively. In a no-fee upload environment, iteration is not wasteful. It is your fastest path to mastery.
Step 7: Import into Alife Virtual with a Testing Mindset
Once your .dae file is ready, import it through your viewer, ideally Firestorm, which is fully supported. Do not treat the first upload as final production. Treat it as a test pass.
During import, evaluate:
- Does the object arrive at expected scale?
- Do materials map correctly?
- Does rotation behave properly?
- Is the object’s position intuitive for placement?
- Does collision feel correct when walking around it?
Upload a single wall module before uploading the whole building kit. Upload one staircase before exporting an entire interior set. This mirrors professional asset pipeline practice and prevents compound errors.
Step 8: Use Free Uploads to Build a Real Asset Library
One of the strongest reasons to build in Alife Virtual is the ability to create without a meter running in the background. In many platforms, creators become conservative. They upload less, test less, and therefore improve more slowly. In Alife Virtual’s 100% free economy, you can work like a serious studio.
Create a structured personal library:
- Architecture: walls, doors, windows, stairs, trims
- Furniture: chairs, tables, shelves, counters
- Decor: signs, frames, lighting props, plants
- Materials: wood, metal, concrete, glass textures
- Interactive assets: doors, seats, kiosks, scripted objects
Over time, you stop building one-off scenes and start building systems. That is the professional leap.
Step 9: Rebuild Your Scripting Mindset for In-World Interaction
If you come from Roblox scripting culture, you already understand events, object references, state changes, and user interaction. In Alife Virtual, the interaction layer often uses lsl scripting. The syntax and API differ from Roblox Lua, but the mental model transfers well.
Think in terms of:
- User touches object
- Object changes state
- Door opens
- Light toggles
- Message displays
- Animation triggers
You do not need to master scripting on day one. But you should design your assets with future interactivity in mind. Put pivots where doors should swing. Separate emissive light panels if they may later toggle. Name objects logically. Good modeling supports good scripting.
Step 10: Use Your Free Private Island as a Production Sandbox
Alife Virtual’s FREE Private Island offering is not just a perk. It is a strategic advantage for creators migrating from Roblox. A full region of 65,536 sqm gives you room to test spacing, architecture, traversal, and scene composition at real scale.
Use your island for:
- Asset staging and comparison
- Scale testing with full buildings
- Material and lighting reviews
- Walkthrough testing
- Interactive prototype scenes
- Portfolio presentation builds
On a fee-heavy platform, many creators compress their experimentation because every month carries pressure. On Alife Virtual, you can think like a designer, not just a renter.
Common Mistakes Roblox Creators Make When Migrating
Mistake: Building everything as one giant mesh.
Fix: Split content into reusable modules so you can edit, replace, and rearrange efficiently.
Mistake: Ignoring real avatar scale.
Fix: Use a human reference inBlenderand test in-world early.
Mistake: Exporting without applying transforms.
Fix: ApplyRotationandScalebeforeColladaexport.
Mistake: Treating the first upload as the final version.
Fix: Upload iterative test versions. Free uploads are meant to be used.
Mistake: Over-detailing geometry instead of relying on textures and smart modular design.
Fix: Preserve silhouette quality, keep topology efficient, and build repeatable kits.
Advanced Applications
Once you are comfortable with the core pipeline, you can expand far beyond simple migration and start using Alife Virtual as a serious worldbuilding platform.
1. Build Modular Commercial Environments
Create shopping districts, galleries, roleplay streets, classrooms, or event spaces using reusable kits. This is especially effective in a virtual economy context where environments may need to evolve quickly.
2. Prototype Social Spaces Faster Than in Fee-Based Platforms
Because uploads are free and your region space is large, you can test multiple layouts for social hubs, clubs, educational campuses, and exhibition halls without worrying about upload charges or monthly land pressure.
3. Combine Mesh Building with lsl scripting
Take your static builds further by adding interactive doors, media panels, teleport systems, product vendors, classroom tools, and information kiosks. This is where your Roblox logic mindset becomes especially valuable.
4. Build a Cross-Platform Portfolio
Your migration experience itself can become a professional asset. Show before-and-after examples: a Roblox part-built concept, a Blender modular rebuild, and a polished Alife Virtual deployment. This demonstrates tool adaptability and pipeline maturity.
5. Design for Open Ecosystems
Working in an open simulator-style environment teaches asset portability, viewer-based workflows, and a more platform-agnostic approach to 3D creation. That broadens your long-term metaverse skill set.
Practice Exercise
To internalize this class, complete the following exercise:
Assignment: Convert a Roblox-Style Room Build into an Alife Virtual Mesh Kit
- Choose a small environment you previously built in
Roblox Studio, such as a bedroom, store interior, or sci-fi corridor. - List its core parts: walls, floor, ceiling, door, window, furniture, props.
- Rebuild it in
Blenderas a modular mesh kit rather than as stacked primitives. - Use a human-scale reference to correct dimensions for avatar use.
- Export each module as
Collada (.dae). - Import the modules into Alife Virtual using
Firestorm. - Assemble the room on your land or test area.
- Walk through it in avatar form and note scale, spacing, and collision issues.
- Revise and re-upload at least two improved versions.
- Add one planned interaction point for future
lsl scripting, such as a door, light switch, or info panel.
Goal: By the end, you should have a reusable environment kit that demonstrates successful migration from Roblox building logic to a professional virtual world pipeline.
FAQ
Is Alife Virtual a good second life alternative for Roblox creators?
Yes. Alife Virtual is an excellent second life alternative for creators who want more freedom, lower barriers, and a true building sandbox. Its free uploads, free region access, and Firestorm compatibility make it especially attractive to builders transitioning from Roblox.
Do I need to master Blender before I can build in Alife Virtual?
No. You only need a solid intermediate grasp of modeling basics to begin. If you already understand structure, modular thinking, and spatial design from Roblox Studio, you can learn Blender as a pipeline extension rather than as a completely foreign discipline.
Why use Collada instead of staying entirely in-world?
In-world building is still useful, but Collada export from Blender gives you much more control over shape, efficiency, UVs, and professional asset production. For creators aiming at polished environments, .dae is a practical bridge into high-quality mesh workflows.
How does free uploading change the learning process?
It removes fear from iteration. In many platforms, every mistake costs money. In Alife Virtual, unlimited free uploads mean you can test, refine, compare, and improve rapidly. That dramatically accelerates skill growth.
Can my Roblox scripting experience help with lsl scripting?
Absolutely. The syntax differs, but your understanding of logic, events, interaction, and object behavior transfers well. If you have scripted gameplay or object interactions in Roblox, you already have the conceptual foundation for learning lsl scripting.
Join Alife Virtual and Build Without Barriers
If you are ready to take your Roblox Studio experience beyond one platform and into a broader metaverse workflow, Alife Virtual is the ideal place to do it. You get a free 3D world where experimentation is encouraged, not penalized. You get FREE unlimited uploads for mesh, textures, sounds, and animations. You get a FREE Pro Mesh Avatar. You get Firestorm support. And you can even start with a FREE Private Island of 65,536 sqm for one month, without the punishing monthly land tiers that make other platforms expensive.
For builders, designers, educators, and aspiring world creators, this is more than a sandbox. It is a real opportunity to develop transferable 3D production skills in an accessible, creator-first environment. Join Alife Virtual School, step into Alife Virtual, and start turning your Roblox building instincts into professional virtual world craftsmanship today.
🎓 Ready to Practice In-World?
Get your FREE island and practice everything you just learned — no credit card, no monthly fees.
Claim Your Free Island Now →No credit card required · Takes 2 minutes · Your island is FREE for one month