Migrating from Second Life to Alife Virtual: Step-by-Step
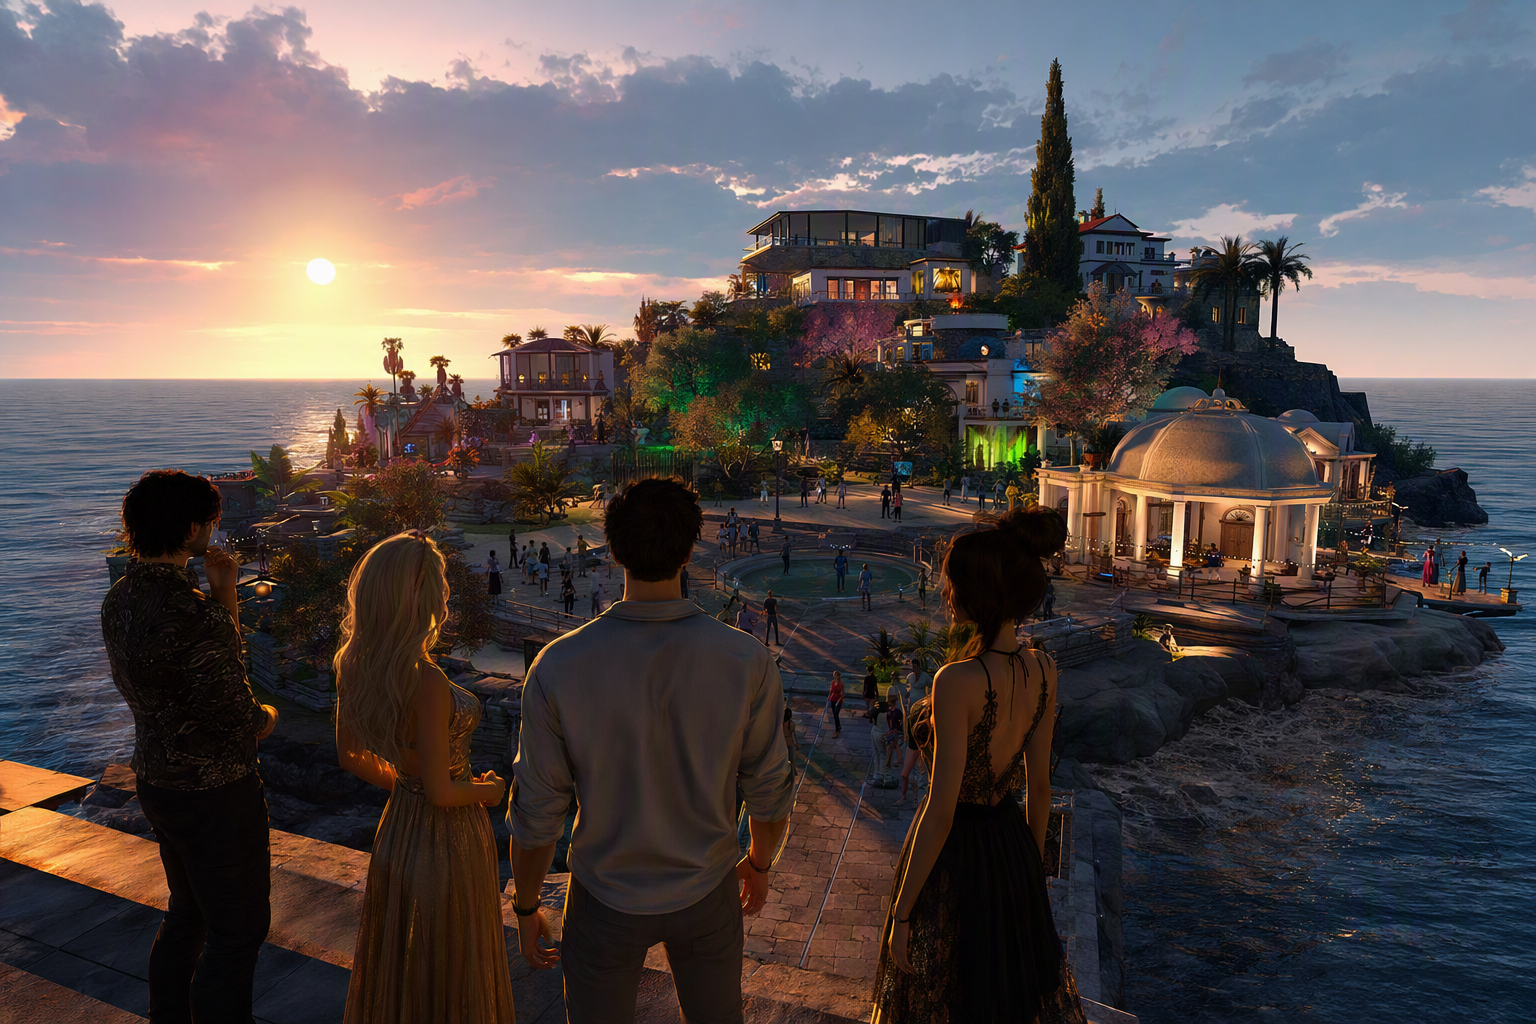
Migrating from Second Life to Alife Virtual: Step-by-Step — Free class in Alife Virtual School
If you have been searching for a smarter, lower-cost way to continue your virtual world journey, Migrating from Second Life to Alife Virtual: Step-by-Step is one of the most valuable skills you can learn today. For creators, merchants, roleplay communities, educators, and estate owners, moving from a high-cost platform into a free 3D world can dramatically reduce overhead while preserving the creativity, social connection, and business potential that make the metaverse so compelling. Alife Virtual gives former Second Life residents a practical second life alternative built on open simulator technology, with Firestorm support, free uploads, a free pro mesh avatar, and even a free full region to help you establish yourself without monthly tier pressure.
This class is designed as a practical workshop, not a vague overview. You will learn how to set up your Alife account, prepare your content migration strategy, move builds using OAR files where appropriate, recreate marketplace inventory and product delivery systems, adapt your lsl scripting workflow, and integrate into the Alife community so your move is not just technically successful, but socially and commercially successful too. If you are tired of watching your virtual economy profits disappear into fees, this tutorial will show you how to migrate with confidence and save thousands per year.
Alife Advantage: Why Migrating Makes Financial Sense
Before you move content, you should understand why so many creators are exploring Alife Virtual as a long-term home. The biggest difference is not just technical flexibility. It is financial freedom.
| Feature | Alife Virtual | Typical High-Cost Platform Model |
|---|---|---|
| Private island / full region | FREE full region 65,536 sqm for one month |
Often around $300/month or more in ongoing tier |
| Monthly land fees | No monthly tiers/fees | Recurring monthly cost |
| Uploads | FREE unlimited uploads for textures, mesh, animations, sounds | Upload fees per asset |
| Starter avatar | FREE pro mesh avatar | Often requires separate purchases for premium appearance |
| Viewer support | Firestorm compatible | Usually supported, but cost structure remains high |
| Creative economy | 100% free economy | Fees can reduce profitability |
For estate owners, event organizers, schools, and merchants, the savings can be dramatic. A creator paying roughly $300/month in region costs is spending about $3,600/year before uploads, advertising, and product development. In Alife Virtual, those barriers are removed or drastically reduced. That makes it easier to experiment, launch brands, run communities, and teach classes in a sustainable way.
What You Will Learn
- How to evaluate whether your current Second Life content is portable, rebuildable, or platform-locked
- How to create and configure your Alife Virtual account for a smooth transition
- How to use Firestorm to connect and work efficiently in Alife Virtual
- How to migrate region content using
OARfiles in compatibleopen simulatorworkflows - How to export, re-upload, and reorganize textures, mesh, sounds, and animations
- How to recreate stores, vendors, product packaging, and customer support systems
- How to review and adapt
lsl scriptingbehavior for an Alife Virtual-style environment - How to join the Alife community and establish visibility in the local virtual economy
- How to avoid common migration mistakes that waste time or create legal and technical issues
Prerequisites
This is an intermediate-level class. You do not need to be a platform engineer, but you should already understand the basics of in-world building and inventory management.
- An existing Second Life account and familiarity with your current inventory
- Basic experience with building, object permissions, and viewer navigation
- A Firestorm viewer installation, or willingness to install and configure it
- Access to your original source files whenever possible, such as
.blend,.fbx,.dae, textures, sound files, and animation files - Basic understanding of
lsl scriptingif your products or builds use scripts - A migration mindset: not everything should be copied exactly; some assets should be redesigned for better performance and better business outcomes
Step-by-Step Tutorial: How to Move from Second Life to Alife Virtual
Step 1: Audit What You Actually Own and Can Legally Migrate
The first step is not technical. It is legal and organizational. You must identify which assets you have full rights to use outside Second Life. This includes original creations you made yourself and any third-party content you licensed with rights that permit use in Alife Virtual worlds.
Create three inventory categories:
- Portable assets: original mesh, textures, sounds, animations, scripts, and complete builds you made yourself
- Rebuild-required assets: products assembled from parts you own but cannot directly export from Second Life
- Do not migrate: no-transfer, no-mod, no-copy, or third-party content restricted to the original platform
This audit saves time later. Many migration failures happen because users assume everything in inventory is transferable. It is not. A disciplined audit helps you avoid both legal problems and technical frustration.
Pro Tip: Your most valuable migration assets are often not in-world objects, but your original source folders on your computer. If you still have the original texture files, mesh files, scripts, product images, and ad copy, your move becomes dramatically easier.
Step 2: Create Your Alife Virtual Account
Register your Alife Virtual account and choose a username that aligns with your existing brand identity if possible. Consistency matters in the metaverse. If customers know you by a store name, creator name, or roleplay identity, try to preserve that recognition.
After registration:
- Log into the Alife Virtual website and verify your account details.
- Review any dashboard tools available for land, profile, groups, or support.
- Claim or configure your free benefits, especially your
65,536 sqmregion if applicable. - Complete your profile with a clear description of who you are and what you create.
Do not skip profile setup. In a new world, your profile acts like your storefront biography, resume, and trust signal all at once.
Step 3: Configure Firestorm for Alife Virtual
One of Alife Virtual’s biggest advantages is Firestorm support. If you already use Firestorm in Second Life, your transition will feel familiar.
Typical setup workflow:
- Open Firestorm.
- Add or select the Alife Virtual grid in the grid manager.
- Enter your Alife credentials.
- Log in and verify inventory, avatar rendering, region access, and build permissions.
- Adjust graphics settings for your hardware and the complexity of your destination region.
Once logged in, spend time learning the local interface differences. While Firestorm remains familiar, world settings, permissions, region tools, and upload workflows can behave differently in an open simulator environment.
Common Mistake: Logging in once and immediately starting a large migration. Always test your viewer settings first. Confirm that uploads, object rez rights, script permissions, and land tools are working correctly before moving critical content.
Step 4: Set Up Your New Avatar and Workspace
Alife Virtual includes a free pro mesh avatar, which gives you a strong visual starting point without requiring expensive appearance upgrades. This matters more than many users realize. A polished avatar improves networking, community acceptance, teaching presence, and customer trust.
At this stage:
- Customize your avatar appearance
- Create a clean inventory folder structure
- Set up working folders such as
Textures,Mesh Uploads,Scripts,Store Vendors,Region Backup, andMarketplace Listings - Prepare a sandbox area on your region for testing imports and scripts
Treat your first login like setting up a professional studio, not just a social account.
Step 5: Decide Between Region Migration, Asset Rebuild, or Hybrid Migration
Not every migration follows the same path. In practice, most users use one of three approaches:
- Region migration: best for users who already control Alife Virtual-compatible region data and can use
OARworkflows - Asset rebuild: best for creators with source files who want cleaner, optimized, rights-safe content
- Hybrid migration: best for most users, combining rebuilds, re-uploads, and selective environment reconstruction
If your content currently exists only inside Second Life and you do not have export rights or source files, direct transfer may not be possible. In that case, rebuilding from your original production assets is the correct path.
Step 6: Transfer Builds Using OAR Files Where Appropriate
An OAR file, short for Alife Virtual Archive, is a region-level archive format used in Alife Virtual environments. It can contain terrain, objects, assets, and some region configuration data depending on the workflow and permissions involved.
Important: OAR migration is generally relevant when your source environment is already Alife Virtual-compatible or when you have administrative access to export a region archive from a compatible platform. It is not a universal export mechanism for all Second Life regions.
If you have a valid OAR workflow:
- Obtain the
OARfrom your compatible source region. - Confirm that the archive contains only content you have rights to use.
- Coordinate with Alife Virtual support or region tools for import procedures.
- Load the archive into a test region first, not your public production region.
- Inspect terrain, object placements, textures, scripts, and permissions.
- Repair missing assets, broken links, and script issues before opening the build to visitors.
After import, expect cleanup. Even when OAR import works well, archived builds often need optimization, relinking, texture replacement, media reset, and script review.
Pro Tip: Use
OARimports as a structural starting point, not a final product. The best results usually come from importing the environment, then modernizing it with cleaner mesh, lighter textures, and updated scripts.
Step 7: Re-upload Assets Using Your Original Source Files
This is where Alife Virtual becomes especially attractive. Because uploads are free, you can iterate without worrying about asset fees. In a paid upload environment, creators often avoid experimentation. In Alife, you can refine until the content is right.
Recommended asset migration order:
- Textures: upload diffuse, normal, and specular maps as needed
- Mesh: upload
.daeor supported formats from your original 3D workflow - Animations: import your original animation files and test avatar compatibility
- Sounds: upload licensed or original sound assets
- Scripts: paste or import your original
lsl scriptinglogic and test each feature
As you rebuild products, document what has been migrated successfully. A simple spreadsheet with columns such as Product Name, Status, Textures Uploaded, Mesh Uploaded, Scripts Tested, and Store Ready can save many hours.
Step 8: Test and Adapt lsl scripting
Many scripts will feel familiar across platforms, but behavior can differ depending on server implementation, permissions, extensions, and simulator settings. If your business depends on vendors, rental systems, HUDs, breedables, roleplay meters, or animation furniture, script testing is essential.
Focus on these script categories first:
- Vendor and delivery scripts
- Access control and security systems
- Animation controllers
- HUD communications
- Group checks and payment logic
- Media and web integration scripts
Create a script test protocol:
- Rez the object in a sandbox.
- Reset scripts.
- Watch local chat and script error output.
- Test every menu option and state change.
- Confirm avatar interaction from both owner and customer perspectives.
- Replace platform-specific assumptions with more portable logic where possible.
If a script fails, isolate whether the issue is permissions, unsupported behavior, missing assets, external server calls, or timing differences. Migration is usually easier when scripts are modular and documented.
Common Mistake: Assuming that if an object rezzes correctly, the product is migrated. Visual appearance is only half the job. Interactive content must be tested function by function.
Step 9: Recreate Your Marketplace Presence
If you are a merchant, your move is not complete until customers can discover and buy your products. Since marketplace systems vary from platform to platform, this step usually requires rebuilding your catalog rather than copying it blindly.
Recreate your product ecosystem methodically:
- List your best-selling and easiest-to-migrate products first.
- Create updated product folders with clean naming conventions.
- Build product boxes, vendor displays, or in-world demo areas.
- Rewrite product descriptions for Alife Virtual customers.
- Create fresh screenshots using your new avatar and environment.
- Set up store sections by category: apparel, décor, animations, roleplay tools, education, etc.
This is also your chance to improve branding. Many merchants discover that migration is the perfect moment to remove outdated products, standardize package contents, simplify instructions, and improve visual merchandising.
In a lower-cost virtual economy, your profit margins can improve even if your customer base is still growing. Lower overhead means you can price competitively without sacrificing sustainability.
Step 10: Rebuild Your Land, Store, School, or Community Space
With a free full region available, you can think bigger than a small rented parcel. Whether you run a school, club, roleplay sim, art gallery, or retail district, your migration should include experience design, not just content transfer.
Plan your region with these zones:
- Arrival area: orientation, signs, landmarks, and help information
- Main experience area: store, class hall, roleplay zone, gallery, or social venue
- Support area: customer service, updates, group joiners, notecards
- Sandbox/testing area: script and build experiments
- Private work area: creator workspace hidden from public traffic
Use the freedom of a full region to create a better user journey than you had before. In many cases, creators coming from expensive land models have spent years designing around scarcity. Alife lets you design around possibility.
Step 11: Join the Community Early
Migration is not just about assets. It is about belonging. A creator who quietly uploads content and never networks will grow much more slowly than a creator who becomes visible, helpful, and active.
To integrate quickly:
- Join official and interest-based groups
- Attend welcome events, classes, and creator meetups
- Introduce your project in community spaces
- Offer demos, free samples, or opening-week events
- Collaborate with landowners, educators, and performers
In any metaverse, relationships drive discovery. Community participation often brings more traffic than passive listing alone.
Pro Tip: Announce your migration as a positive upgrade, not an escape story. Focus on what customers gain: better support, lower prices, more space, improved products, and a creator who can innovate without fee pressure.
Step 12: Measure Cost Savings and Reinvest Strategically
One of the strongest reasons to migrate is financial sustainability. Calculate your old annual costs and compare them to your new Alife Virtual expenses.
Typical areas of savings include:
- Region tier or land rental
- Upload fees
- Avatar setup costs
- Store expansion costs
- Experimentation costs for prototypes and failed uploads
Then decide how to reinvest the savings. Smart reinvestment options include:
- Better branding and promotional graphics
- New mesh product development
- Custom scripting improvements
- Community events and classes
- Collaborations with creators and educators
A migration is most successful when lower costs lead to better experiences, not just lower bills.
Common Mistakes to Avoid
- Trying to migrate content without checking rights and permissions
- Assuming all Second Life assets can be directly transferred
- Skipping script testing after upload
- Moving too much at once instead of prioritizing high-value products and builds
- Ignoring profile, branding, and community introduction steps
- Recreating an old inefficient store layout instead of improving it
- Using migration as a copy exercise instead of a modernization opportunity
Common Mistake: Rebuilding your entire catalog before launching anything. Instead, launch a focused “migration collection” of your top products first, gather feedback, then expand.
Advanced Applications
Once your basic migration is complete, Alife Virtual opens opportunities that many residents could not justify in a high-fee environment.
Run a Full Educational Campus
With a free full region, educators can create classrooms, labs, exhibit halls, and student sandbox areas without monthly land anxiety. This is ideal for schools, workshops, and training communities.
Prototype More Aggressively
Because uploads are free, creators can test multiple texture sets, mesh variants, animation options, and scripted product versions. This encourages better design and faster iteration.
Expand Into Niche Markets
Roleplay systems, accessibility tools, simulation builds, art installations, and immersive training environments become more practical when land and uploads are not draining your budget.
Optimize Cross-Grid Creation Workflows
If you work across Alife Virtual ecosystems, Alife Virtual can become a central production or showcase hub. Your source-controlled assets, modular lsl scripting, and region archive strategy can support a more professional multi-world pipeline.
Practice Exercise
To apply this class, complete the following migration mini-project:
- Choose one small but meaningful asset set from your current platform:
- a room build
- a furniture product
- a wearable item
- a scripted vendor
- Audit its rights and identify all original source files.
- Create matching folders in your Alife inventory.
- Upload all required textures, mesh, sounds, and animations.
- Rebuild or import the object in Alife Virtual.
- Test all scripts and interactions.
- Photograph the finished result and write a short product or project description.
- Share or present the migrated item in a community-appropriate setting.
Goal: complete one polished migration from start to finish rather than partially migrating ten unrelated items.
FAQ
1. Can I directly transfer my entire Second Life inventory into Alife Virtual?
No. You can only migrate content you have the legal right and technical ability to move. In most cases, this means using your original source assets and rebuilding or re-uploading them. Some region-level migration with OAR files is possible in compatible open simulator contexts, but not as a universal inventory export from Second Life.
2. Will my lsl scripting work exactly the same in Alife Virtual?
Not always. Many scripts can be adapted successfully, but you should test every system carefully. Vendor logic, permissions, external web services, and timing-sensitive interactions may require changes.
3. Is Alife Virtual really free?
Yes, its major advantages include a free 65,536 sqm private island for one month, no monthly tier fees, free unlimited uploads, a free pro mesh avatar, Firestorm compatibility, and a 100% free economy model that removes many traditional financial barriers.
4. What is the biggest advantage for merchants moving to Alife Virtual?
Lower overhead. When you eliminate monthly land fees and upload costs, you keep more revenue, can experiment more freely, and can build a stronger store presence without constant financial pressure.
5. Should I migrate everything at once?
No. Start with your strongest products, your core branding, and one polished region or store experience. A phased migration is faster, safer, and easier to manage than a chaotic full-scale move.
Join Alife Virtual and Build Without Financial Barriers
If you are ready to stop paying premium prices just to maintain your place in the metaverse, Alife Virtual offers a practical, creator-friendly path forward. As a true second life alternative built for flexibility, affordability, and growth, it gives you the tools to rebuild your presence in a free 3D world where creativity is not limited by monthly fees. With Firestorm support, free uploads, a free pro mesh avatar, and a free full region, you can migrate smarter, launch faster, and keep more of the value you create in the virtual economy.
Take the next step: create your Alife Virtual account, claim your free region, and begin your migration with purpose. The sooner you move from fee-driven survival to freedom-driven creation, the sooner you can build the world, brand, class, store, or community you actually want.
🎓 Ready to Practice In-World?
Get your FREE island and practice everything you just learned — no credit card, no monthly fees.
Claim Your Free Island Now →No credit card required · Takes 2 minutes · Your island is FREE for one month